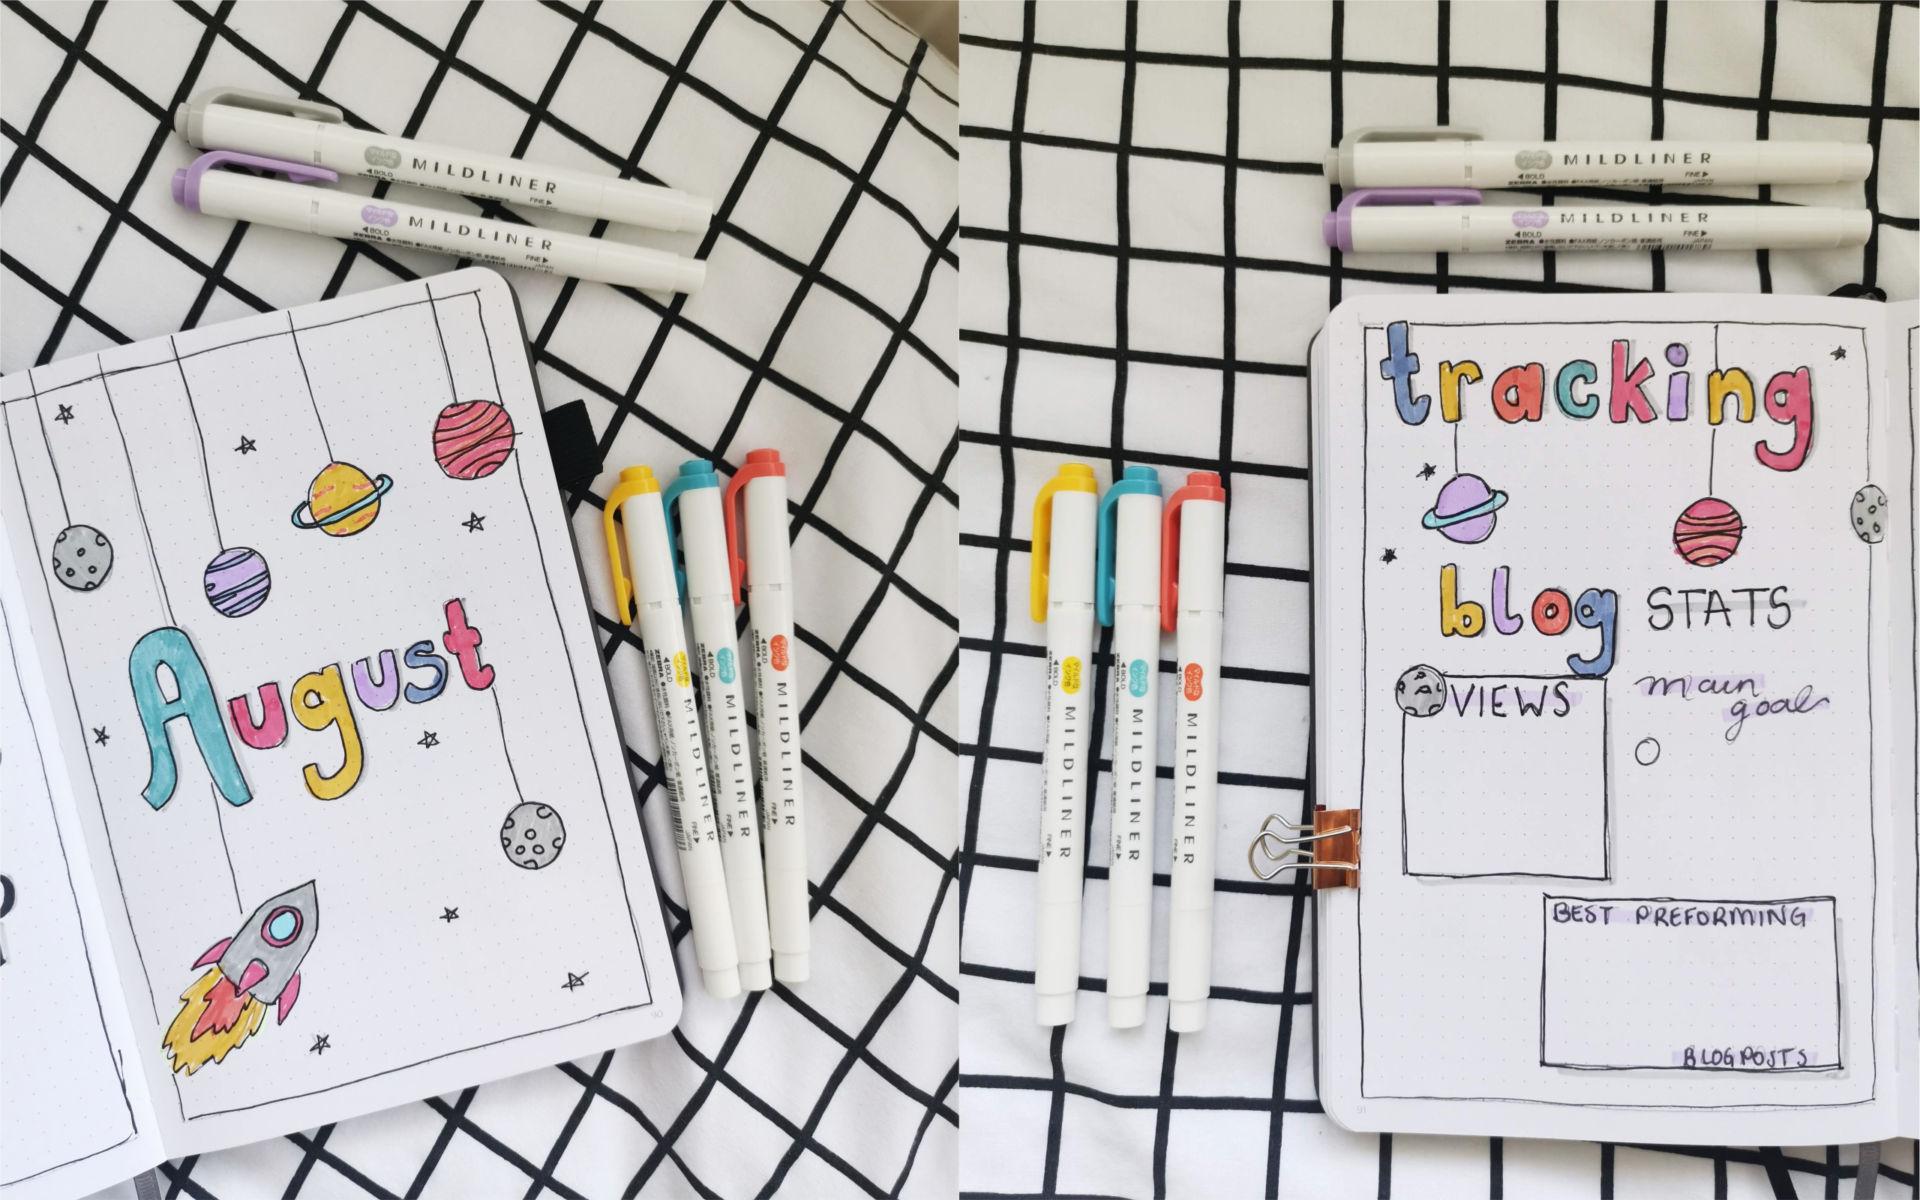
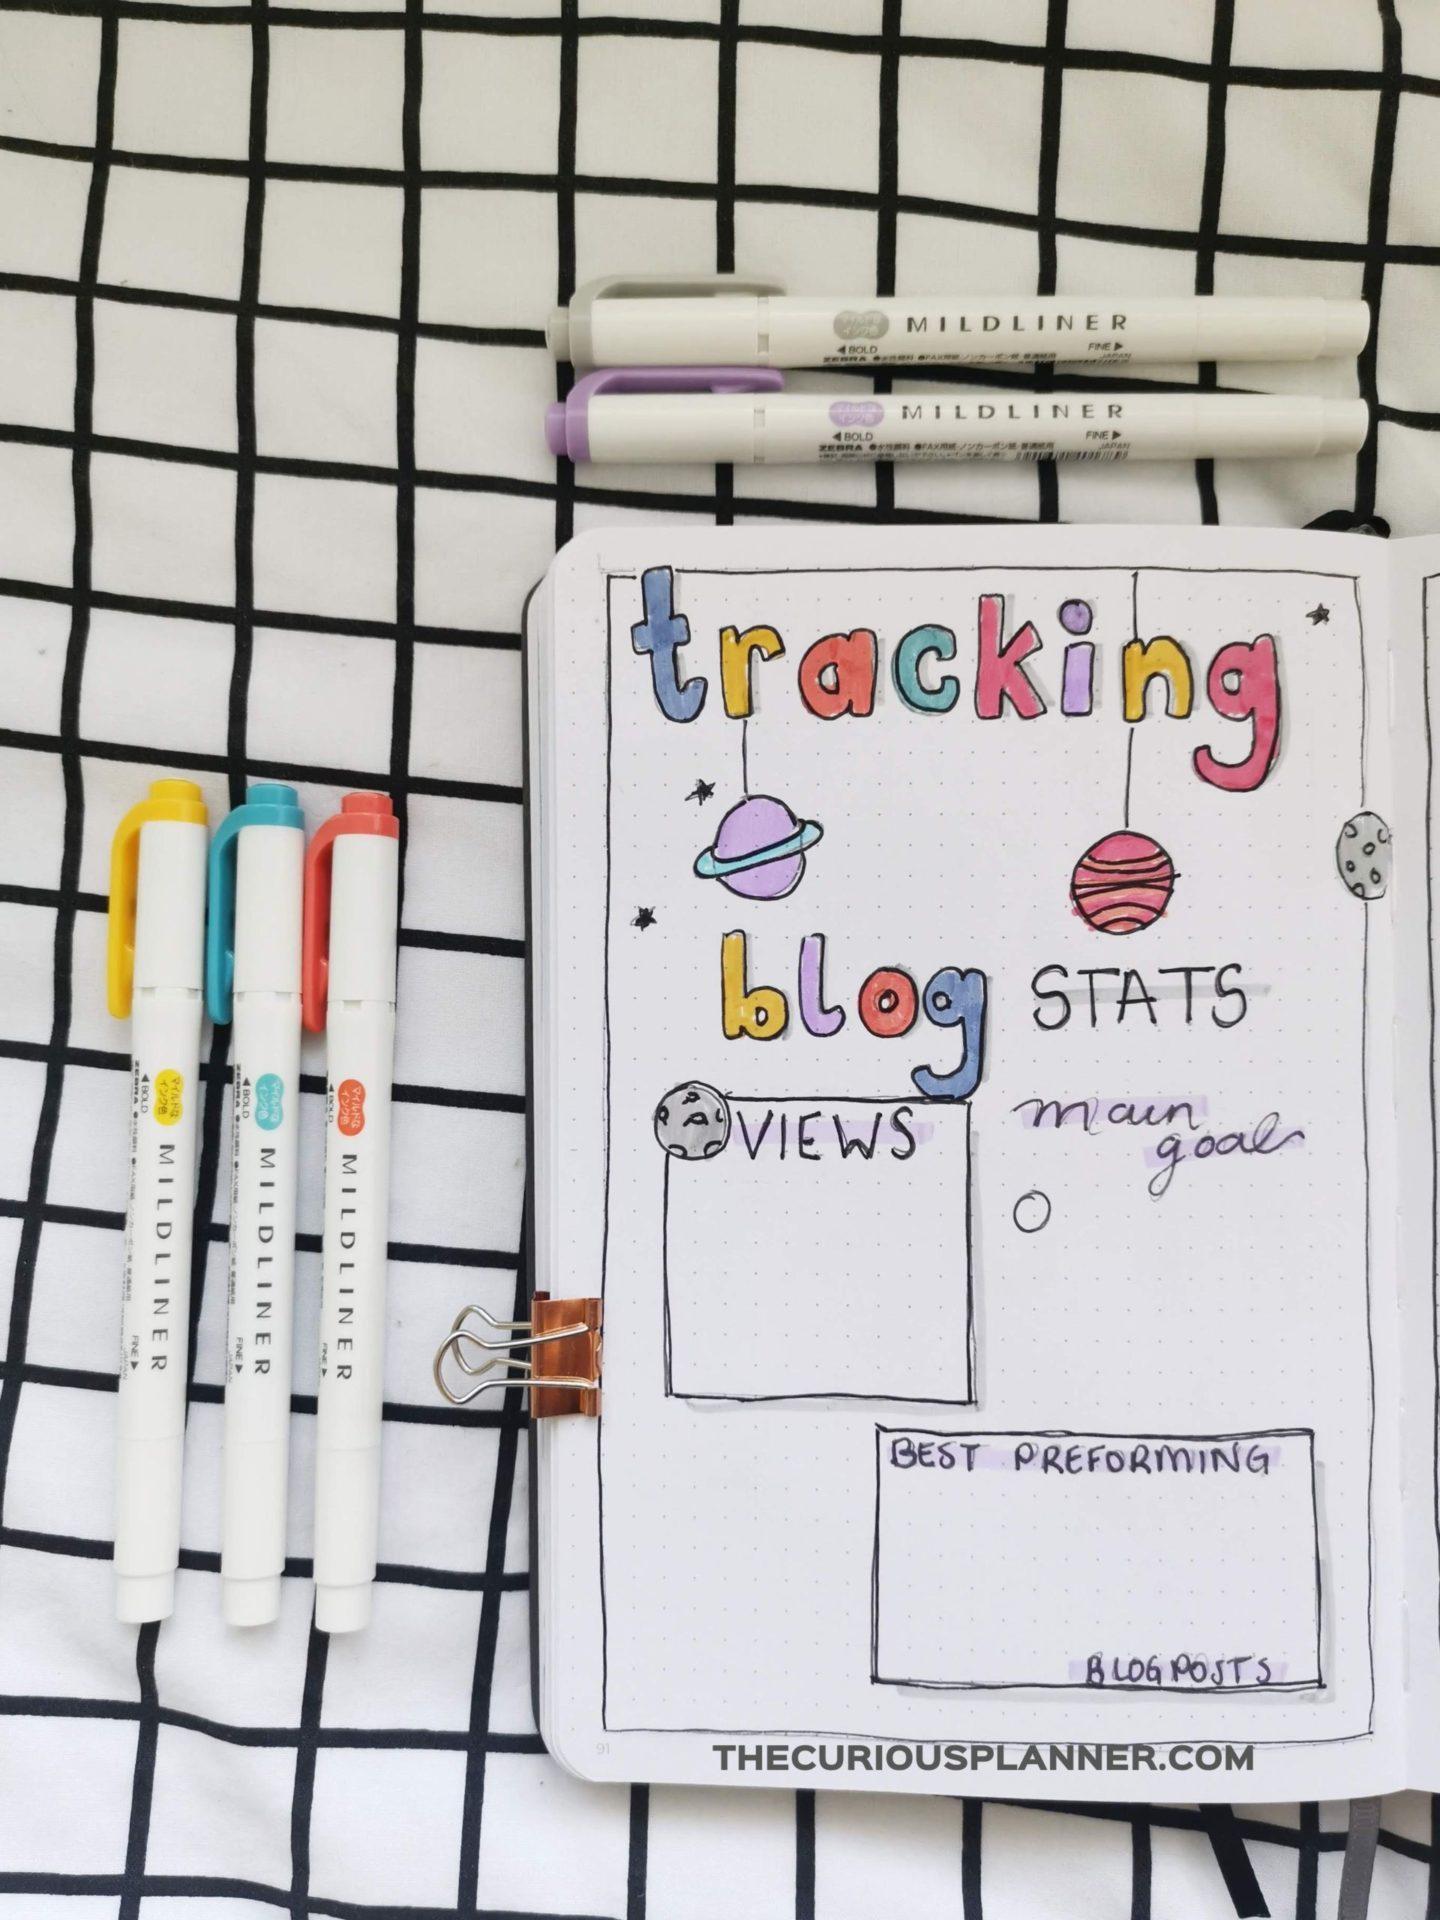
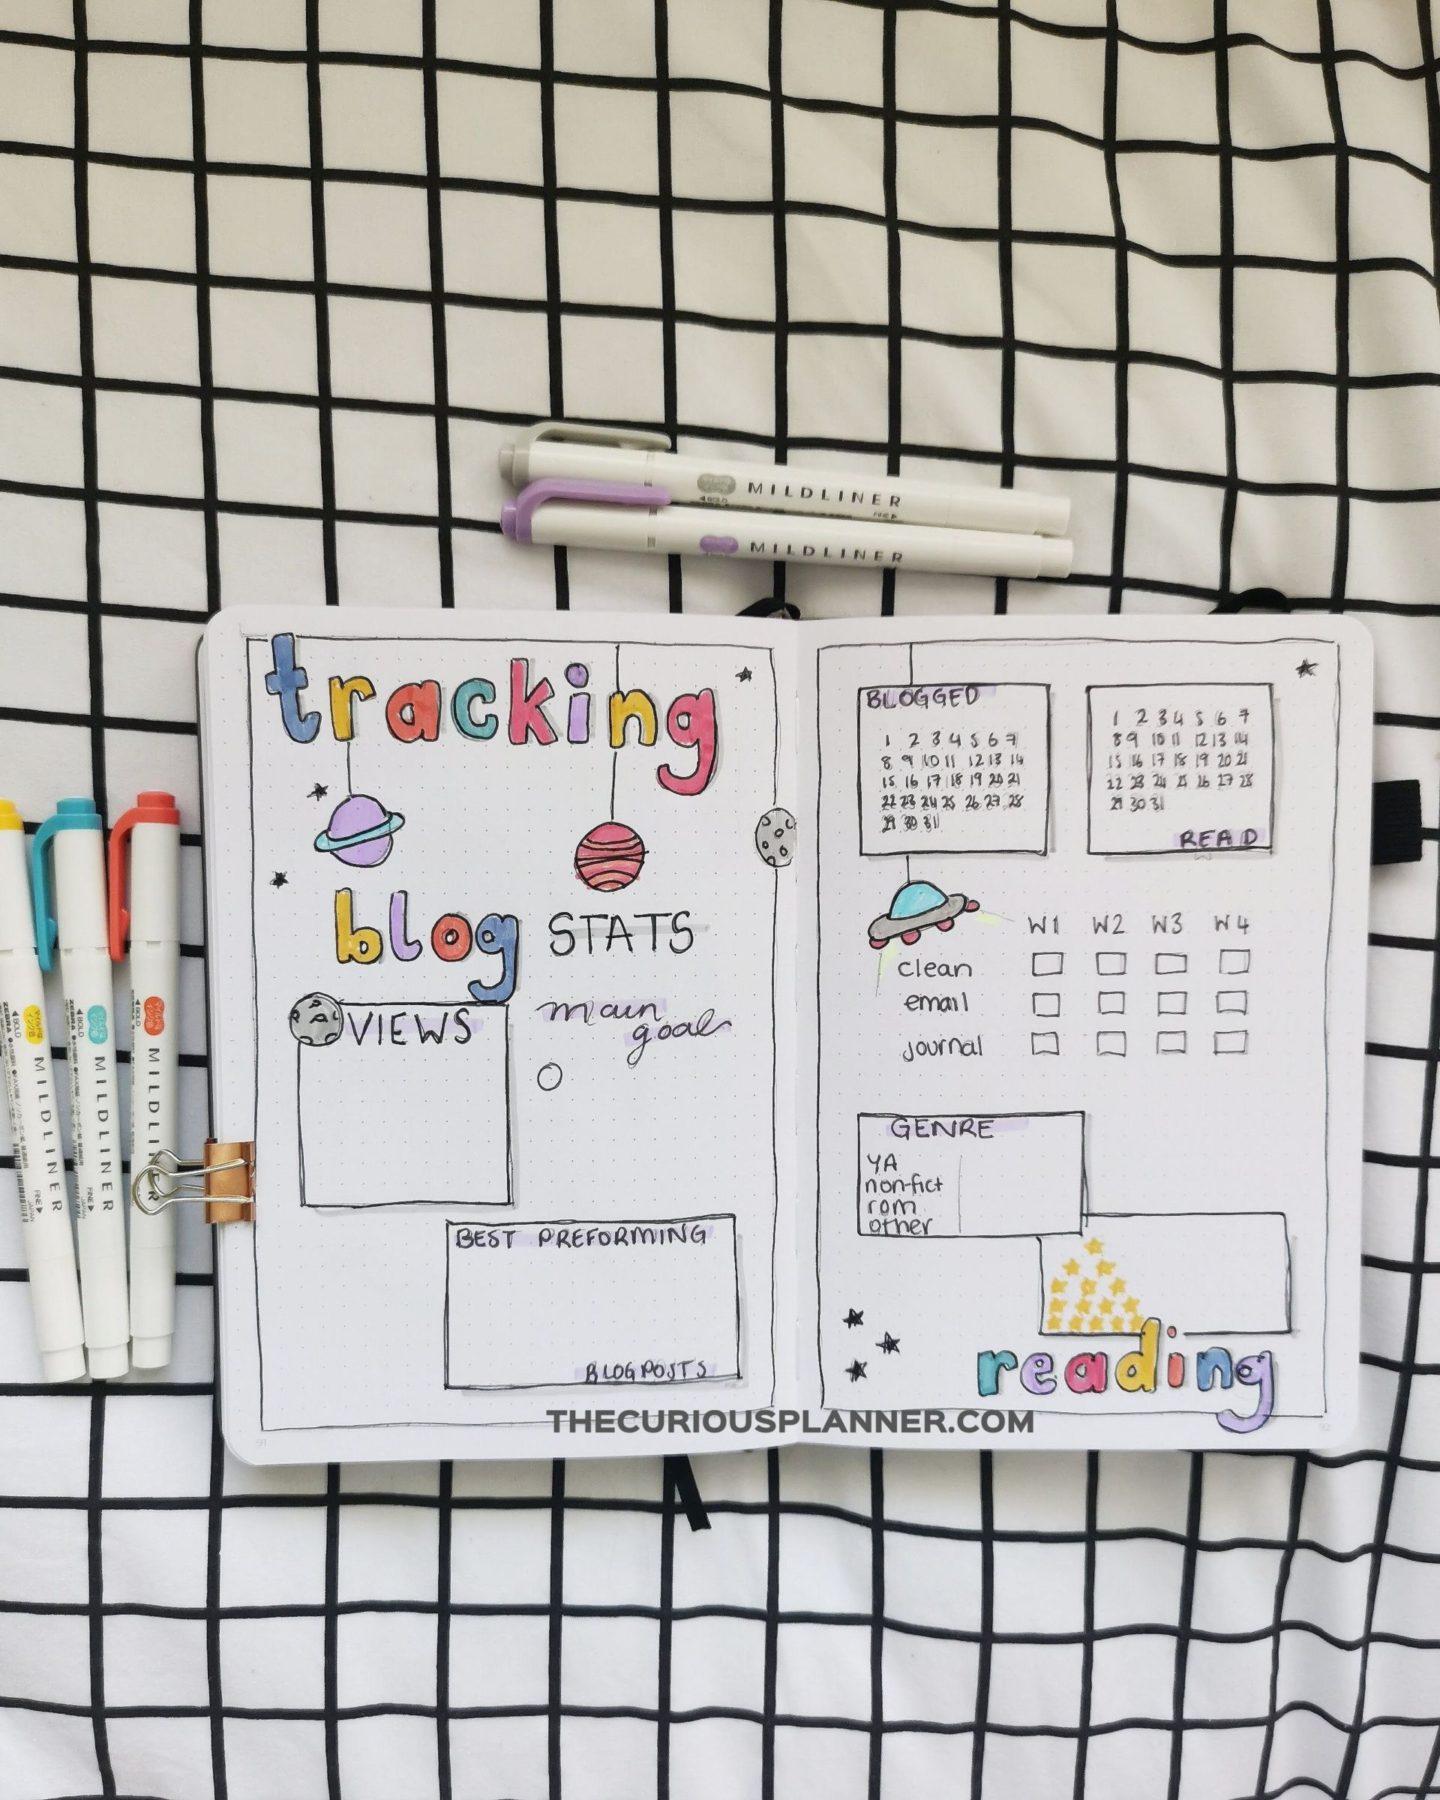
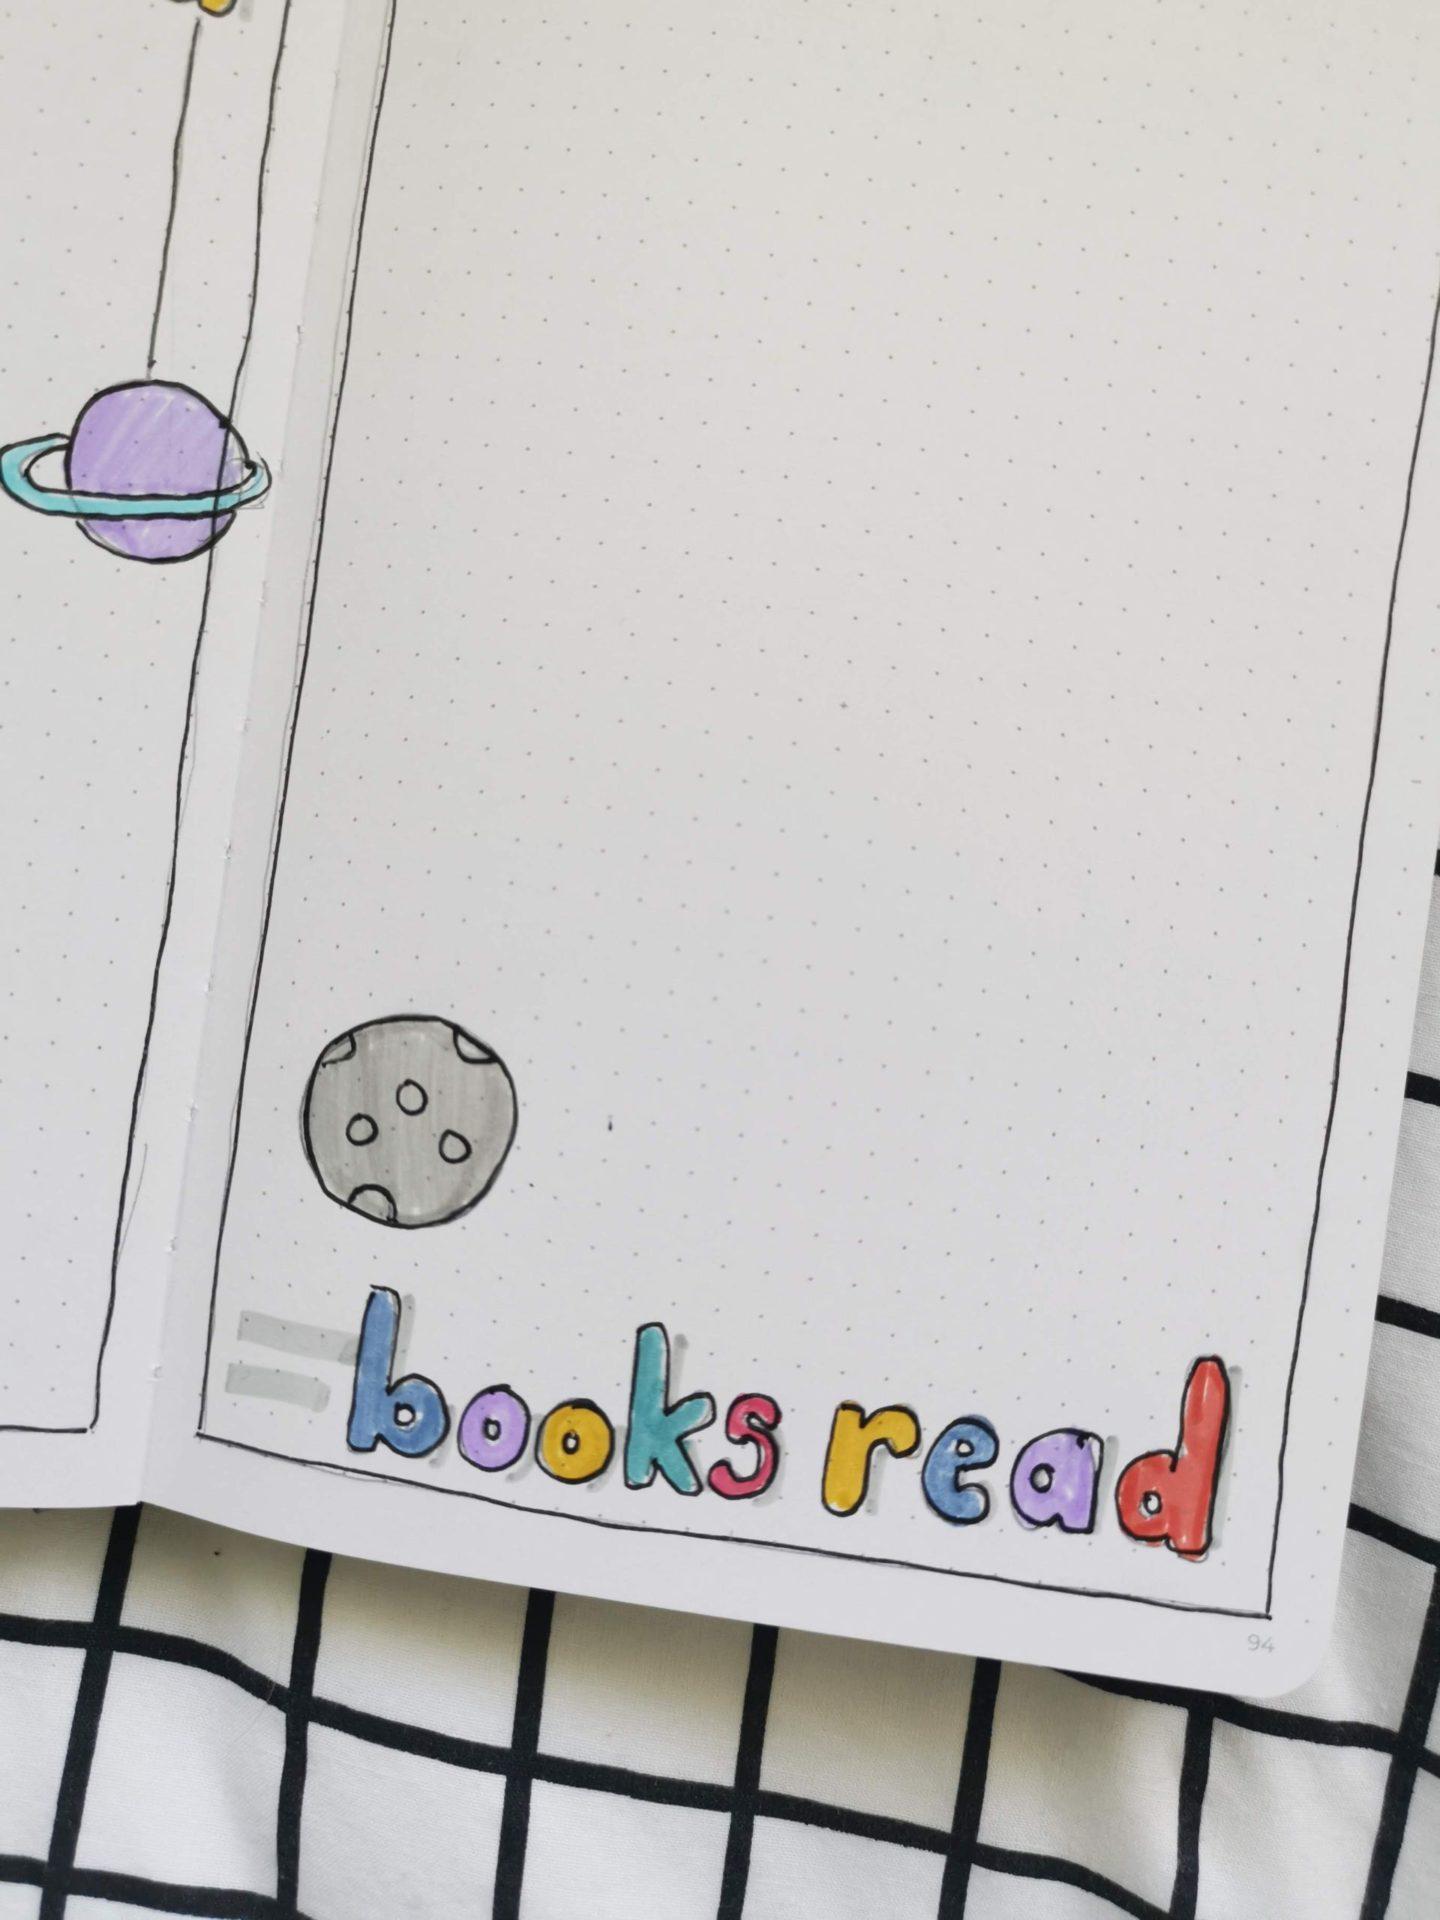
This post is sharing with you my August Bullet Journal Set Up, which is a colourful space theme!
Hello! It’s that time of the month again. Yes, you’ve read the title, I am sharing my bullet journal set up for August today. As mentioned in my previous bujo post I really wanted to stray away from the summer themes so I decided to go with a Space theme! I had been wanting to make a space theme for so long but I always thought that I was not artistic enough. Boy was I wrong because I love how it turned out.
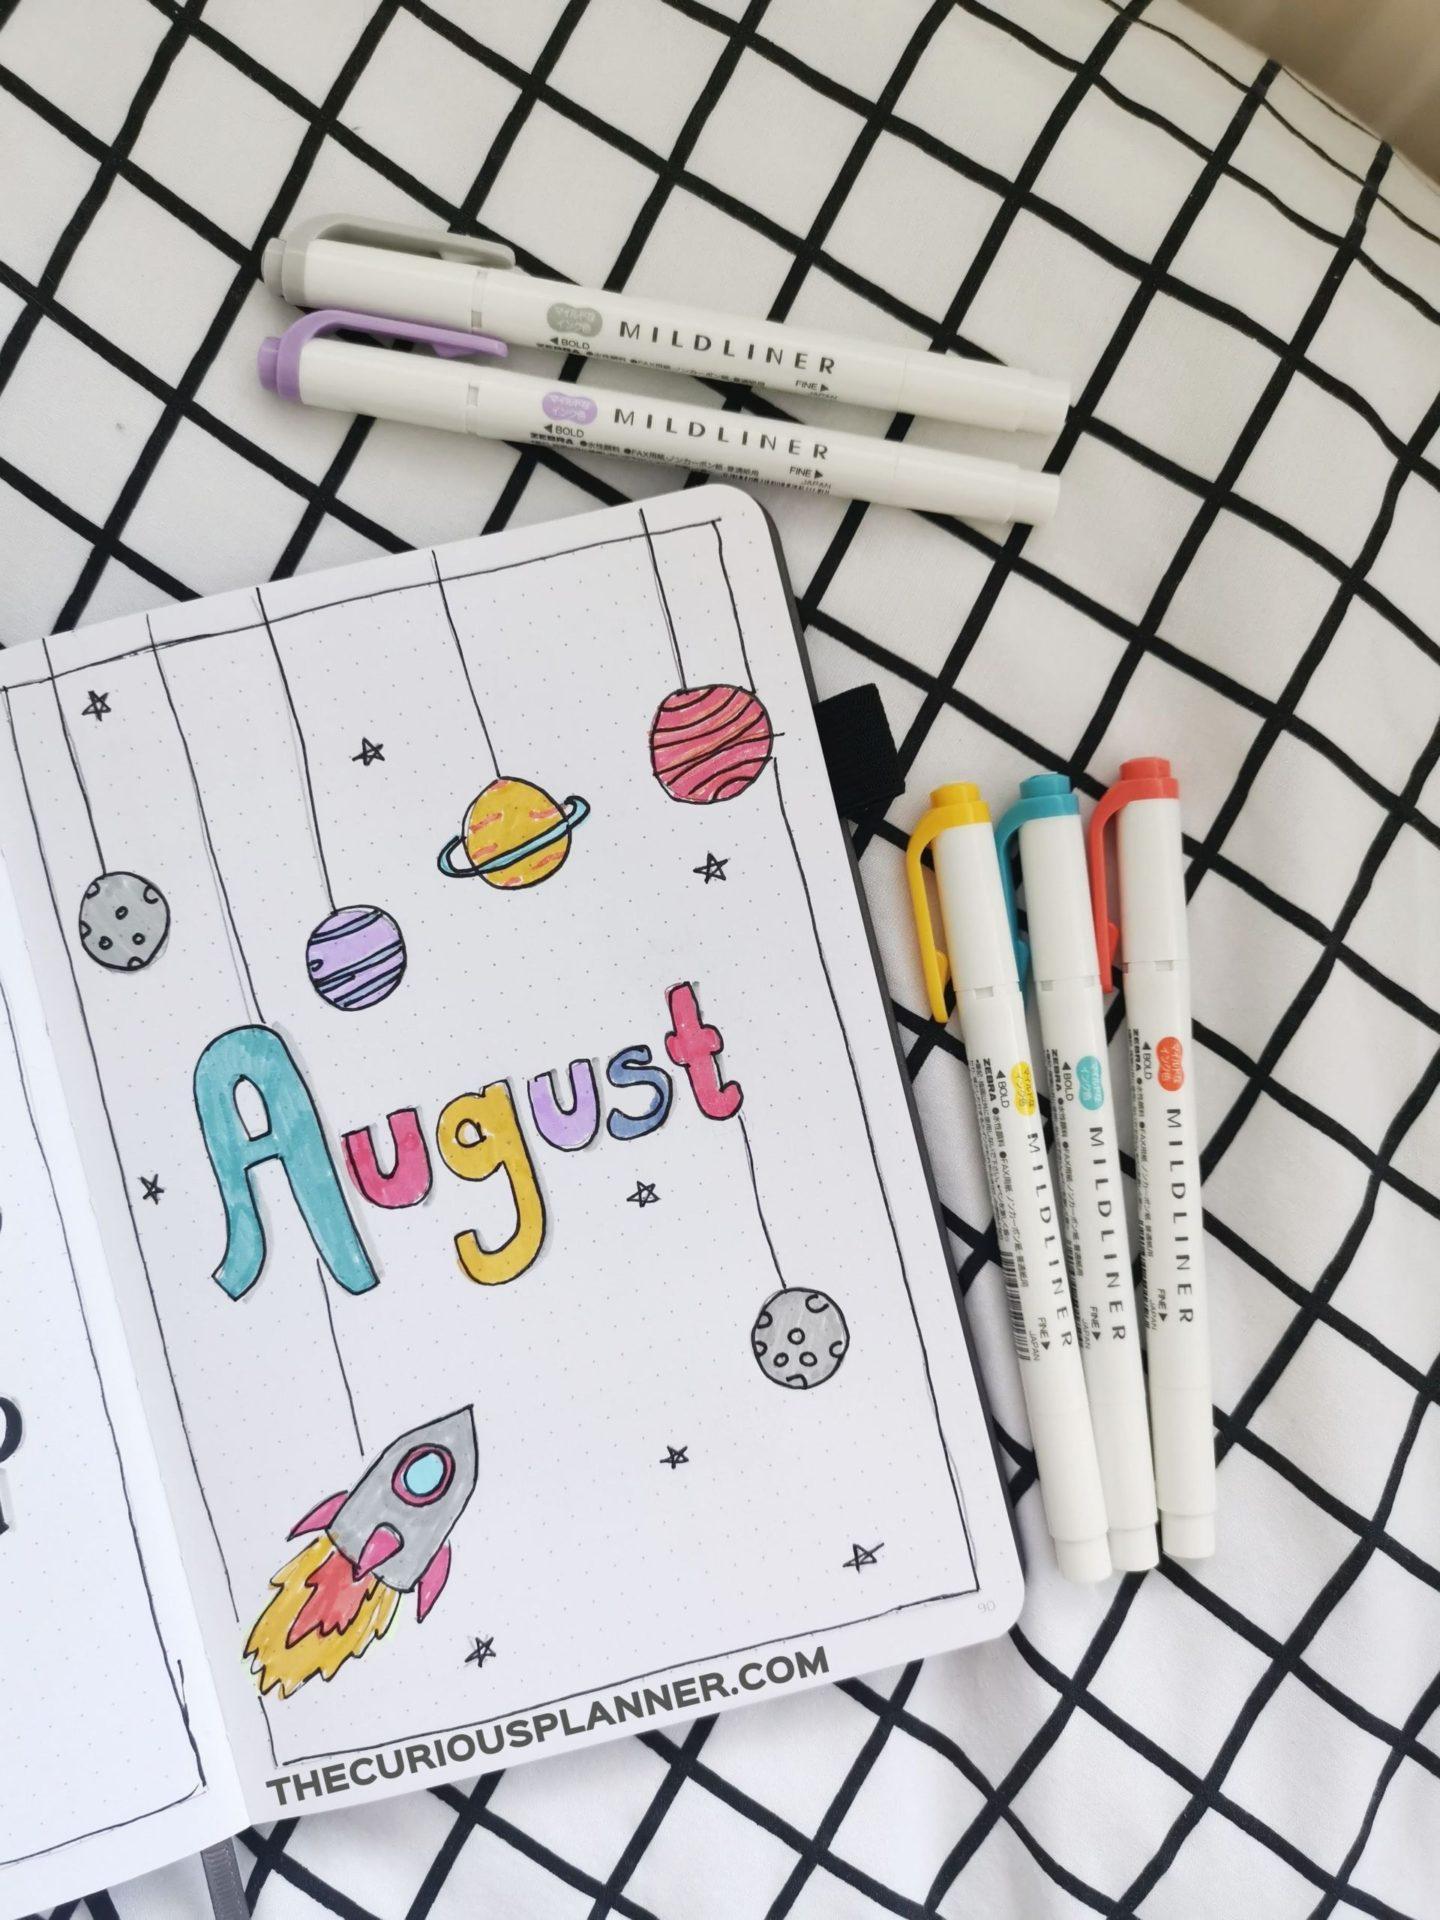
I am absolutely obsessed with this cover. The colours, the planets, the lettering; I love it all. I used two pictures from my August Bujo Cover ideas post and combined them together, with a few of my own ideas, to create this. This is, hands down, my best cover yet (even better than March’s and April’s!)
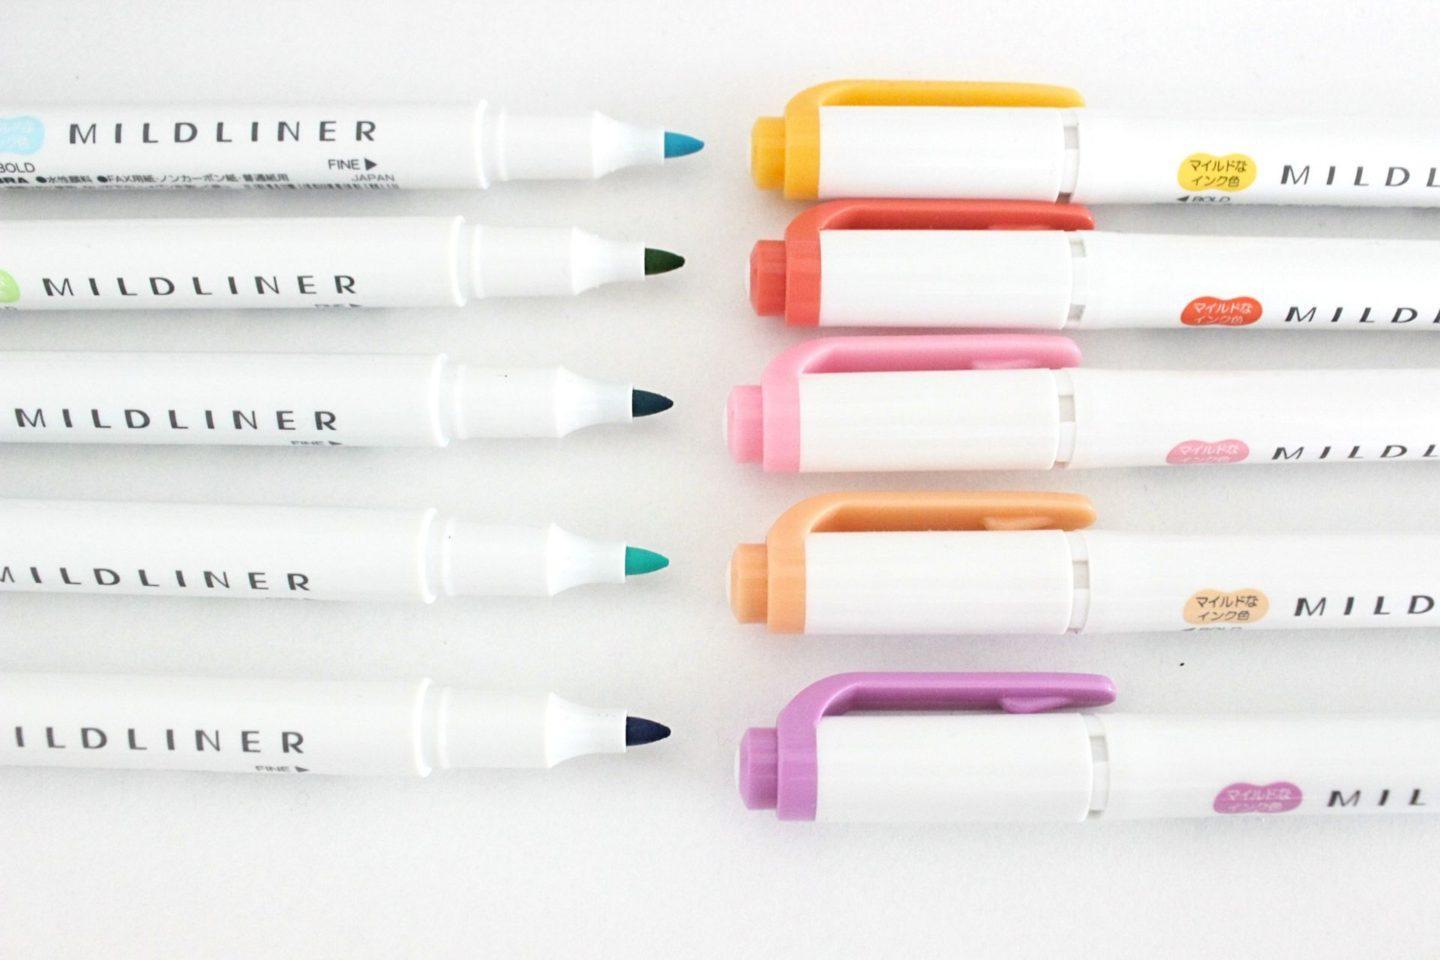
I loved how this August bullet journal set up turned out. The Zebra Mildliners have absolutely zero bleed-through and are easy to draw over and colour with. I particularly like the borders on each page, made with the Staedtler fineliner as it gives the spreads a more professional feel.
Overall I am really obsessed with this space bullet journal theme and i believe it can be used for any sort of journal! You can make it a more minimalist spave bullet journal theme or you can add more stars and planets to make it more aesthetic.
Want some more bullet journal inspiration? Check out these posts!
Thats a wrap! I say this every time, but this is my best monthly theme yet! Having wanting to do a space theme for quite a while, I am so happy at how this has turned out. I’d love to see your August Bullet Journal Set Up, so please link it below!
Enjoyed this post? Sign up to our mailing list!
This post was all about August bullet journal set up which is a colourful space theme
As a recent graduate and having already finished University/ College and gone through three bedrooms and three houses, I think it is safe to say, I know exactly what to bring to University/ College. This is for both my UK and more students; i’ve included every single thing you need for staying in halls, dorm rooms and houses. Here is the ultimate university packing list for 2024.
This post lists absolutely EVERY SINGLE THING you need to pack for university; all the crucial bits and bobs that will get you through your few years there.
This list is going to comprise of items that I highly recommend you take with you to University. These items made life so much easier for me and my friends and made my space feel more homely and comfortable.
1. Mattress Topper – A What To Bring to University MUST HAVE!
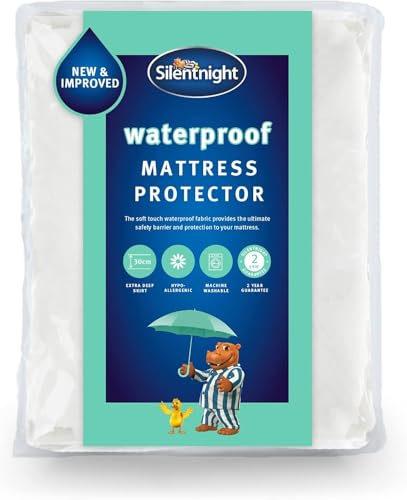
Now, the mattress provided to you by your university/ landlord is probably over a decade or so old. That means at least 10 or so people have slept in that bed for a year before you. Therefore, your bed is gonna be springy. I strongly suggest buying a mattress topper because it helps to increase your comfort whilst sleeping.
Most places provide you with a mattress protector however, I recommend buying your own because you have no idea who used that mattress protector before you.
Sometimes in halls and student housing, the people you are sharing a space with will not want the heating on or let’s face it, your heaters are probably broken anyway and your windows do not even open fully. Therefore a heater and fan system is perfect just to heat up and cool down your room.
Most places provide kettles however, some do not. Double check with your housing if they do. A lot of the times the kettles have definitely seen better days so it could be worth you and your housemates chipping in and buying a kettle. Also, if you are really lazy and cannot be asked going to a fro the kitchen, it’s nice to have a kettle in your room (high-key tea addict right here.)
I struggle with the actual name of these; I believe they are called thermoflasks. These bottles are multi-functional, keeping your cold drinks cold and your hot drinks hot. This means you do not have to make constant trips to the kitchen in the night and you can also save money on hot drinks during your lectures.
Pretty self explanatory, these are, however the amount of people that forget them is insane! Grab yourself two and stick them in the places you need them so you won’t have to worry about running out of sockets!
You’re getting in from a night out at 5am and really, really want to sleep in. However, the curtains/ blinds provided (if any) are so see-through they might aswell not even be there. I highly recommend investing in some black out curtains or at least some black out stick tabs that you can stick onto the blinds provided.
The ones listed come in so many colours and are at a really good price point- definitely check them out!
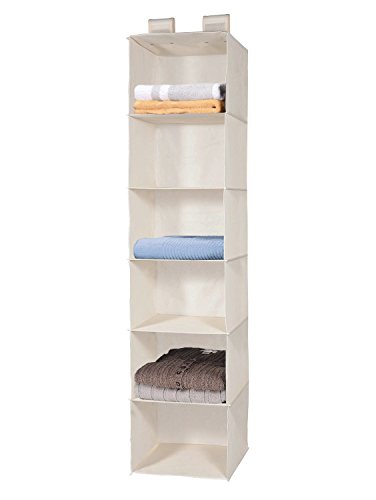
Student wardrobes are tiny so you need to be creative to maximise your space. These organisers were a lifesaver for me and practically doubled my wardrobe space. These come in three colours and can fit so much in them. If you have limited storage, these are for you!
What to Bring to University: Bedding
Now I have already discussed the importance of a mattress topper and a mattress protector but you also need the rest of your bed coverings.
The thicker the duvet cover, the better, right? This will get you through the cold winter nights and chilly mornings. This may make it so you don’t want to leave your bed but they are soooo worth it!
11. These Crisp and Fun Duvet Covers that will fit any theme
Save yourself from unpacking your bedroom only to find that your pastel blue bed sheets clash with the gross yellow walls of the university dorm halls. Therefore, it really is crucial (to save yourself annoyance) to get some neutral bedsheets. I love buying mine from places like Asda and Primark so have a look out when you next go food shopping for some great cheap bedding. These ones from Amazon are stunning and give off a luxurious vibe.
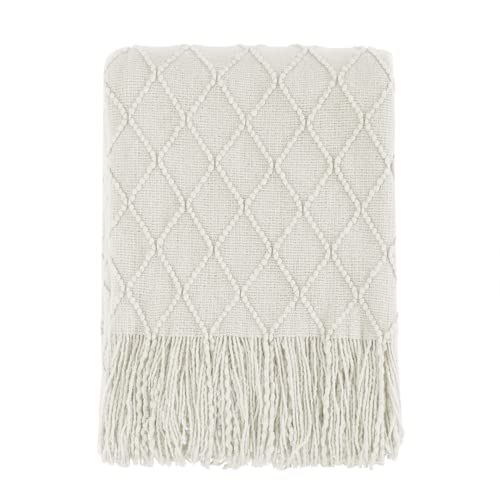
These Bourina throw blankets are my favourite on Amazon! They come in so many different colours, they’re huge, look great on your bed and are super warm. As with the throw, pillows are one of the best way to spruce up your bedroom. You can definitely also get some nice blankets from Primark, Dunelm, B&M etc.
For all of us lazy bones who love to keep everything in reach, these hang off of the bed shelves are amazing. These are also great if you do not have a bed side table and don’t like having your phone in your bed when you sleep.
Usually your university will provide you with a bed, a basic desk with the most uncomfortable desk chair ever and a wardrobe. Therefore, it is up to you to furnish the rest of your room.
It is so annoying having shoes wherever you step therefore, have them all in one place with this shoe rack. This makes finding the pair of shoes you want easier and is a great organisational tool.
These are great pieces of furniture for your rooms. You can get them from Ikea but they also do great ones online. This is great to have beside your bed to store things on top of and its also a great place to organise and hide your junk 😉 These are also considerably cheaper than a traditional drawer system and they look way cooler.
I love having lamps in my space as opposed to the overhead light. This one linked is so trendy and cool, and it’s just under £30! It’s quite different to your usual floor lamp and will add a nice ambiance to your room. If you are thinking about what to bring to university lighting wise, let this be your one thing!
Now these are very spenny so please only get one if you can afford it!
The chairs provided are always grossly uncomfortable. Investing in a chair that you can take with you for wherever you move to during your university years (and beyond!) is optimal. You would like a chair that is both comfortable and stylish; that allows you to sit there for hours studying and fits in with each room.
I absolutely love this chair. You can prop a pillow up in it for even more comfort and style.
The great thing about investing in a chair like this is that the price is justifiable as after you leave university you can use it for your (potential) work from home job OR you can sell it on!
‘Holy cow, mirrors are so expensive’ is something i thought when i was buying my mirror for university. Who knew a piece of breakable glass would be over £50? Not me.
Ultimately you want to save space in your rooms so having one that hangs over the door is a fab idea. This one doubles up as a jewellery organiser and comes in multiple colours so it is definitely justifying it’s price.
Again, this is another piece of furniture you can keep with you throughout your university years and beyond.
What to Bring to University: Organisers
A few things have been mentioned above such as, wardrobe organisers, shoe racks and those awesome bed bags.
If you know me, you know how I SWEAR by the storage containers! These fabric ones come in a range of colours, sizes, and textures, you cannot go wrong with them. They are also collapsible so they are easy to store and the price point is great, too!
The few that I have linked will look great both in the cube storage, in your bathroom or just sitting out in your room!
Plastic storage bins are useful for so many things such as, under the bed storage, storing things you are not yet using such as winter jackets, cleaning supplies and different semester work. They are also really useful to pack all of your things in whilst moving. They are definitely something you should get as they are super sturdy and will last years.
If you look at our desk organisation ideas, you’ll see how good these bad boys are in action! They are multi-fuctional and you can store loads of little bits in them! Coming in multiple sizes these organisers fit in almost drawer, too.
If you do not have one of these make-up organisers, you need to get one ASAP! They are amazing. The great thing about these, especially for university students, is that you can just grab the case and go! With everything already organised, put it in your bag and you are good to go, whether that be to someone else space to get ready or home for the weekend!
These hangers will save you so much room and allow you to maintain your shopping addiction! Each hanger basically holds around 5-6 pieces of clothing, allowing you to never run out of space.
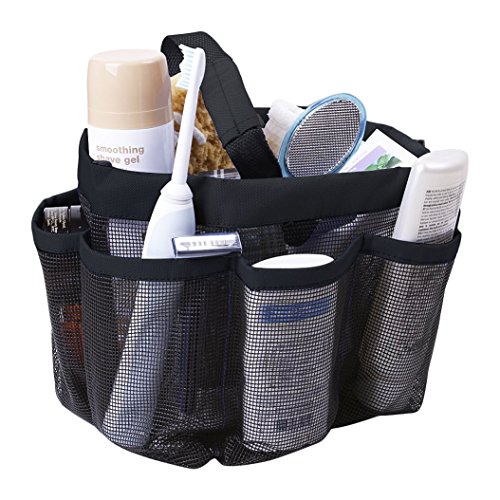
Shower caddy’s are great to just grab and head to the bathroom with every morning and evening. It means no one uses your stuff and everything you need is in one place, easily accessible. The plastic option is my personal favourite. I bought the pack of two and used one for my toiletries and the other for cleaning supplies!
I shared a bathroom throughout university and having one of these so all of us had our own shelf was great. If you have an ensuite, you can have a shelf for cleaning supplies, one for toiletries and another for spares. You can also use this behind your bedroom door and fill it with snacks and drinks.
What to Bring to University: Decorations
The best way to make your room your own is to decorate it with things that remind you of home and make you happy. Here are a few things that I loved and would love to decorate my uni room with.
If you would like more university room decor ideas check out my post here for 20+ room ideas you need to see before you decorate your uni room!
Are you even a girl at university if you don’t have twinkling fairy lights? Yeah I think not. These ones are so cool because you can stick your photos on them.
You can even start the year off with no photos and as they year goes on you can add pics to it.
We had one of these in our living room during my third year of university and they were so cool. The majority of them can change colours and have different light settings. if you are not into heavy decoration then these are perfect just to stick up and they still look like you’ve put in a lot of effort.
Most people get their tapestries from Amazon purely because they are cheaper on Amazon. Just make sure to check with your housemates if you have the same ones because trust me, its highly likely. The ones linked above are so gorgeous! If you can spend a bit more, Redbubble do great tapestries.
These have been all over tiktok this summer and omg, I need one. Can you just imagine walking into your room, turning this bad boy on and being transported to another galaxy?
Also, these are so frickin good for house parties – highly recommend!!
I recommend buying some succulents that do not need as much attention because chances are you will forget to water them and they may not have enough sunlight. Also if you go away for a few weeks on Christmas or Spring Break chances are you’ll come back to a dead plant.
My third year university carpet was so thin and manky I had to buy a carpet and I don’t regret it at all. This rug made my space feel more like my own.
Most of the time your housing should provide you with a kettle and a toaster but not much else. You can also expect some people’s left over pots and pans but I really would not use those.
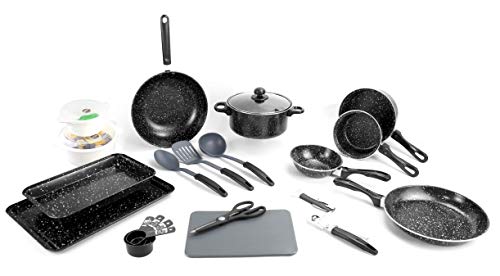
32. Kitchenware Kits
Before i get into all the separate items you can buy, whilst I was browsing on Amazon looking for things, I came across kits you can buy which may work out cheaper for you instead of buying things separately. They are definitely worth a look at.
Most supermarkets will do sets of cutlery comprising of knives, forks, spoons, bowls and plates. These are super good deals but please only get around 2-4 of each item because let me tell you now, you do not need 6 bowls.
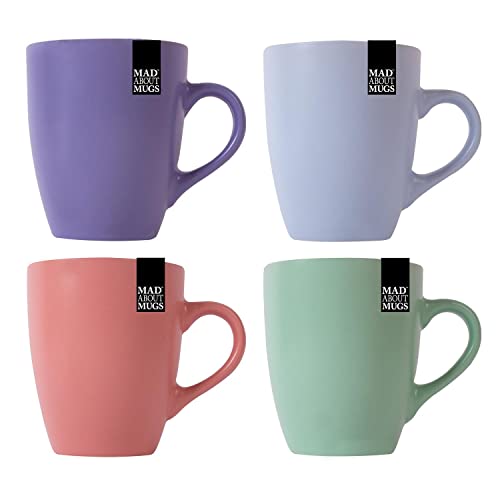
I am a mug hoarder so I had about 6 mugs and I don’t regret it. I recommend having about 2/3 mugs therefore there is always one that is clean and ready for your coffee. These ones on Amazon are super cute but you can deffo get cheaper ones elsewhere 🙂
The prices for pots and pans really make purchasing the whole kit worth it- it’ll only be a couple of pounds more and you get a whole bunch of extra things.
I would always recommending purchasing your own utensils. Whilst it is great to share some things like a can opener etc, when you have utensils you use on the daily its best to have your own. Save yourself from washing other people’s dishes and use yours!
Yes, a CHEESE GRATER! I capitalised this because of it’s importance lol. You can get these for suuuuper cheap at your supermarket! But you can also get this nifty one from amazon, it is super convenient and compact that you can grate your cheese directly into the pot attached!
Tupperware is great for leftovers, lunches, and freezing food for meal planning. You can also use these to store herbs and spices, flour and sugar. You can never have too many tuperware containers.
We spoke about thermoflask bottles, but here we have the mugs! These are good to take with you – hot drinks on the go! This one is great because you can also use it for cold drinks, too <3
It’s a great idea to have more than one body and one face/ hand towel. What’s even better is to have towels that match that way you don’t mix them up with anyone else.
How cool is this hamper? It comes with three compartments, meaning you never have to sort out and separate your clothes before washing them again. This will save you so much time and money as you can be conscious of your wash load.
Some uni accommodation bathrooms are so so dirty and no one wants to be catching athlete’s foot. These also come in a bunch of colours and sizes, perfect for gross conditions.
I had this dressing gown throughout my time at university and I’m pretty sure it never left my body lol. This specific robe comes in a bunch of different colours and lengths.
Again make sure to get a big fabric softener so it can last. This Comfort one is one of my favourites- it makes your clothes super soft and doesn’t give you the itch that some softeners do as it is hypoallergenic.
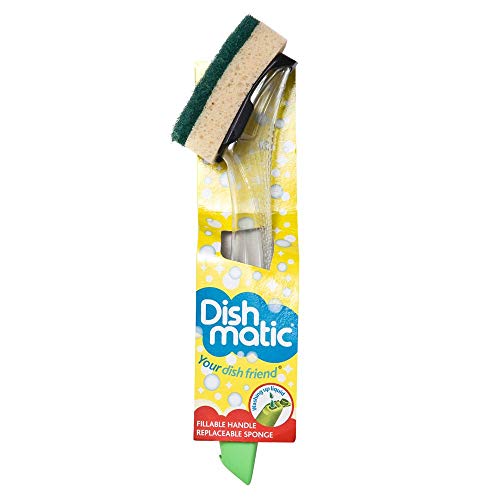
These sponges are a true life-saver. It can be so gross washing up other plates and pots, touching other wet food (vom). Eliminate that and grab yourself some of these bad boys.
These come in a pack of three, so you can even use one for the shower, one for the kitchen and have one spare!
I love plug-ins- they are a great replacement for candles, which are not allowed in many student and rented accomodations. This one from Febreze smells lovely and fresh.
What to Bring to University Study Essentials
I have already written a post on must have desk organisers for university so definitely check that out. However, I thought I would also add a few more things that will make studying and going to lectures easier.
You are going to be carrying your laptop, your books, your water, food, notes, stationary and more every single day. Therefore, it is so important you invest in a great bag that has multiple compartments and supports your back. This one is great because it comes in multiple colours and fits just about anything.
I had a heavy ass laptop during my first year and I could not take it anywhere. It was then I invested in my Macbook Pro and I have not looked back since. I have taken it with me to every lecture, every library trip and 3 years later she is still running as smooth as ever.
However, if Apple is not your thing. I know that HP do amazing light and super efficient laptops you can check out. Overall, this is an absolute must for your university packing list!
If you are umming and ahhing over wha to bring to university tech wise, let this be the thing (besides your laptop lol). I cannot tell you how much I loved and continue to love my Alexa. She used to wake me up *gently* for lecturers, played me podcasts and helped me get to sleep at night by playing rain noises.
Sometimes when I was studying I used my Alexa to ask basic chemistry questions; she’s a great study companion! Also the speaker on the Alexa is amazing. Overall, making the Alexa an ultimate university room essential.
Phew! I told you this list was extensive! I hope you stayed with me until the end as now you know exactly what to bring to university! I will be updating this list every few months so make sure to check back when you can.
This post is about how you can improve and organize your desk space to increase your productivity on a budget. This post is perfect for those starting college/ university and those who are starting a new job/ project or you just want some new desk inspiration.
*Please note, this post contains affiliate links. If you purchase anything via these links I may get a small commission at no extra cost to yourself.
Hello everyone, welcome to my first ever organisation post not within the confines of my bullet journal. Now don’t get me wrong, I love my bullet journal; it keeps me very organised. However, I can not stay organised if my surroundings are chaotic. I guess this is where the saying: ‘a clear space is a clear mind’ is appropriate. I may have just butchered that quote but you get my gist. I’m a true believer that having an organised, not necessarily clear, workspace promotes productivity. Therefore, this post is here to teach you how to organize your desk space on a budget so you can achieve your goals.
Back To Basics
Firstly, we’re going to go back to basics. Here we are going to discuss a few points regarding the environment around your workspace. Now your workspace doesn’t necessarily have to be a desk, it can be a table or anywhere comfortable.
From school and countless revision tips post and videos, we know that it is optimal to have your desk facing a window so you can get some natural sunlight. However, not all of us (like myself) can place our desks in front of windows, including most dorm rooms and halls. Therefore, make sure to get a light source for your desk. I spoke about my desk lamp in my Amazon Must Haves post, but this rechargeable desk lamp is amazing and you don’t have to worry about any pesky wires. It is also transportable therefore you can take it anywhere, perfect for those who work on the sofa or their floor.
How To Organize The Top Of Your Desk
The clearer your workspace is the more productive you are. Therefore you do not want to have a cluttered space where you cant reach for things easily or find what you are looking for.
I recommend purchasing the following for things that you constantly reach for:
Stationary organiser
File holder
Bookshelf Desktop organisers
I also recommend, if you don’t have something solid to work on, getting a lap desk. This enables you a bit more movement and gives you more room to put things such as, a drink and your stationary organiser on.
These stationary organisers are so cool and effective. Some will allow you to organise your pens by brand and colours whilst others you can use to just store them altogether, like I do! I personally use a big pot to store my most reached for stationary, similar to the marble ones below.
For this post, i have included links to both amazon UK andUS.
I love single and dual compartment holders. I love having organised pens but I also love seeing them mixed altogether. This also saves space, instead of having multiple pots.
File & Book Holders
No matter how many files/ books you have, these are a few options that will help you find your files easily and keep them all in one place. I have also included a book holder which you can use for studying and also as a holder for your tablet.
File Holders
This file holder is perfect if you have multiple projects or are studying for multiple subjects as each subject can have its own dedicated space. If you don’t have a desk, these can be put anywhere such as on a shelf or a set of drawers.
If you are studying A-levels, this is perfect as there is one for each of your A-level subjects (check out my A-level success guide here!)
These rose gold triangle organisers are so cool and come in three different colours. Not only will this organise your workspace, it will also make your workspace look cool.
Book Holders
Book holders are a perfect way to maximise space on your desk. Instead of having a book lying down, which is quite difficult to read, this book holder will have it upright for you. This is also great if you are working on a tablet or watching Netflix.
Desktop Organisers
If you would rather have only a few things on your desk or want to add more dimension to your space, these desktop organisers look ah-mazing! I’m so tempted to get a white one when i complete my room transformation. The perfect thing about these is that they are adjustable so you can transform them to your liking.
How to Organize your Desk: Drawers
If you have any drawers in your desk then this section is going to teach you how to organise them effectively. Again if you don’t have any drawers you can still use these items as storage as they can be easily stacked.
Personally, I avoid having loads of things on my desk; opting to put them into drawers. I use acrylic trays to organise my stuff, including extra stationary, post its and loose paper. These come in multiple sizes and I use them to store everything. As the image above, each stationary item has its own compartment. Therefore, if you needed your sharpies you can easily reach in and grab them. The great thing about these is that you can stack them and arrange them however you like! This also means that they can be kept out of the way if you do not have drawers.
Enjoying this post? Make sure to sign up to our newsletter to never miss out on future posts.
Processing…
Success! You're on the list.
Whoops! There was an error and we couldn't process your subscription. Please reload the page and try again.
Desk Wall Organisers
These organisers aren’t as important and essential as the top desk organisers but they do help with your productivity. With wall organisers you’re able to stick random thoughts up and most importantly you can use them as constant reminders of your goals. It also takes a way some of the things on your desk, which allows you more room to work, which is a plus!
My favourite organisers are the grids where you can use clips to stick notes and your visions on. Of course the traditional cork board and white board work just as well. The great thing about cork boards and white boards is that they now come in a range of sizes and shapes. They are also the most easy to put up on walls.
I also know that Ikea do these clip boards where you can clip a bunch of things on such as, pen pots, and note boards. These are really worth looking at (please see the picture below as my description did not do it justice.)
As for the peg board, I found these on Amazon. They’re cool but I am not sure about putting them up in your dorm room or university bedroom as they might tear off some plaster with it if they suddenly collapse with however much weight is added onto them.
That’s a wrap! I hope you enjoyed this post and have taken some inspiration from it. I really do love organisation and finding the best solutions to store my things. If you have any other storage ideas, I’d love to hear them.
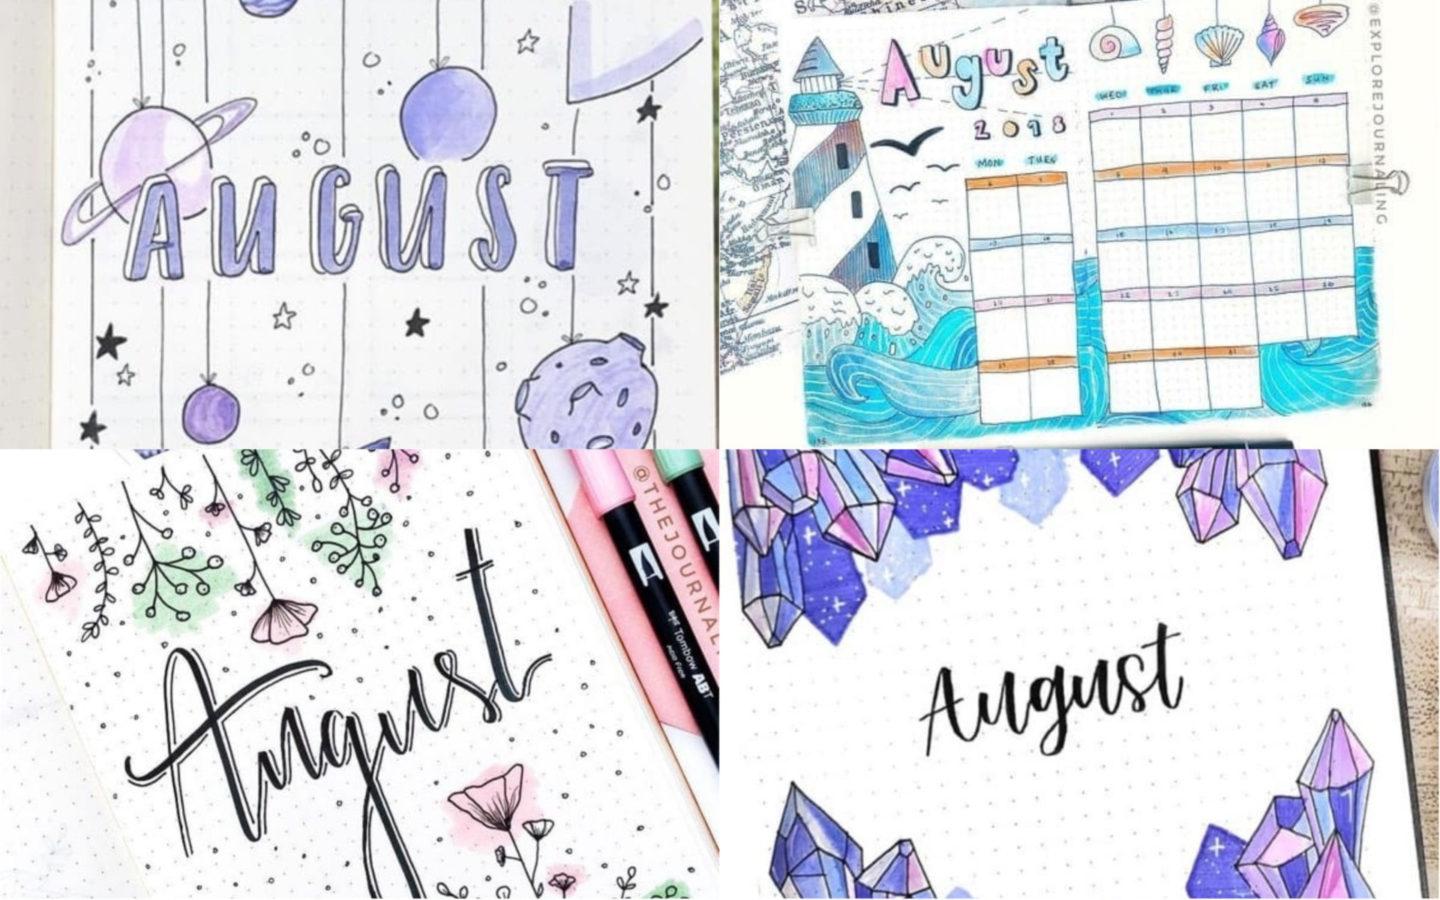
Here are the best, new August bullet journal cover pages you will obsess over!
With August quickly approaching, it can be difficult to come up with an August bullet journal cover spread, for the eigth time of the year.
Luckily, this post is showing you some of the best August bullet journal cover ideas for you to feast your eyes on.
Whether you are after August bullet journal cover easy or August bullet journal cover aesthetic, this post is going to give you a lot of inspiration so you can have the perfect August cover page!
This post is all about August bullet journal cover ideas!
August Bullet Journal Cover Ideas
In this post you are going to get so many fun August bullet journal cover page ideas, no matter your artistic ability!
Now get your bullet journal and continue scrolling for some awesome bullet journal ideas!
This cover combines kraft paper, gelly role, and acrylic paint to create a true masterpiece! This August bullet journal cover is one of the prettiest bullet journal covers I have ever seen!
Not going to lie to you, but I cannot tell the difference between drawings of turtles and tortoises. Regardless of the fact, this August bullet journal cover idea is so cute! If you are artistic and can handle drawing these cute little guys, this is the cover page for you.
We love a good sunflower moment, don’t we? There is something about sunflowers and August bullet journal cover spreads that go so perfectly together, that they are faultless. This theme from Mary-Grace is gorgeous, bold and super August!
If you are looking for something simple and effective, definitely try out a line-style drawing. This one from Emma is super, super pretty and looks great!
Can we just appreciate how delicious this looks. This lemon theme looks so fun and bright; definitely a great shout for an August bullet journal cover summer theme.
Koi fish are extremely summery and actually quite simple to draw! Definitely try drawing some Koi fish on paper before you draw them in your bujo though.
If you would like to see an extensive list of things I use and have used in my journal, check out my must have bullet journal supplies (great for beginners.)
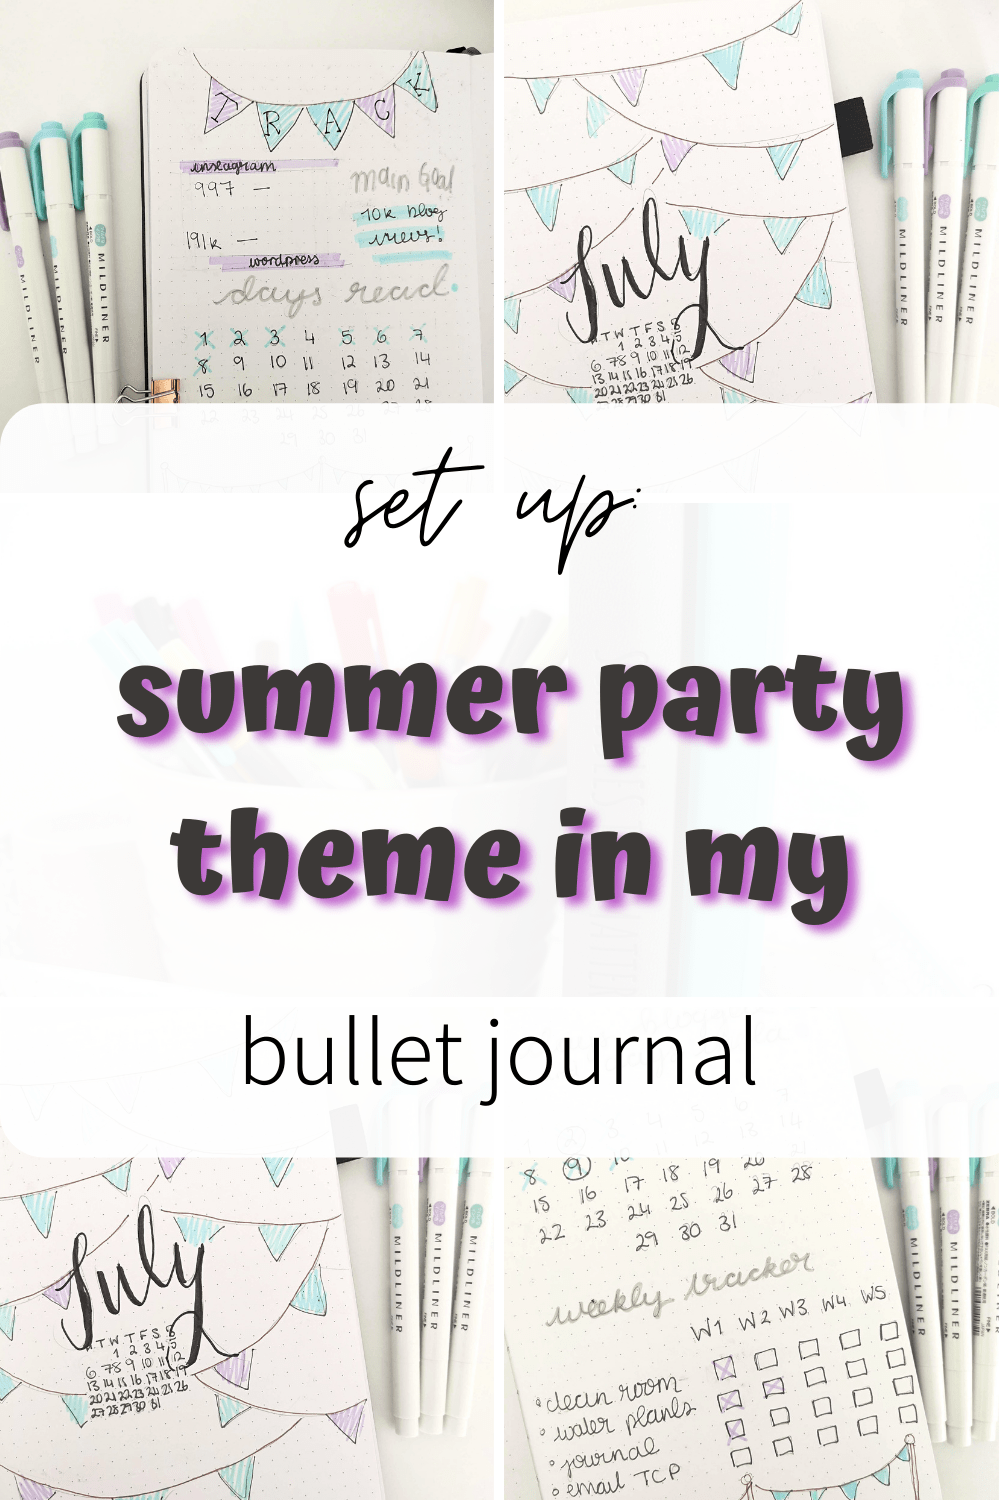
This post is sharing with you my July Bullet Journal Set Up which is a bunting and party theme.
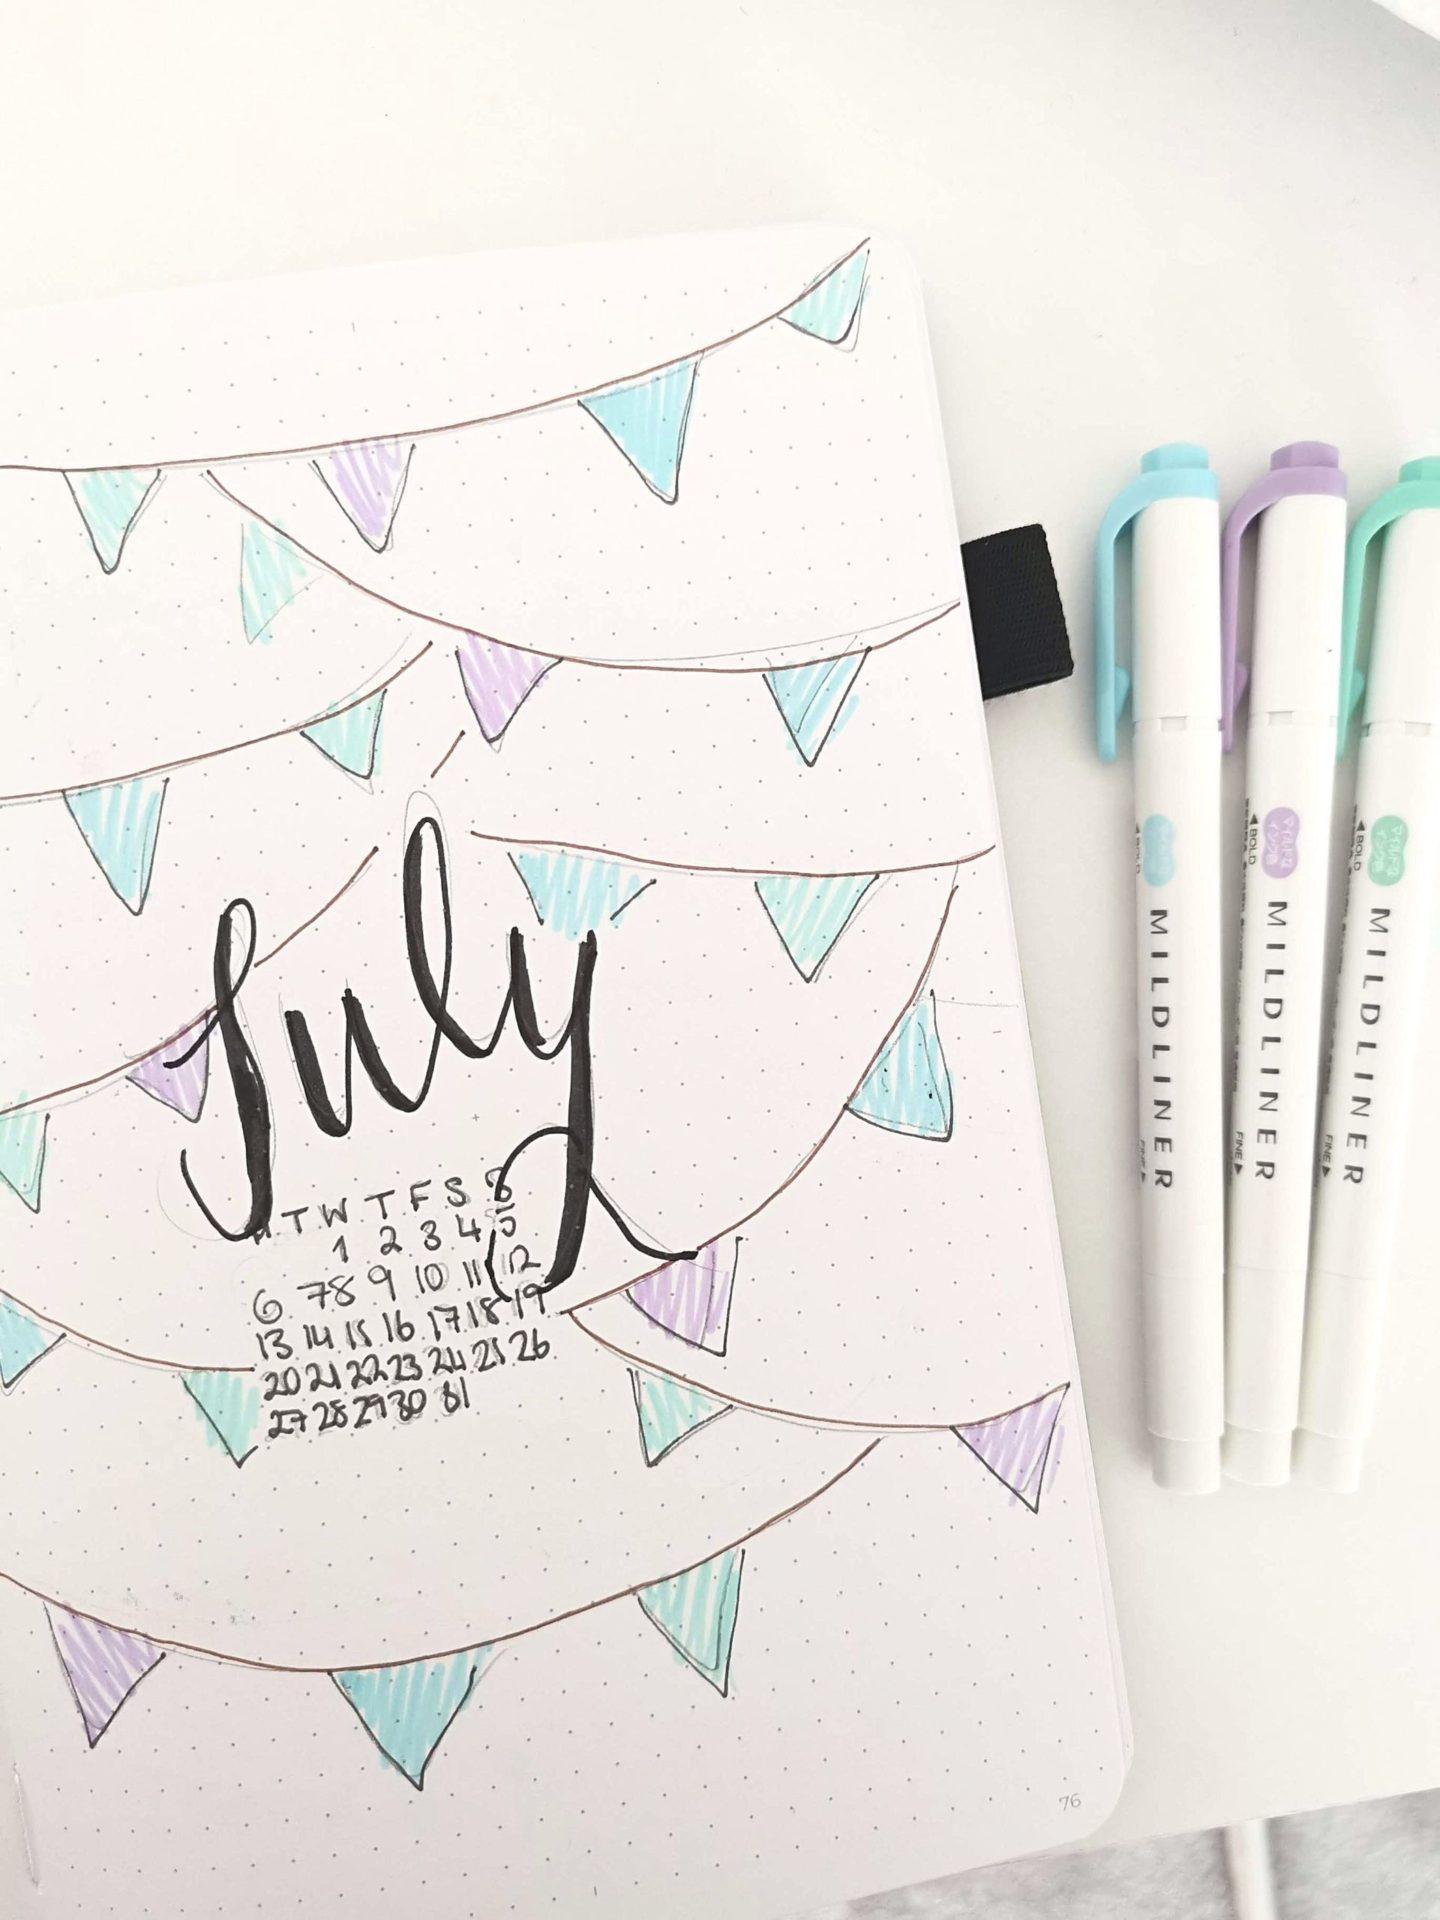
A party theme was chosen, inspired by my July Bullet Journal Cover Ideas post as I wanted something simple. July is also a month comprising of a lot of birthdays therefore, a bunting theme was perfect.
Bunting and Party Theme – July Bullet Journal Set Up
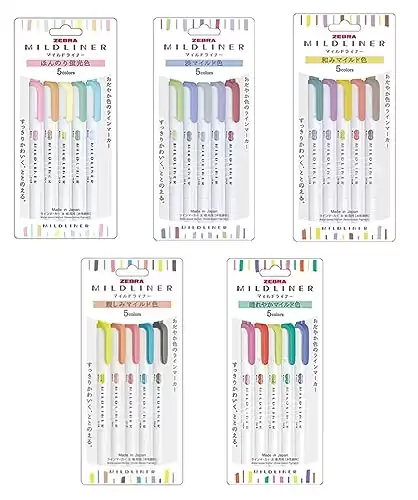
Usually if I was making a party theme I would go for brighter colours however, this month I really felt like going for some pastel shades. The pens that were used were the zebra mildliners in ‘mild violet,’ ‘mild green’ and ‘mild blue green.’ I think the colours really compliment eachother and still gives off a fun vibe. The ‘mild grey’ mildliner is used for the titles.
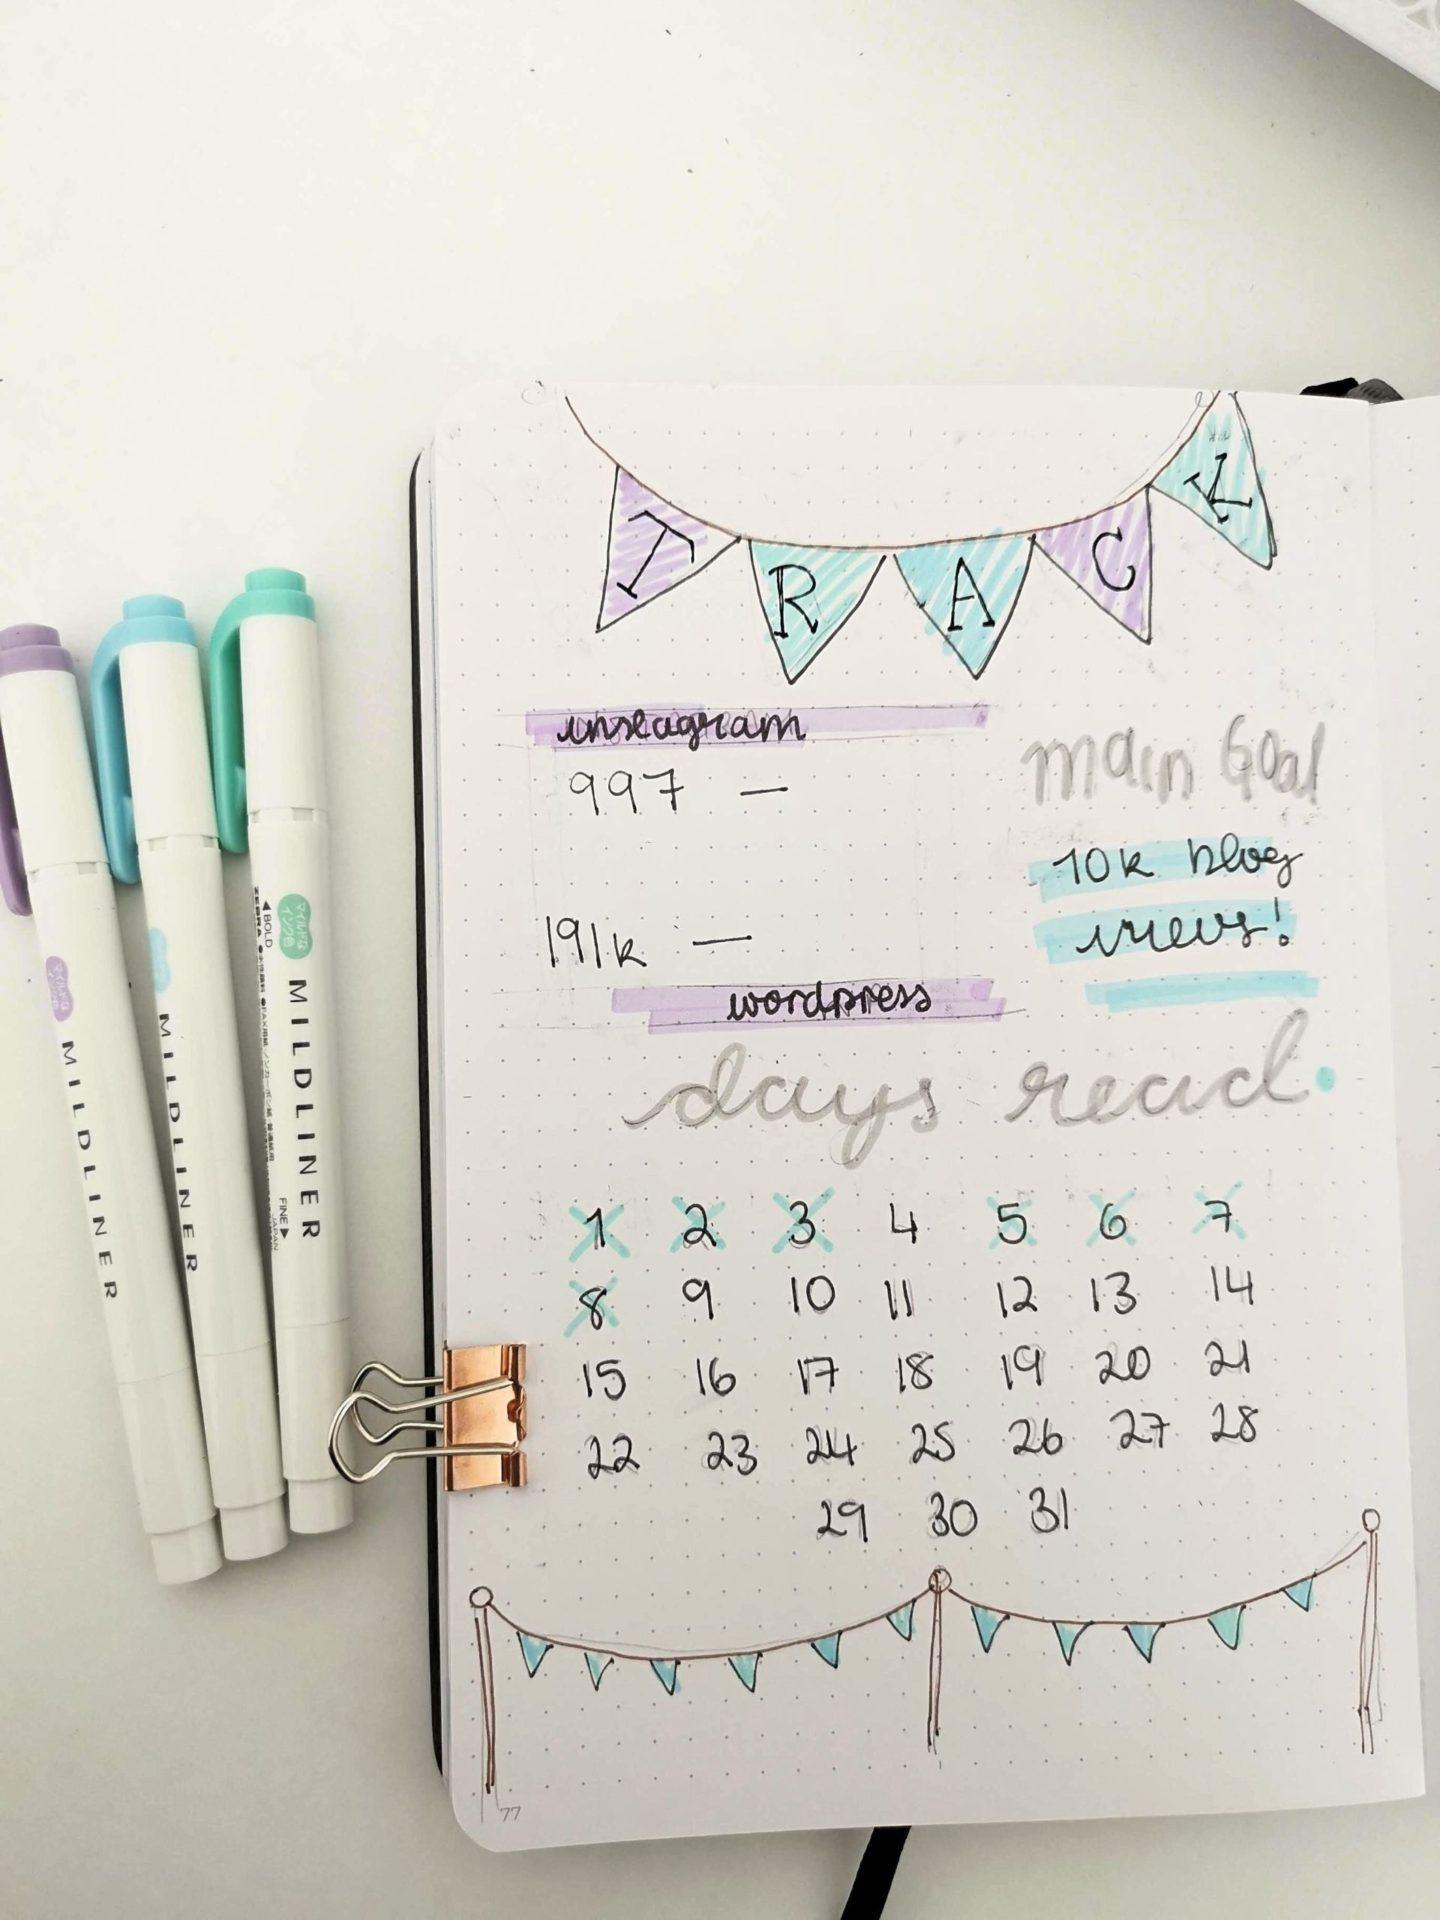
I decided to go for big habit trackers this month to make myself more accountable for blogging, reading and posting on Instagram. The ‘books read’ section follows the trackers, continuing on the bunting theme.
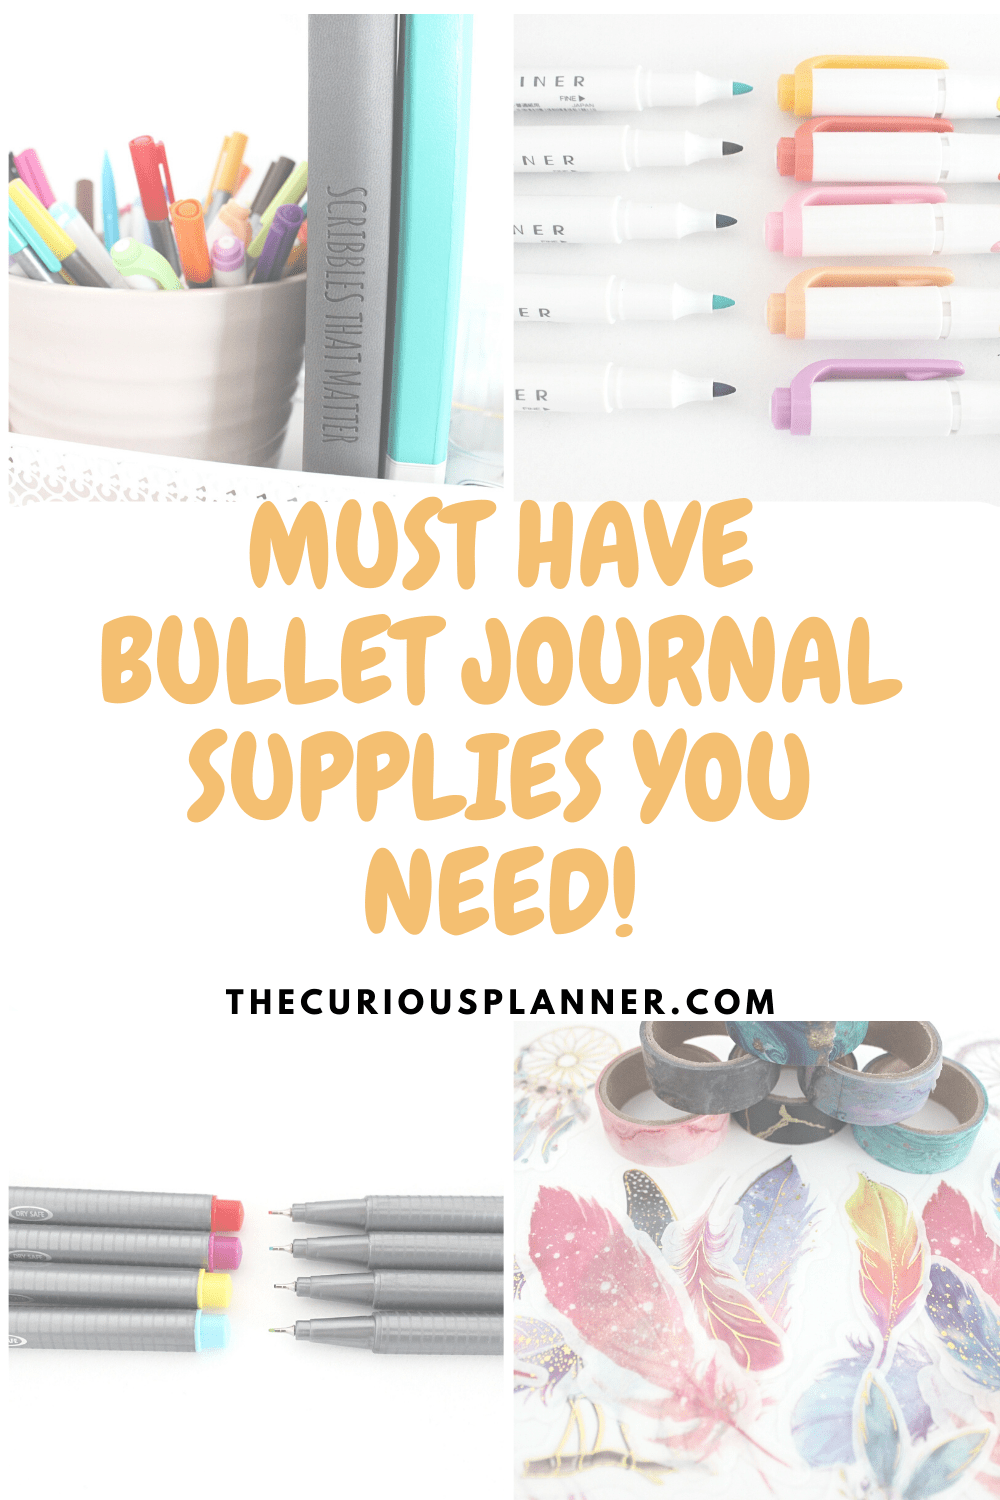
This post is all about some must have bullet journal supplies you need to increase both your productivity and aesthetic of your journal!
After five years+ of bullet journalling, 4 full journals, countless roles of washi tape and many, many empty pens later, I’m confident enough to say I can recommend some must have bullet journal supplies you need to know about as you are starting or in the middle of your bullet journal.
This post is all about must have bullet journal supplies!
Must Have Bullet Journal Supplies
Now I am not in any way coercing you to buy these things but they do help your journalling, some in terms of productivity, others in aesthetic and some in both. As a previous student, these essentials range in affordability, with most being on the very affordable side. I am going to put all of my essentials in categories, these include:
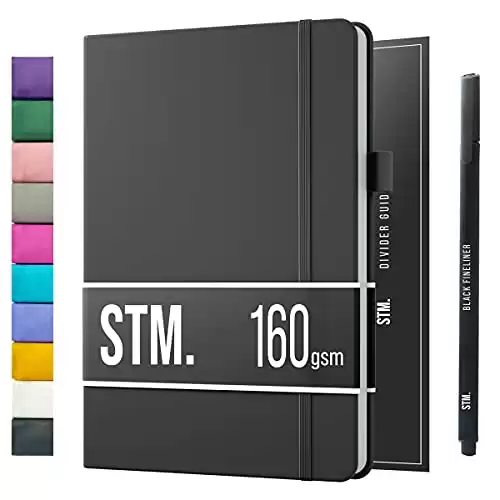
Journals
Fineliner Pens
Marker/ Brush Pens
Other Pens
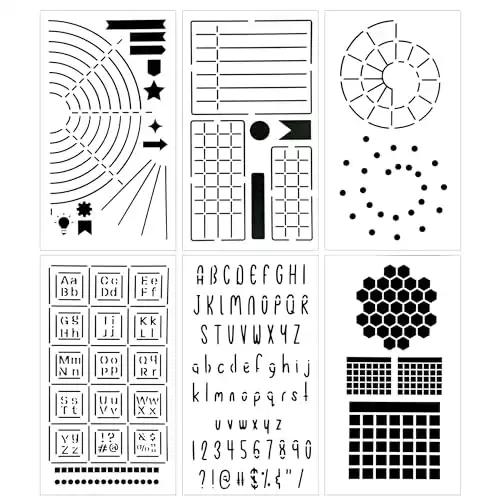
Miscellaneous (washi tape, stencils, stickers.)
Already have a bujo but want to see some pretty spread ideas? Make sure to check out my monthly theme posts – April, June and July!
1. The Ultimate Must Have Bullet Journal Supplies: A Bullet Journal
Do you get lined? Do you get a grid journal or a dotted journal? It really is up to you and what you think will work best for you. The majority of people go for dot grid journals. Dot grid eliminate any harsh lines whilst still keeping your lines straight.
There are multiple sources you can buy your journals from, each with their own pros and cons.
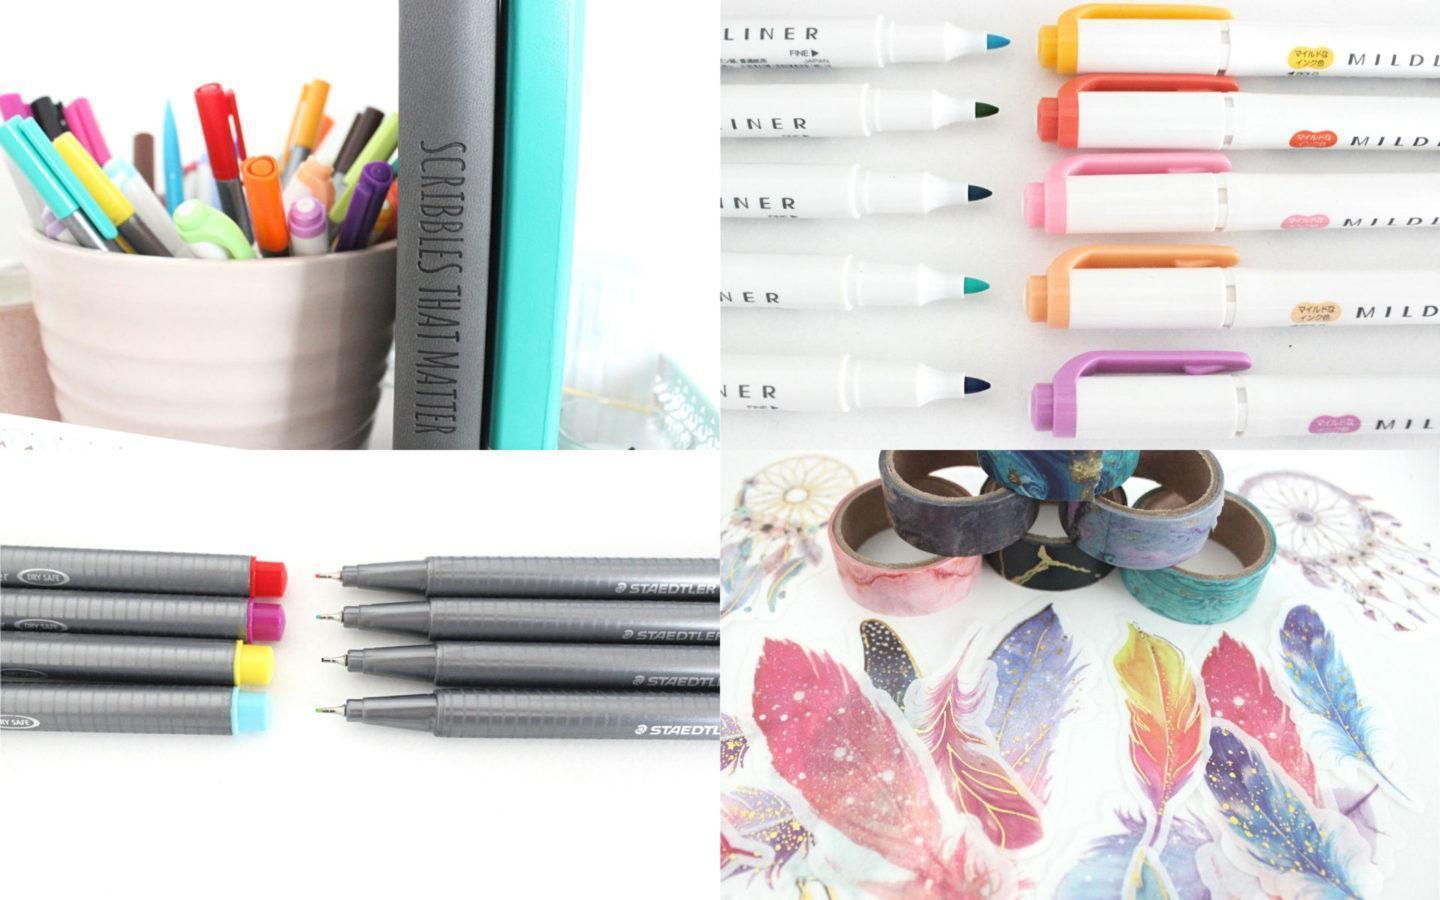
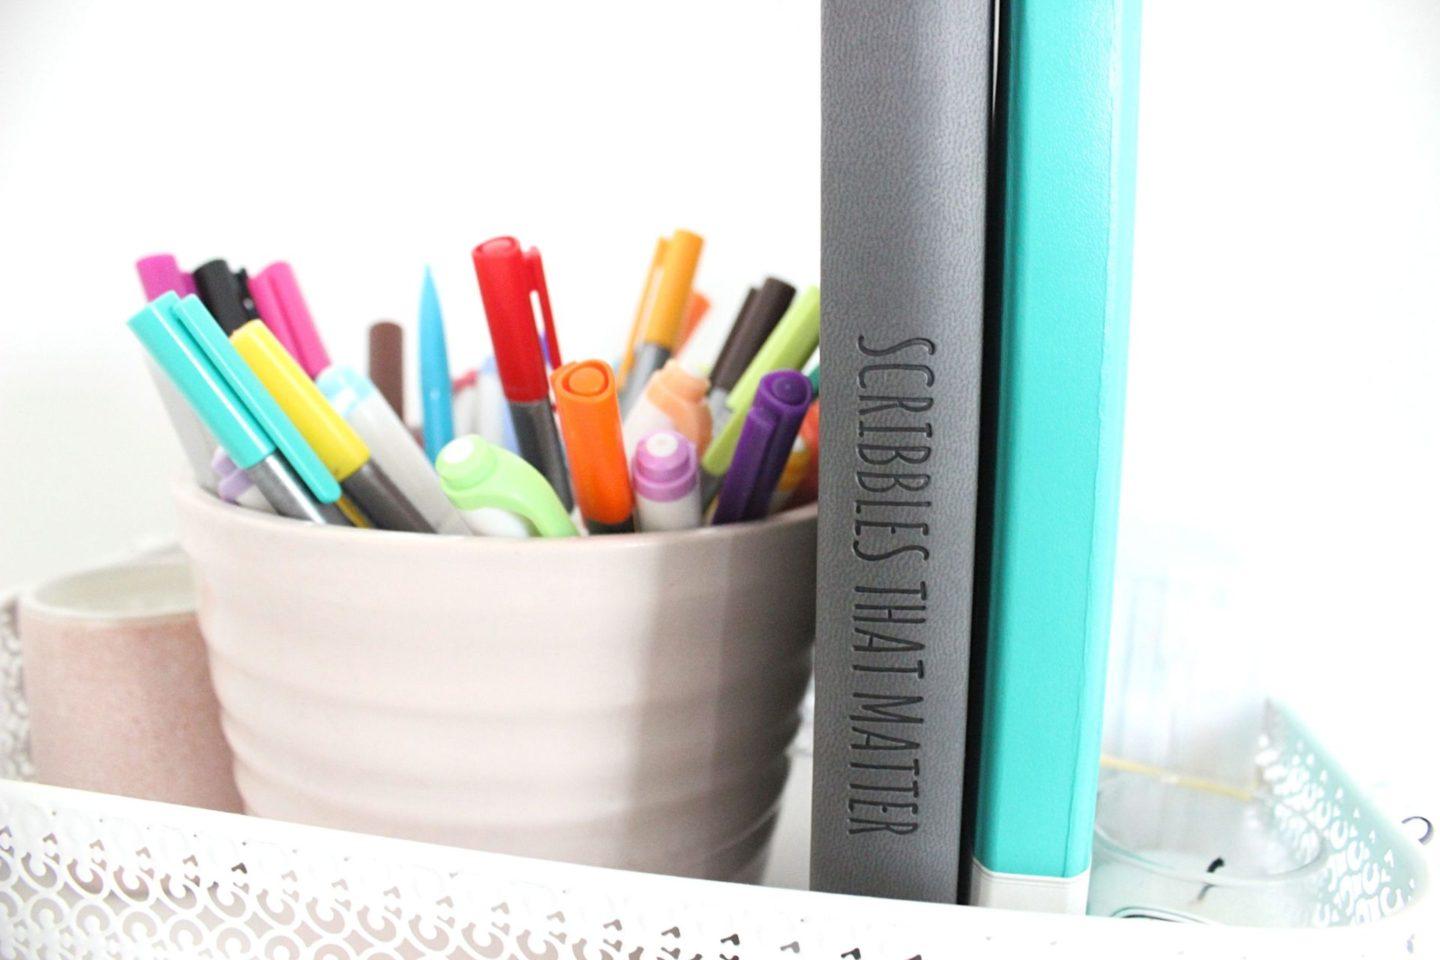
Therefore it really is up to you. I have personally had three brands of journals (leuchtturm, lemome and scribbles that matter,) where Scribbles that Matter exceeds the other two purely for its thicker and brighter pages.
2. Essential Fine Liners
I’ve learned over the years that having multiple sizes of nib for fineliners is so important for aesthetic purposes. Having said that, having fineliners is also important to help conserve space in your journal and make things appear neater and easier to read.
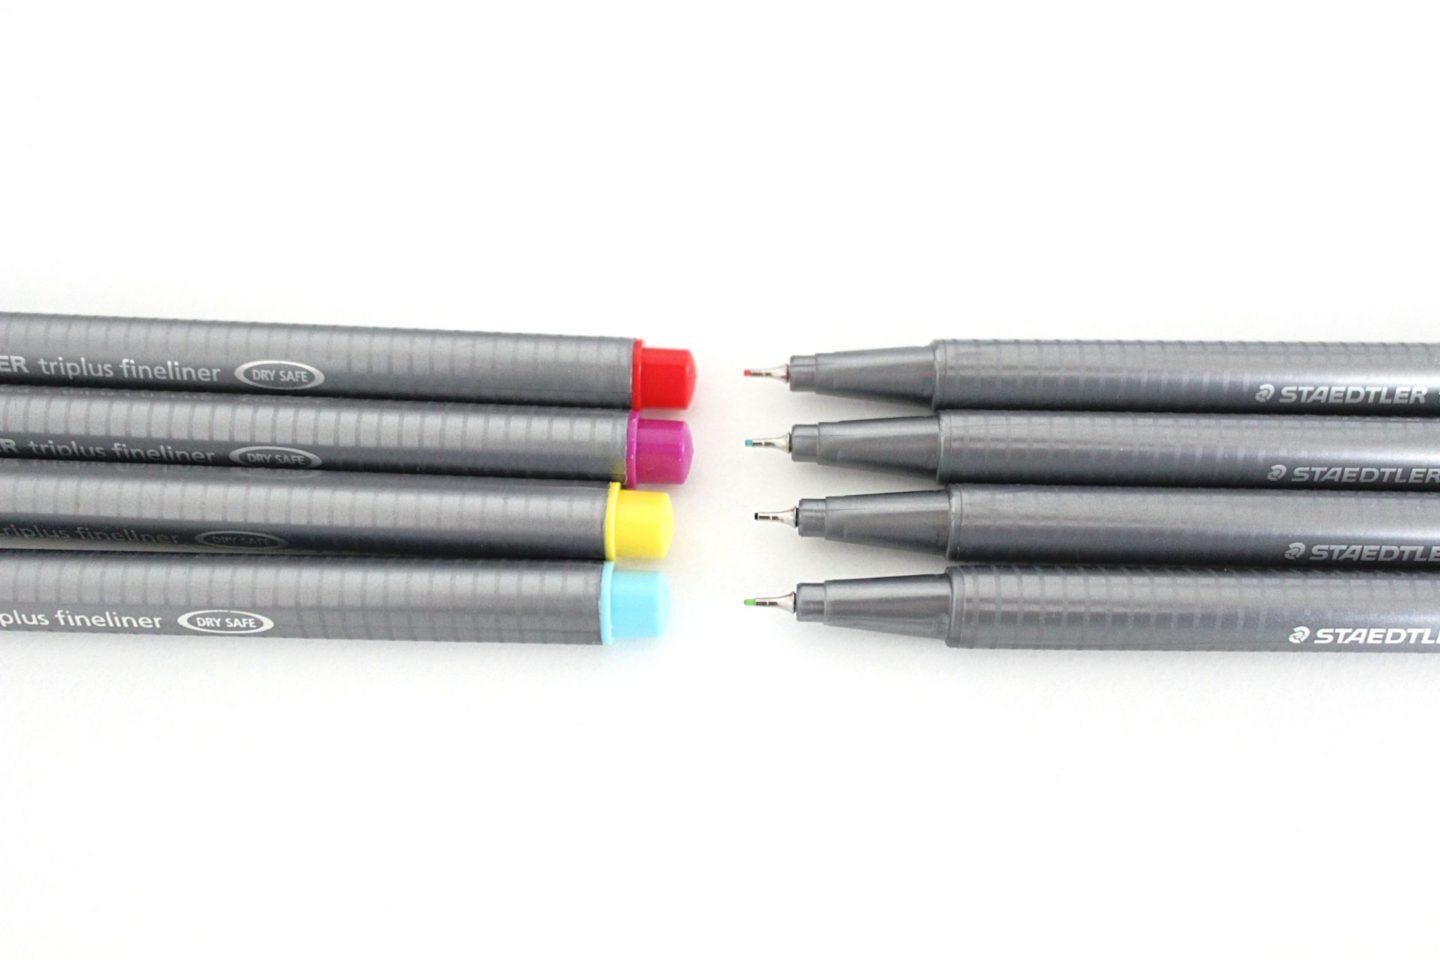
These Staedtler Triplus fineliners have been a bullet journal staple of mine ever since I started journaling. Their cheap price and range of colours appeal to a mass market of journallers and have hardly any bad reviews. These pens are so amazing for titles, colour coding, filling out habit trackers and trying to fit a number/ letter into a tiny box.
Stabilo Boss also have some cool fineliner pens, which I have not tried, but I know that some people prefer Stabilo over Staedtler.
Both the Staedtler fineliners and the Stabilo Boss fineliners have a nib of 0.4mm giving a nice fine nib.
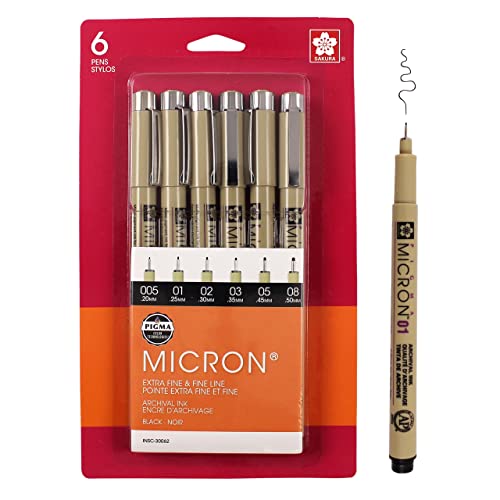
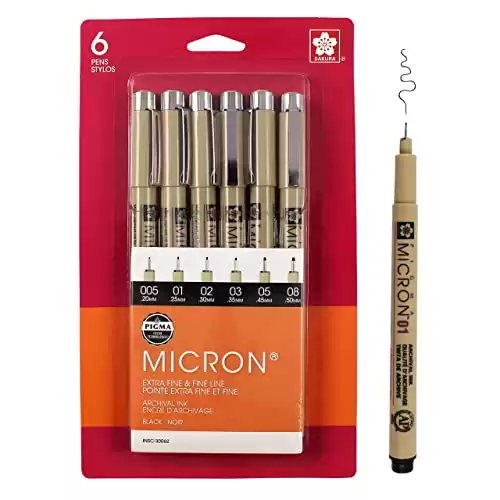
These Sakura Pigma Micron pens are amazing as they come in various nib sizes, perfect if you are someone who likes to draw in your journal and like having calligraphy in your journal. I loved these pens for the short time I had them (yes, I am still gutted I left them on the train in Paris.) They do come in different colours but this pack of 6 is all black with different nib sizes.
Similarly, Faber Castell also do fineliner pens which belong in their Pitt Artist range. I have heard nothing but good things about these pens, including their price range.
When I started bullet journaling, brush pens hadn’t quite made it onto the Bujo scene just yet so marker pens were all of the rage and still are. Marker pens and brush pens add so much to your journal; both in productivity and aesthetically. They are great for making titles, highlighting key info/ dates and making lovely spreads.
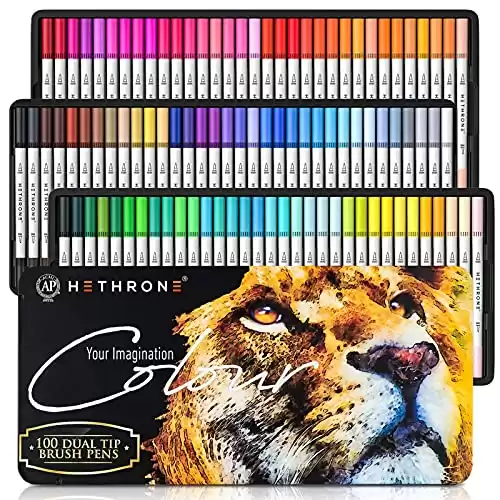
My favourite brush pens are most definitely my Hethrone Dual Brush Pens. I have not stopped raving about these. I had only ever tried one brand of brush pen before Hethrone and didn’t like that brand at all but then I tried these. For £25/ 24USD I was able to get 72 brush pens. They are so amazing and easy to work with and are great starter brush pens. You can check out the amazingess of these pens here in some of my recent bujo spreads.
Once my current brush pens start deteriorating, I am going to go with the amazing and a bit more pricey Tombow Dual Brush Pens. Everyone in the BuJo community has heard of them. Why, you ask? They are truly amazing. I have gone through two black Tombows already and I am super impressed. The brush side really does stay as a brush which is amazing as it means thy are durable and provide great writing throughout the pen’s life. The nib at the end however, is quite thick, making it more of a marker, rather than a fine pen.
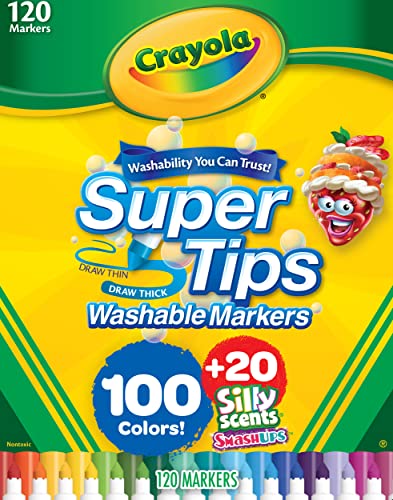
Crayola Super Tips are markers I personally have not tried but they are the most popular marker pen to use in your journal. With their extensive colour range, they also provide minimal ghosting and are widely available at cheap prices.
Where marker pens just come with the marker tip, brush pens are mostly always dual brush pens, meaning they have two tips; one a brush and one a fineliner. The great thing about both is that they are easy to write with, with the dual brush pen allowing more flexibility with calligraphy due to its flexible brush tip.
Check out these awesome markers and brush pens out:
Other Bullet Journal Must Have Essential Pens include….
The best white pen I have ever used in my journal is my Uniball Signo White Gel Pen. This thing writes on so many mediums; I love it so much. If you want a white pen so you can write on a black background to make something *pop*, get this pen.
Zebra Mildliners – I cannot believe I had been journalling for 2 years without these. If you are to get any highlighters for your journal, these are the ones. They come in so many colours and different packs have different themes. I got these three packs for £15 from Amazon and I’ve never looked back. The magical thing about these is that they are also dual pens – one side is a highlighter and the other is a marker.
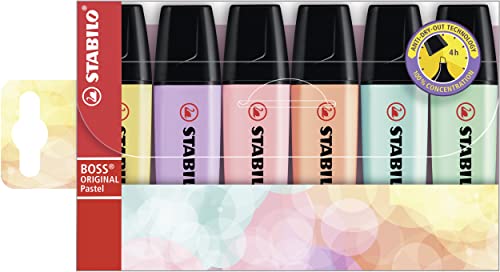
On the subject of highlighters, these Stabilo Boss pastel highlighters are a dream. They are a bit bulky to carry around but they work so well and the colours are stunning.
Post It Notes are a great tool for both aesthetic and productivity purposes. I use post its for brain dump information and things I need to do but do not have a specific date for yet. These post it’s are so cool and fun and provide a great stick. This brand is also so cute; take a look at all of their cool designs here. *honorable mention look how amazing this sticky note book is!? it makes me want to go back to school!*
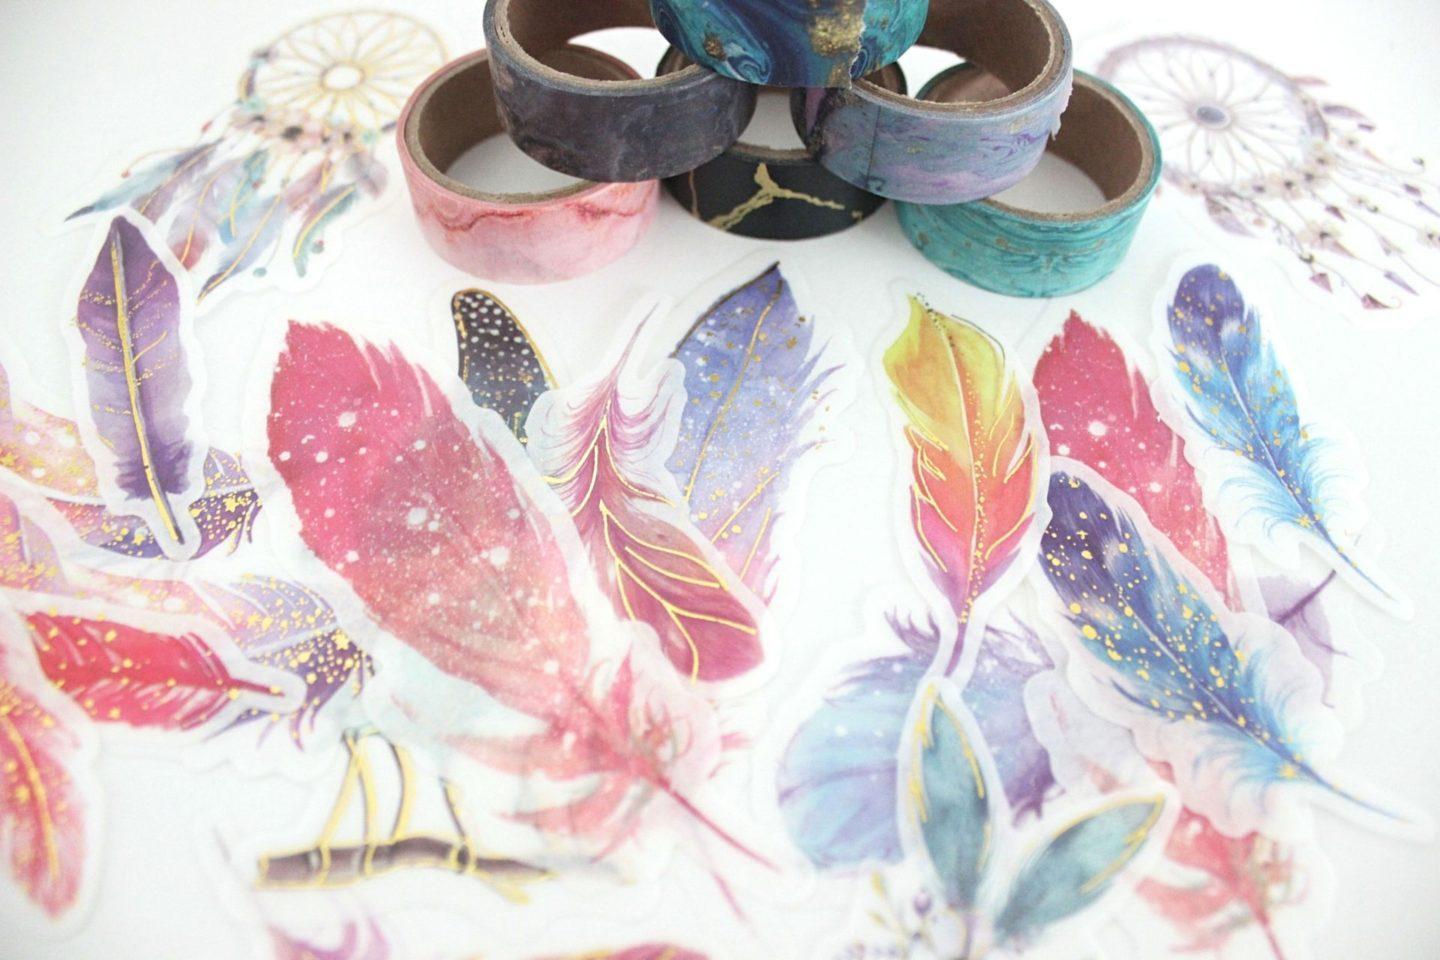
Stickers! For those like me who are not the most artistic of people or those who just want to add a bit of fun and dimension to their spreads, stickers are perfect. Now obviously stickers are really personal to the journaller but here are some of my favourites: these inspirational pink themed ones | these gorgeous butterflies | tropical leave theme |
9. Washi-Tape
Washi tape. < 2018 bullet journal community is cheering wildly at this one. My first bujo was attacked with washi tape; any free surface I had, washi tape went on it. It is such a great way to be artistic in your spreads. It acts as a divider, a border and a cover up of your mistakes. I love these packs: space theme | geometric bronzing theme | this amazing 20pack of black, white and gold tapes.
10. Tip-Ex
Speaking of mistakes, getting some TipEx may be beneficial if you do not like seeing your mistakes.
Now if you are still a bit confused and unsure about your journal and do not want to spend money on supplies you may/ may not use, bullet journal kits are great!
I’ll link a few now. These kits come with a journal, some pens and cool stickers/ washi tape.
Cocopin have a similar kit with a notebook, dual brush pens, ruler, scissors, a clip, washi tape, stencils and an organiser bag! (only on US Amazon.)
Stationery Island have a kit comprising of a journal, pen, ruler, sticker sheets and post-it notes. (Amazon UK only.)
I think I may be done… I think. Knowing me I am going to think of something else as soon as I hit publish (I should have used my bujo to plan this haha.)
I really hope you enjoyed reading aboout the must have bullet journal supplies you need, it took a while to write but we got there in the end. If you have any other recommendations that you can not journal without, leave them below! 🙂
This post was all about must have bullet journal supplies.
This post is showcasing some of the best June bullet journal cover page ideas you need to see!
I’m gonna say it; I cannot believe it is June already. Personally, I love the month of June as it signifies the start of summer, long evenings, and beach trips! On the down-low, it is also my birthday- I am not a big fan of my birthday but I like making a big deal out of it in my bullet journal.
In this post I am bringing you so many June bullet journal cover ideas, that by the end of this post you will be so inspired and have an awesome June bullet journal cover idea spread!
Naomi has done such a beautiful job with this cover page. This cover page really gets me so excited for summer! I cannot wait for sunflowers to start popping up all over the place and daylight finishing at 8pm!
I think this spread needs a minute of silence because it is absolutely stunning! This was made with watercolour so definitely be careful with that but the dutch door is gorgeous!
These blue and green florals from the gingered journal are so cute! They’re quite simple and easy to recreate and you can build your garden however you want and incorporate more colours/ florals as you go!
I have so many florals in this june bullet journal cover page but this one is, by far, the most minimalistic. If you just want something simple and effective, definitely consider doing something like this as it is gorgeous!
How cute is this? This June bullet journal cover page screams summer with all of out favourite summer fruits within this tasty looking drink. This is great because you do not need massive artistic ability for it, so it’s pretty easy to recreate.
Using some tombows, or any dual brush pen, Claudia made this simple celestial cover page. I love this idea and I am actually thinking about centring a quote page around this theme.
This summer cover page is so cool. Thrifty Journal used kraft paper to add another dimension to this june bullet journal cover page. I have done a cover page similar to this in February 2020, where I used pink, purple and blue (check it out here!)
If you are looking for a June bullet journal cover easy and simple, definitely give this a go!
Another absolutely gorgeous June dutch door cover idea from Aly! Hopefully by June, travelling will be allowed again and we can all use a spread like this to get us all excited!
How cool is this theme? I love the blues and bright red! Everything being stuck onto the page gives the cover page another dimension and just looks really cool.
I did a very similar theme for August 2020 (check it out here!) I absolutely love this theme. It is so cool and personalisable in terms of colours and sizes.
There we have it, the cutest June Bullet Journal Cover Page Ideas.
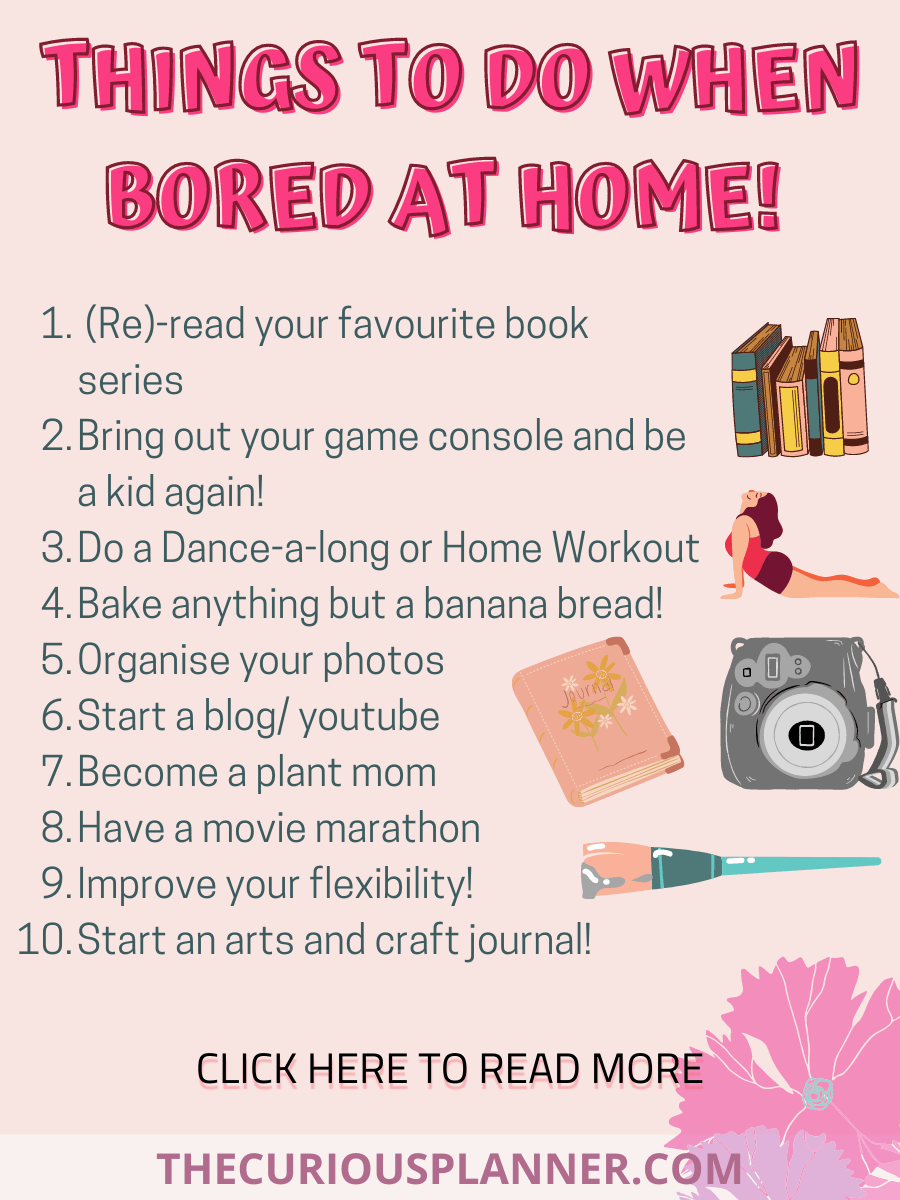
This post is all about the top things to do when you’re bored!
Bored in the house, yeah you’re in the house bored? Yes, that was definitely a reference to the famous tiktok that we can all relate to at some point in our lives. This post is in hopes, going to abolish that boredom. I am going to be sharing with you some deliciously time consuming things that will help your days in the house fly by. I am an advocate for all of these things; my days are passing very quickly because of these activities. Sit tight, grab a snack (if you haven’t eaten them already) and let me tell you about the top things to do when you’re bored in the house.
Just going to throw a little disclaimer in here, some of these activities do involve buying some things but most are totally free and are just as good at consuming your time.
This post is all about the top things to do when you are bored!
Things To Do When You Are Bored!
No matter your budget, time or space, we have an activity here for everyone!
1. (RE)READ YOUR FAVOURITE BOOK SERIES
Have a massive pile of books you need to get to? Same and I am avoiding it like a bad smell. Something that is helping me is rereading some of my favourite series which is getting me hyped to read more. Reading is such an amazing form of escapism as it provides windows to thousands of different worlds. You sit down with a good book and before you know it hours have gone by.
Audible is currently making hundreds of books free to listen to so definitely check Audible out, as is Scribd.
Some of my favourite series include: Harry Potter (I’m on the 5th book!), The Hunger Games, Throne of Glass and ACOTAR. If you want some great book recommendations, click here.
2. ORGANISE YOUR HOUSE
I cannot tell you how therapeutic this activity is. I will lock myself in my room and spend the whole day organising everything down to my sock drawer. As we are spending so much time in our houses, it’s really important that they are clean and organised to reflect positivity especially in our mindsets. My mum has even let me organise our kitchen cupboards and our utility room. The satisfaction of opening up your drawers and seeing everything in it’s place is heavenly. It will also save you unnecessary trips to the supermarket.
Hello, I am Georgia and i bought a Nintendo Switch and I am addicted to it. I have played Pokemon shield bear to completion and just downloaded Animal Crossing and I can honestly say I dreamt about fishing last night. I have spent so much time playing on my amazing Yellow Nintendo Switch Lite and I do not regret it. Pokemon and Animal Crossing are amazing games which you can visit and team up with your friends on. I highly recommend, if you can get your hands on one and it’s in your means to do so, definitely give the Switch a try. I hadn’t played any sort of video game for about ten years and now here I am. This is a major top things to do when you’re bored!
4. DANCE-A-LONGS and HOME WORKOUTS
Dancing and home workouts are a great way to get rid of all of our pent up energy and will really put a smile on your face. There are hundreds of people live streaming dance-a-longs and home workouts that you can join in, in real time. We have Joe Wicks, the Body Coach providing both PE lessons for kids and adults. We have Oti Mabuse providing a dance bootcamp everyday. One of my favourite people at the moment is Meggan Grubb, she is a fitness vlogger who does workouts everyday at 1pm UK time. Try to do these with friends, it really promotes togetherness and makes it much more fun. You don’t need much equipment for the home workouts but I definitely recommend getting an exercise mat (your knees will thank you!)
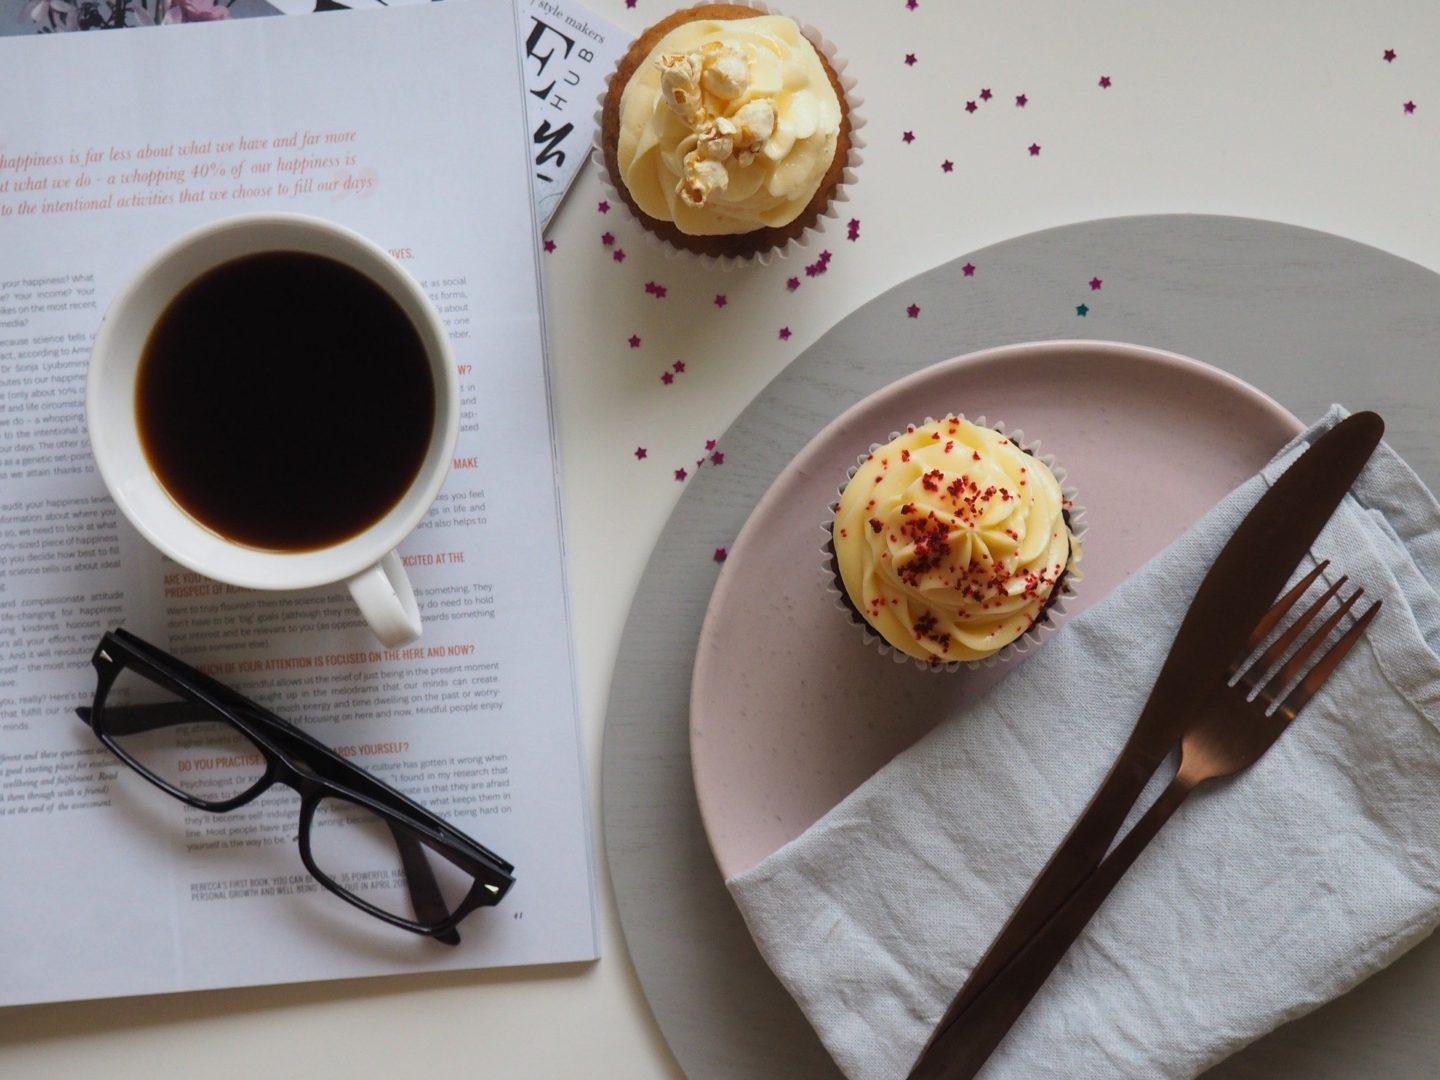
We’ve all made a banana loaf in these past two weeks but how about now we go a step further and make some cookies or even an elaborate cake. This is a fun activity to do with everyone in your house and everyone can decorate a portion of the cake/ cupcake and you can make a competition out of it. This scrumptious cook book by baking queen Mary Berry has over 100 cake recipes in it and let me tell you, the brownies are heaven!
I also made a cute little infographic that you can pin/ save to your phone!
6. TIKTOK
I had to put this one in there. I never went on TikTok before lockdown and now if I go on it, I can scroll for hours. TikTok for me isn’t addictive, its when I open the app and start scrolling, it’s so hilarious and heartwarming you can’t stop scrolling. Eventually it gets to the point of you making your own tiktoks, learning the dances and having a great time doing so. This is a great way to get yourself and your kids/ family members moving.
7. GO THROUGH YOUR PHOTOS
Take.a trip down memory lane/ Google Photos/ iCloud and delete those photos that you do not need. I need to do this but the thought of starting is so daunting because my google photos start from 2012. 8 years of photos to go through seems like an impossible task but I want to have organised photos and not 7479 selfies in a row.
8. START A BLOG/ INSTAGRAM/ YOUTUBE CHANNEL
Always been wanting to start one of these? Now is your chance to do it. The scariest thing is getting started but once you have started it and you start interacting with people and your expressing yourself in this digital way, it becomes something that you cant see yourself without. Just do it; you will not regret it. I am focusing on building up my instagram, so if you want to give us a follow click here. #shamelessplug
Processing…
Success! You're on the list.
Whoops! There was an error and we couldn't process your subscription. Please reload the page and try again.
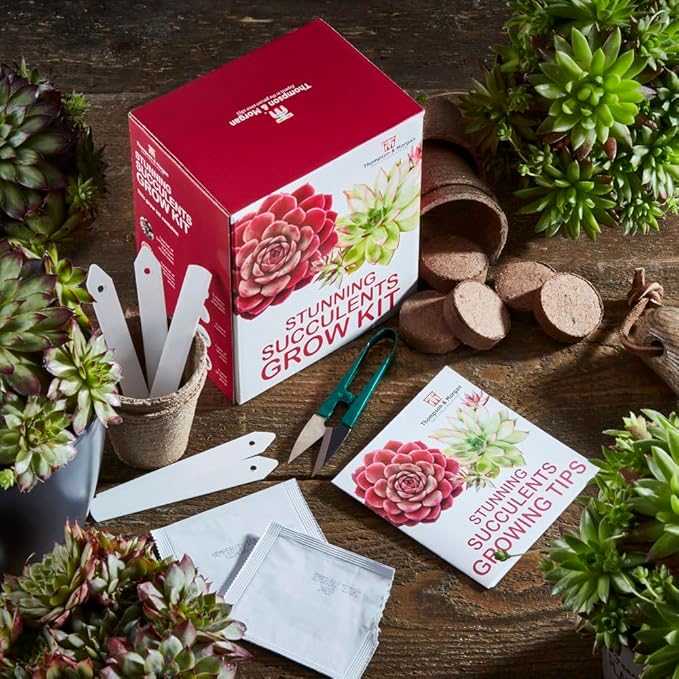
Don’t have a garden? Not to worry, my mum won’t let me anywhere near ours so I am growing and taking care of my succulents in my room. I bought one of these kits for a friend at work for Secret Santa and then bought one for myself. This grow your own succulent kit is so amazing, it comes with everything you need to grow your own little garden. There are some other really cool kits, too, like this grow your own chilly garden kit and this psychedelic salad kit.
10. HAVE A MARVEL/ DISNEY MOVIE MARATHON
With Disney+ fresh on the scene (and other websites) now is your chance to watch all of the Marvel films in chronological order. I cannot want to start my Marvel Marathon. If you are not a Marvel fan, why not do the same with Harry Potter, Fast and Furious, Star Wars and Disney films.
11. IMPROVE YOUR FLEXIBILITY
Being one of the most inflexible people that have ever lived, I have decided to start stretching to help me become more flexible and improve my overall muscle strength. I have been just searching up youtube videos which are 30 mins max before bed to help me become Mrs Incredible. This is a perfect way to distract yourself and help you wind down before bed.
12. Top things to do when you’re bored: START A JOURNAL!
You have so much free time now, why not focus that into creating a journal? This could be and art journal, a poetry journal, an everything journal or a bullet journal. I have so many posts on bullet journalling and if you really want to start one, definitely check this post out, it tells you all you need to know.
13. LEARN A NEW SKILL
This seems to be a popular choice when it comes to things to do when you’re bored. I know a few people learning to code, some learning how to draw and some people dedicating their time to learning how to knit. We have such a fantastic opportunity (maybe not the correct way to describe this situation) to invest our time into learning something that will benefit us both mentally and physically.
14. BINGE TV SHOWS
We all have a list of tv shows we have been meaning to get to. With some shows comprising of 6+ seasons (each with 20 episodes each), they have obviously been put off. Here’s your time to watch them. I think I am going to start the Walking Dead or maybe Breaking Bad.
15. GET YOUR DIY ON
I cannot tell you how great it is to do something fresh and productive to your living space. This is possibly one of the best things to do when you’re bored because you can see your progress. So many people paint their rooms in a cool way (one girl did a massive UV jungle mural on one wall) and some people are finally assembling their furniture. No matter how big or small, try your hand at a DIY project. This could be making some plant boxes, painting your walls or even completely transforming a room.
Or you can do DIYs in another way like polymer clay and make some cute jewelry!
16. MOST IMPORTANTLY… GET TALKING WITH FRIENDS AND FAMILY
Whether this be via the phone, zoom, or in person, try and make sure you talk to a few people a day. It’s no secret that this situation is hindering our mental health and spiking some people’s anxiety, depression and other mental illnesses. It is vital that we communication high to ensure that we are as healthy as we can be in this situation. Try talking to people on the phone and avoid the topic of the virus, Netflix party with people or even have your friends on a fun Zoom pub quiz (more anxiety reducing things here.) Just please make sure you talk to people.
Right, well, that’s that. I had fun making this list and coming up with fun things to do. Please let me know if you try any of these things. Also, apologies for the not so gorgeous photos, these are just what I have been doing.
As always, stay safe and get talking.
Subscribe to get a notification of each new post!
This post was all about top things to do when you’re bored
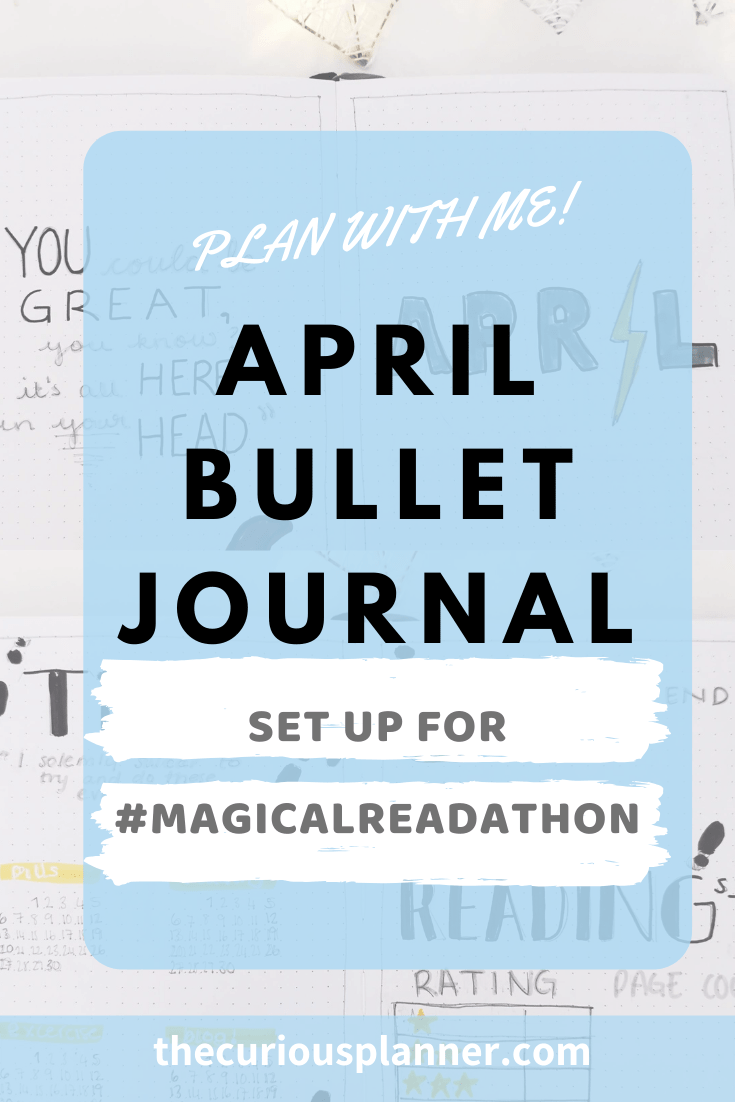
This post is showing you a great Harry Potter bullet journal theme, with great spread ideas!
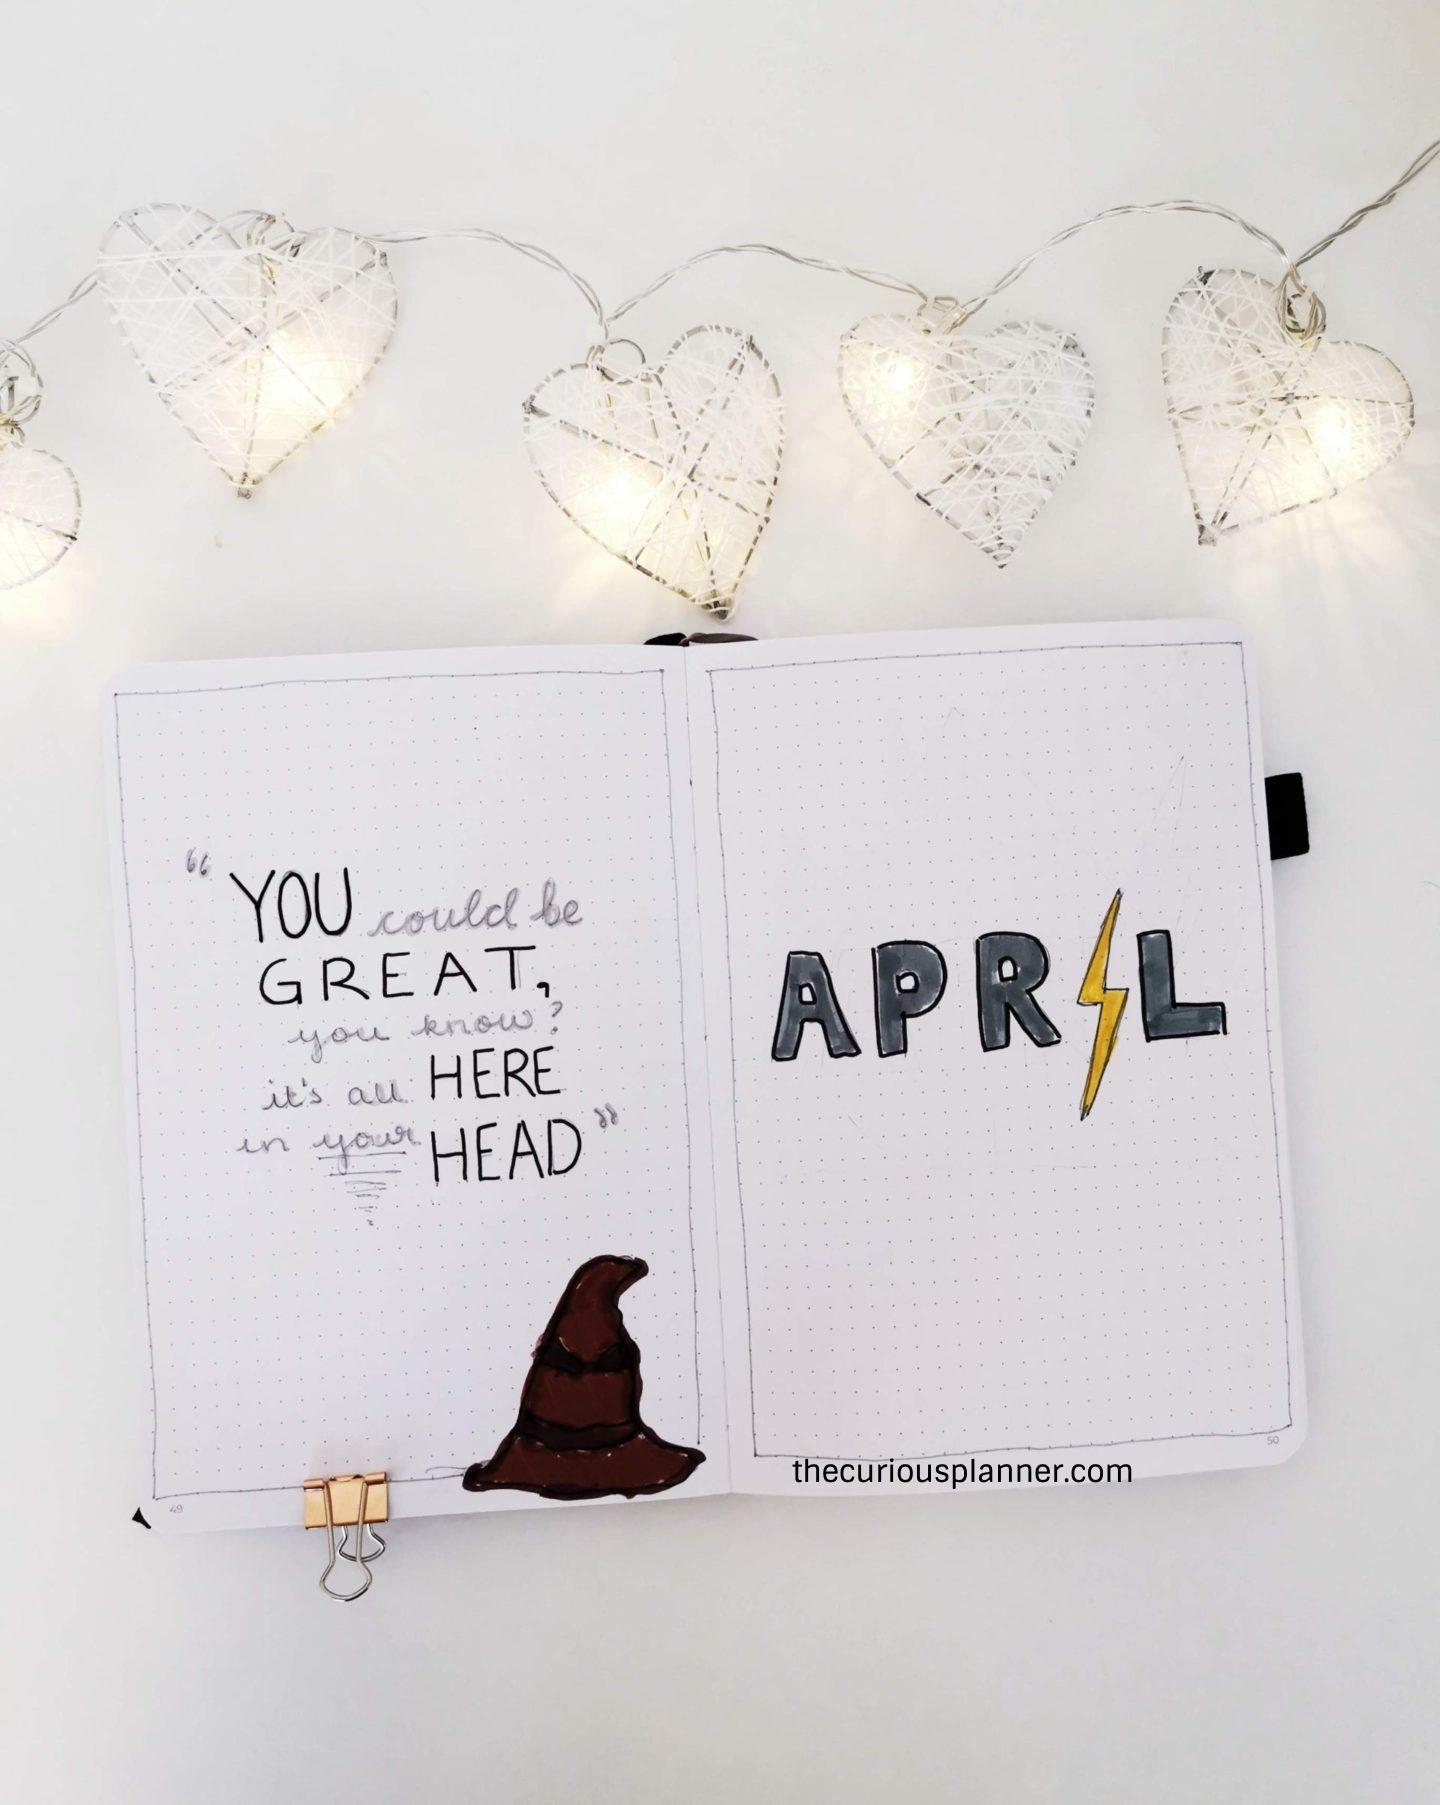
My latest post gave you a list of ideas for April themes for your bullet journal. I decided for April that I am going for a Harry Potter bullet journal theme as I am participating in the O.W.Ls readathon on booktube! This was so therapeutic for me to sit and create these spreads. I sat down on Netflix party with my friends and unleashed. They were so simple and easy to create and I hope you enjoy them.
I love this quote from the sorting hat. It’s a lovely reminder that we have mental blocks in our head, we just have to try and push through them to feel more positive and achieve our greatness! I also had to go with a lightning blot for the title page. The title page does look a little bare but I have no idea what to add to zush it up. If you have any ideas please let me know.
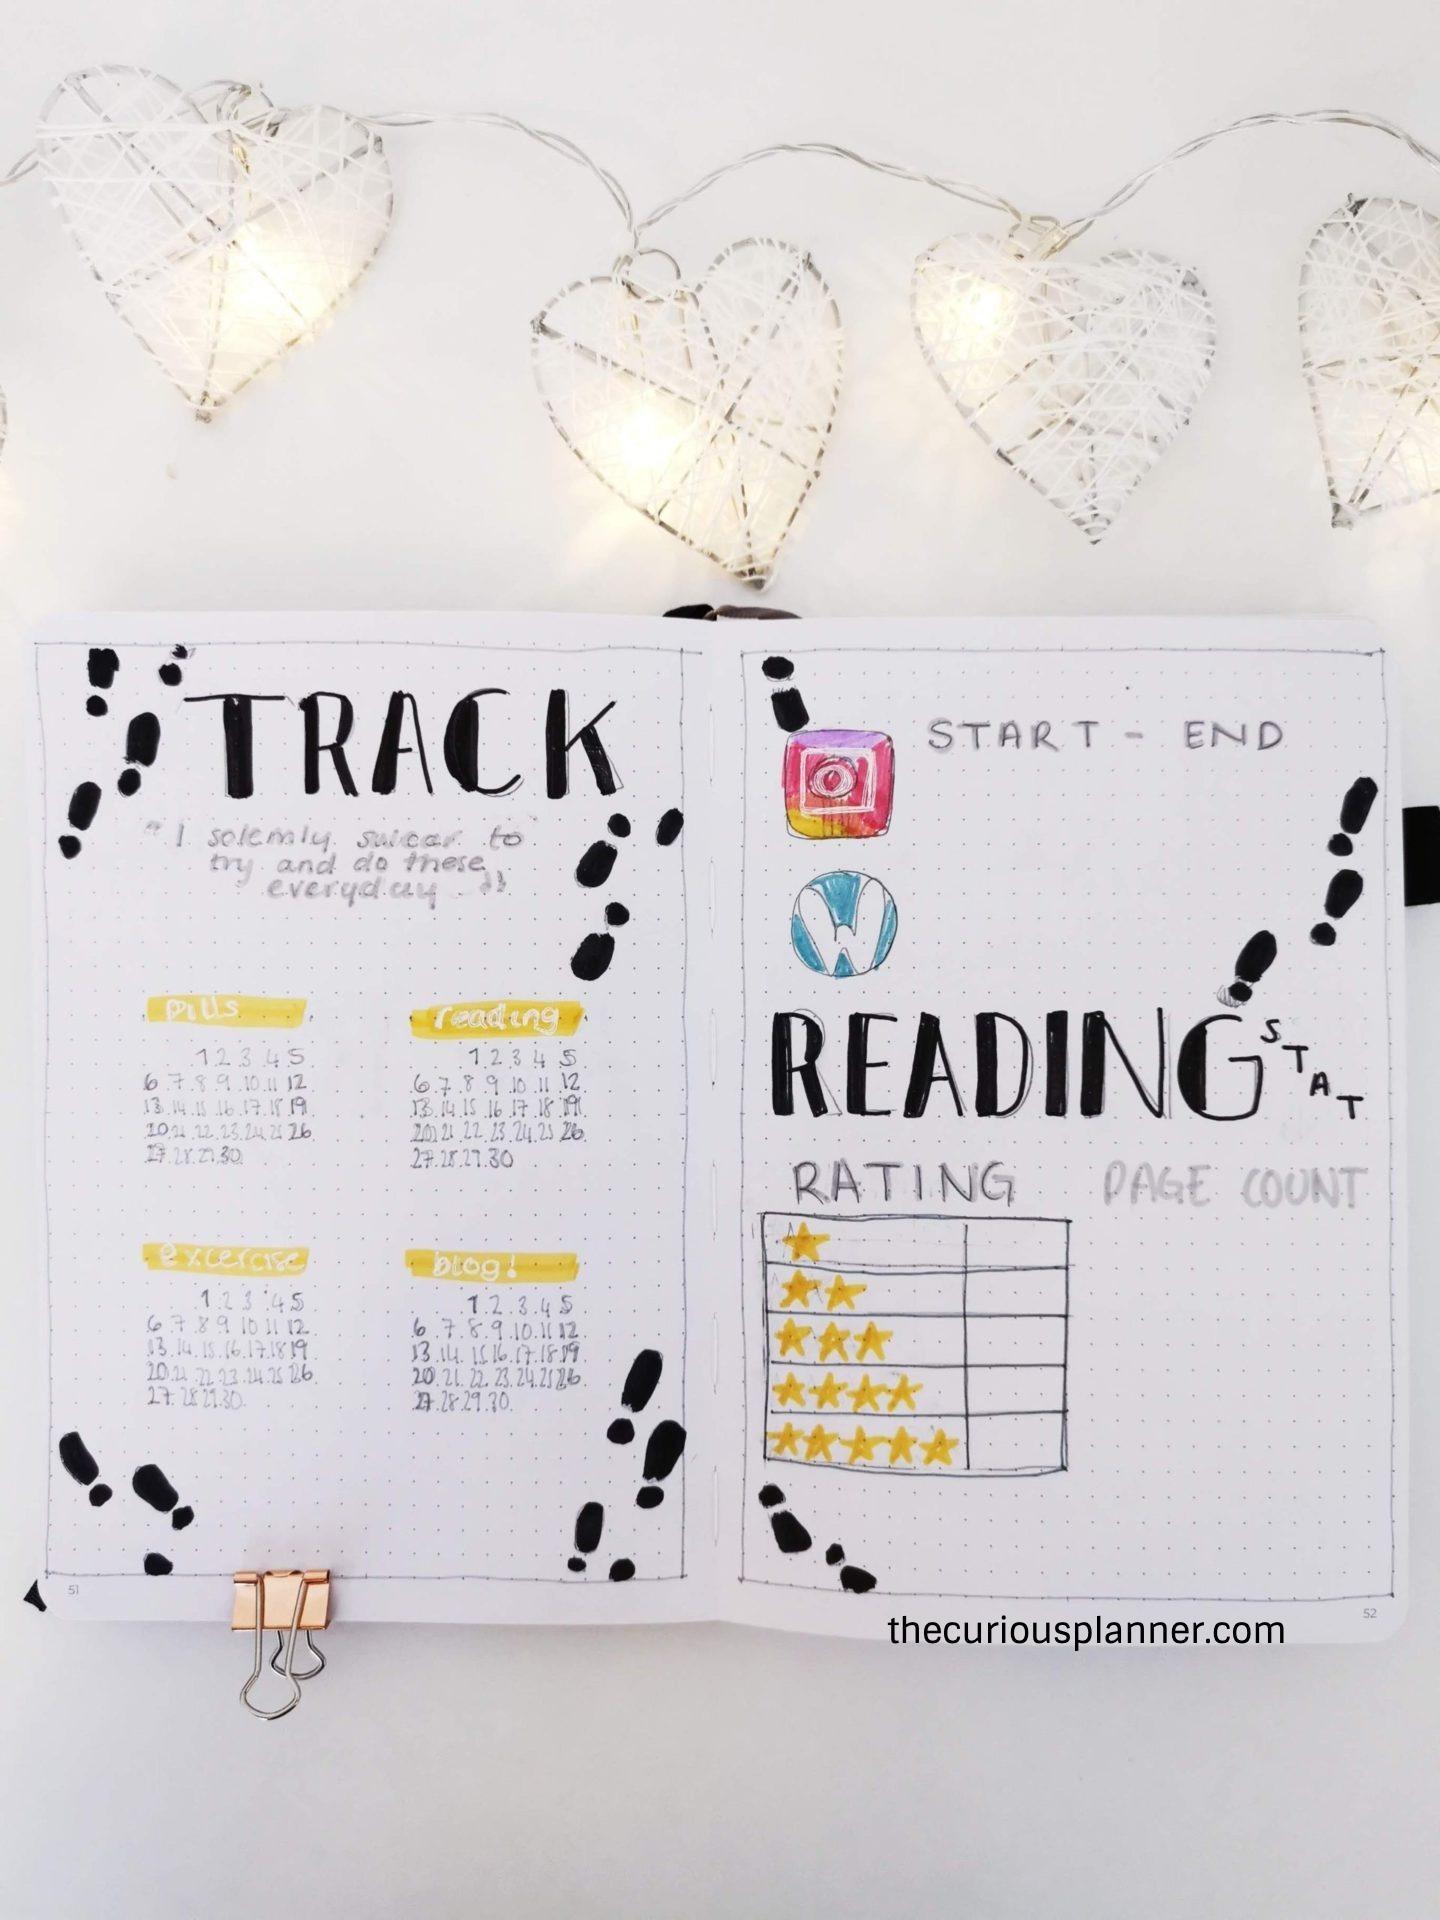
This page is so colourful and I love it! I am a huge fan of the yellow accent, using my amazing mildliners to add much needed pops of colour. This month, unlike previous months (here), I have decided to track my reading stats as I am participating in the readathon! As I am a huge fan of tracking things so my reading stats will be cool to look back on.
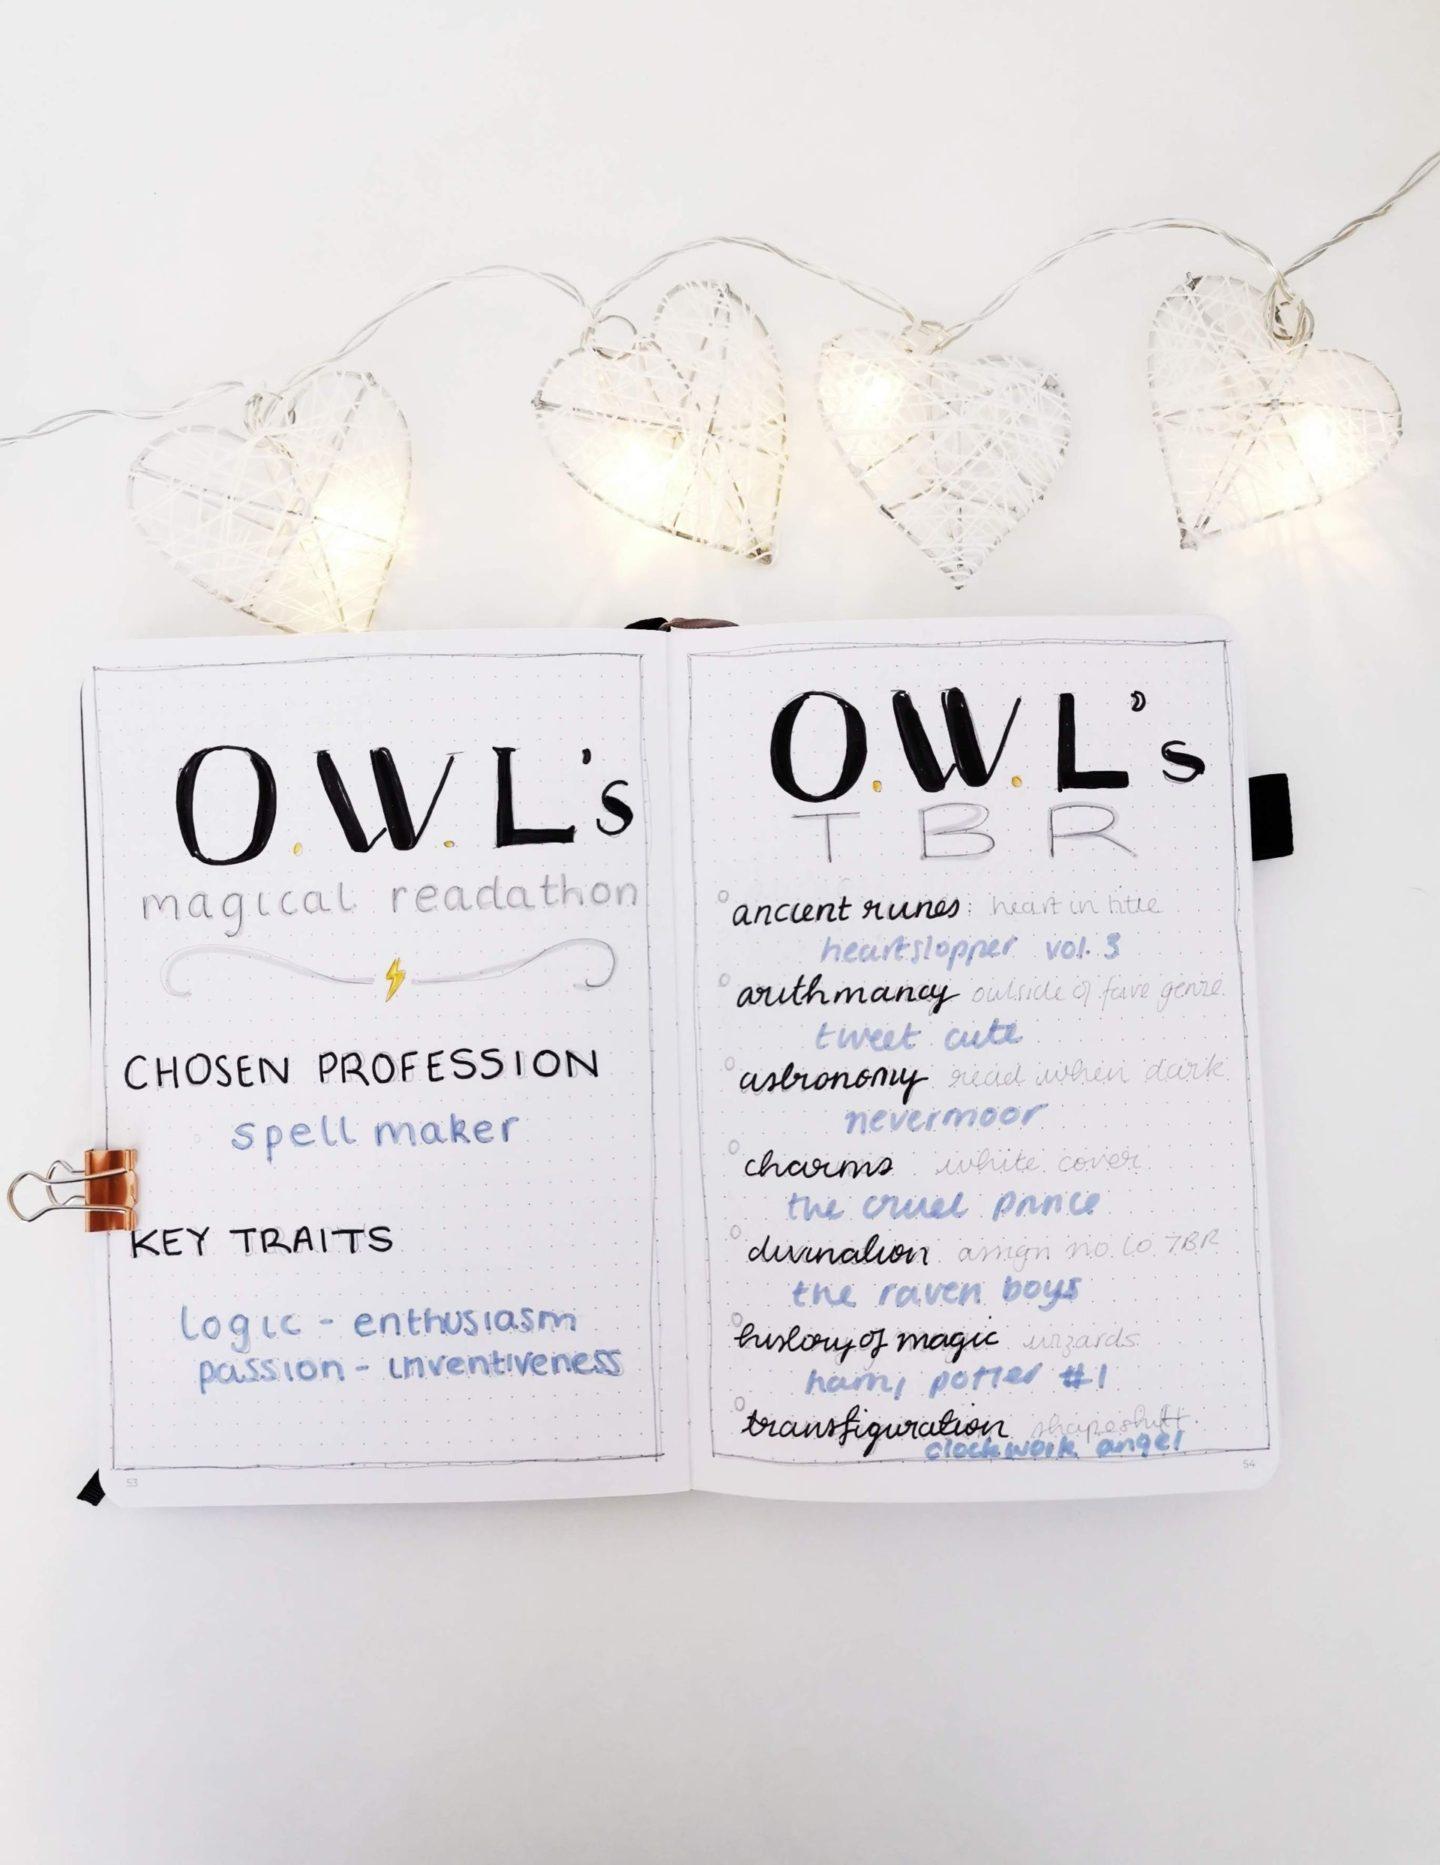
I am so excited to read the books on my TBR for the magical readathon, especially Harry Potter and Clockwork Angel (which will both be rereads.) I fell in love with my tombow dual brush pen whilst making the owl title and can’t wait to get more.
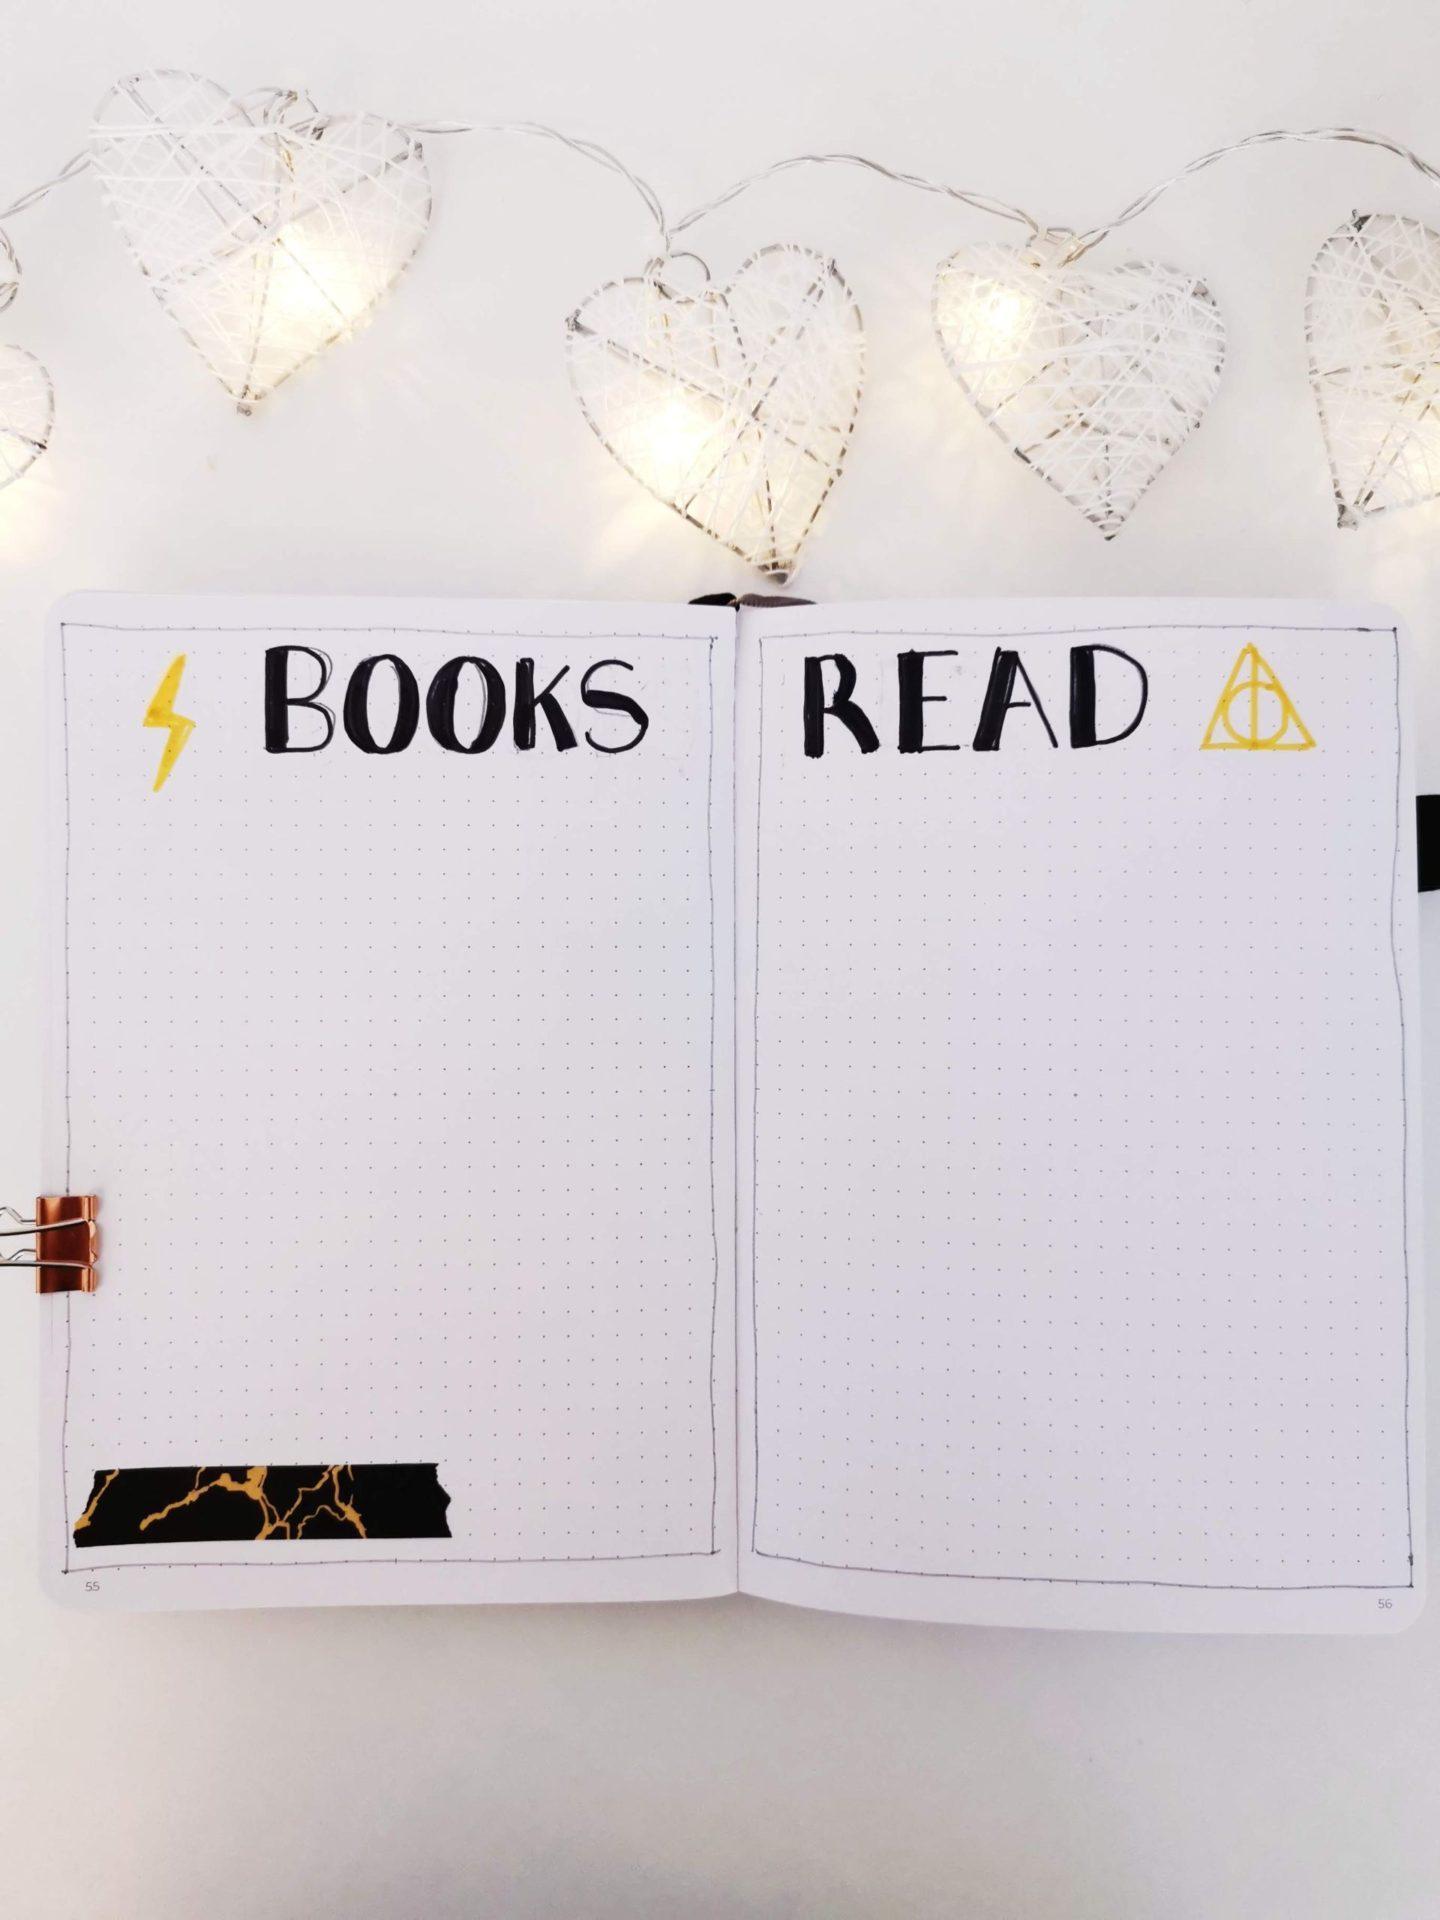
I immensely enjoyed creating these spreads. They were super simple to make so that means anyone can create them. I love the simplicity and pops of colour in my Harry Potter Bullet Journal theme. I’ve got to say this may be my favourite month to date (surpassing my cotton candy and leaf theme!)
I would love to see your April set ups so please link them below.
This post is all about how to get straight As in A-levels.
We’ll be teaching you how to secure those As or whatever grade you want for your A-levels through organisation and awesome revision techniques.
A-levels were the most difficult exam season I have ever completed (and I have a Chemistry degree!) The amount of work and time you have to dedicate to each subject is a full time job in itself, so when you have three to revise for it’s almost impossible to achieve. I said almost because it is possible to get the grades you need, with dedication and this guide. Now you may not be aiming for all As but the steps in this guide will ensure you succeed. Here’s how to Study and How to Get Straight As in A-Levels: Science Edition.
I took Chemistry and Biology as 2/3 of my A-level options and they required so much attention, especially biology. Therefore I am saying this in the kindest way possible….
GET RID OF YOUR PHONE AND ANY DISTRACTIONS OTHERWISE YOU’LL FAIL
Okay that was a bit dramatic but all jokes aside, your phone is a massive distraction and you will not preform as well as you would like to if you don’t leave it alone.
During my A-levels I used the app Forest (read about it here in my Free Apps that increase your productivity) which stopped me from going on my phone. You’ll also have to turn off whatsapp on your macbook and facebook notifications. Apps consume so much of our time, it’s ridiculous and not needed in A-levels, thank you very much.
Now you have gotten rid of these distractions, how are you supposed to revise and get straight As? Here are my magical steps.
1) Get Organised
My bullet journal saved my academic life therefore, I cannot express this point enough. Due to the heavy workload you’ll need some sort of calendar/ diary to plot out your revision. During my A-levels I scheduled a topic per day for both chemistry and biology and once the course was completed I’d start over again. My bullet journal was an excellent tool which helped me out. If you don’t know what a bullet journal is or how to start one, click here for my guide! You’ll also need a planner to help you keep track of all assignments, homework and work you are doing as you revise as well as, other social commitments (or work…. boo.)
Make sure you carve out an extra hour or so a day (not including your free periods) to catch up on any notes. Make sure you never go into a new week with uncompleted notes/ work from the previous week because let me tell you, it will snowball out of control.
This academic planner looks amazing (better than what your school will give you) and is totally worth checking out. It has great organisers within and will help you stay on track of most things.
It also comes in multiple designs if this one is not to your liking.
As briefly mentioned above, timetables are a great way for you to stay on track and make sure everything is done before the exam. Be realistic though; you can’t thoroughly go over the whole of unit 4 chemistry in an hour. Make sure every minute of your revision time is accounted for and squeeze in 20 minute breaks as well, which is highly important. Make sure to prioritise the subjects you find the most difficult as these will need more time to understand and revise.
Before exam season your timetable can be used for note preparation and homework. This makes sure you have everything completed before the mad revision rush.
I strongly recommend placing your timetable somewhere where you can see it constantly. This means you are less likely to procrastinate because you are staring at it lol.
These wall planners are an amazing tool for doing just that.
Click here to find out how to get straight As in any subject!
These revision tips suit all types of learners; no matter which learner you are there are a few revision tips for you. These revision techniques can be implemented during the note-taking stage (eg. as you are first learning the content) or during exam season. Of course doing these things before exam season can save a lot of time, they can still be implemented during exam season as they are all great information and factual recall techniques.
Flashcards
Throughout my A-levels to the completion of my degree, flashcards were used religiously. These are a great tool for factual recall, equations and exam style questions. Go through all of your notes, textbooks and exam questions and ask yourself questions on one side of the flashcard and then put the answer on the other side.
For example, biology has a bunch of terms and processes such as, the Kelvin Cycle. What I would do was put ‘describe the Kelvin Cycle’ on one side and then a descriptor/ diagram on the other side.
I made these packs a month or so before the exam (they take forever, so start early) and would carry them around with me everywhere to test myself whenever I had a spare minute.
I had these great ring-binders which held my flashcards (they are currently £0.89p for 100!) which allowed skipping through the flashcards easily and I could separate them by topic.
If you are an audio-learner, recording yourself speaking your notes is a great way to revise. It makes sure you understand the content as you are speaking it aloud but also has you speaking the content before you hear it. You can effectively revise whilst brushing your teeth, on your walk to school and whilst shopping.
For example, after you have learnt all about fractional distillation, go home, describe it to yourself over and over again for about ten minutes and then record yourself saying it. Therefore, when exam season is approaching you have already described it in a way you understand and listening to it will refresh your memory.
Mind Maps
An old GCSE fave that really works. This method helps you organise your thought process. These are really good for brainstorming that dreaded biology unit 5 essay and applying your knowledge through the whole of Chemistry. I used to buy this A3 paper from Amazon and draw mind maps for every sub-topic, making sure that I remembered everything as I drew them so many times. Also with a mind-map you can see how easily everything links which helps in the application questions.
I recommend making a master mind map whilst looking at your notes and then emulating that over and over again without looking at your notes.
Repetition
I bought a big whiteboard and pens (again from Amazon) for the repetition technique (this saved me a bunch of paper.) I mainly used this technique for chemistry equations and biology processes such as, the heart and menstruation (oh god, and all of the cycles o_o; yes my mind has blocked out those horrors.) This will also be great for maths and physics for all of the graphs and diagrams that need to be drawn. I love whiteboards because they’re so simple to write things down on and rub them out again. The more you write them down, the better your memory is.
Colour Code
Colour coding really is a great way on how to get straight As in your A-levels. Assigning different colours in your notes and mind maps helps you distinguish between key pieces of information. For example, assign blue for key definitions (did you know you are most likely to remember things more if you write in a blue pen?), pink for equations and green for processes. These £3 staedtler pens are so affordable and I used them religiously. I also LOVED the Stabilo pastel highlighters!
Past paper questions
The best tool out there. These questions help you get to grips with how the examiner is going to ask questions and how they want them answered. Make sure to do every past paper and really understand how the examiner wants them answered. Read the question carefully because one slight word change can have you dropping those all important marks. I had a past paper tracker that helped me keep track of my grades, which also really helped.
Remember
Please remember to take breaks. Your brain needs time for everything to sink in. You are not a machine and cannot be sitting at a desk for 5 hours straight; it’s not healthy for your mental health. Every hour or so get up and take a walk (or go to Starbucks like i did!) Reward yourself every night with an episode of your favourite netflix show and take a long bath. Get to the gym and take out your frustration on magnets on the treadmill. You will be in such a better headspace to do well if you are happy. Self care, baby.
The key on how to get straight As in A-levels really does lie within this post. You need to really find it within yourself to stick to it and utilise every resource given to you. Keep the end point in site because you will get there. Your hard work will pay off.
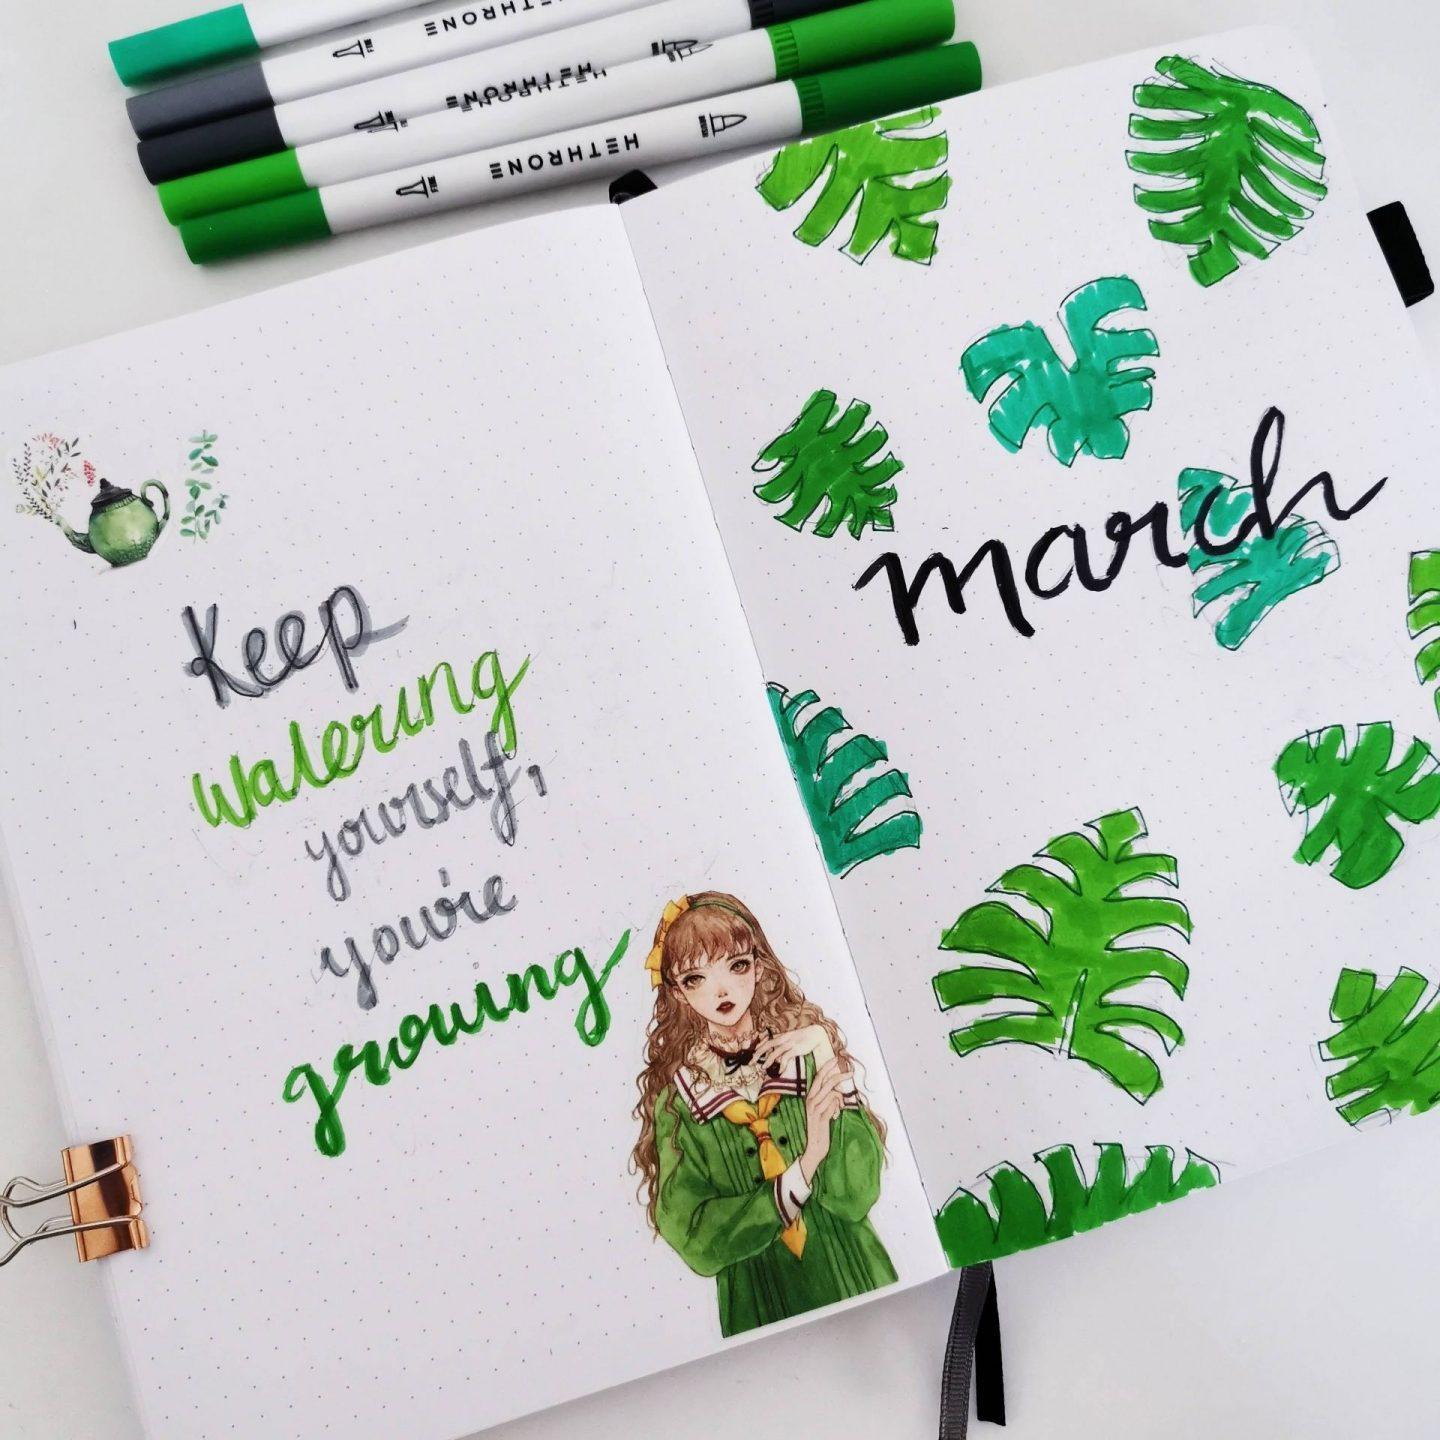
This post is letting you in on my March bullet journal spreads!
Welcome to my March Bullet Journal Set Up. I am so excited to be sharing my set up with you today as it took me forever to complete. I opted for a leaf theme this month as March symbolises the start of spring. Thankfully, Amanda Rach Lee posted her March set up as soon as I sat down to do mine. I did end up taking a little inspiration from her, which you will see below, in the leaves and quote but the rest of it came from me.
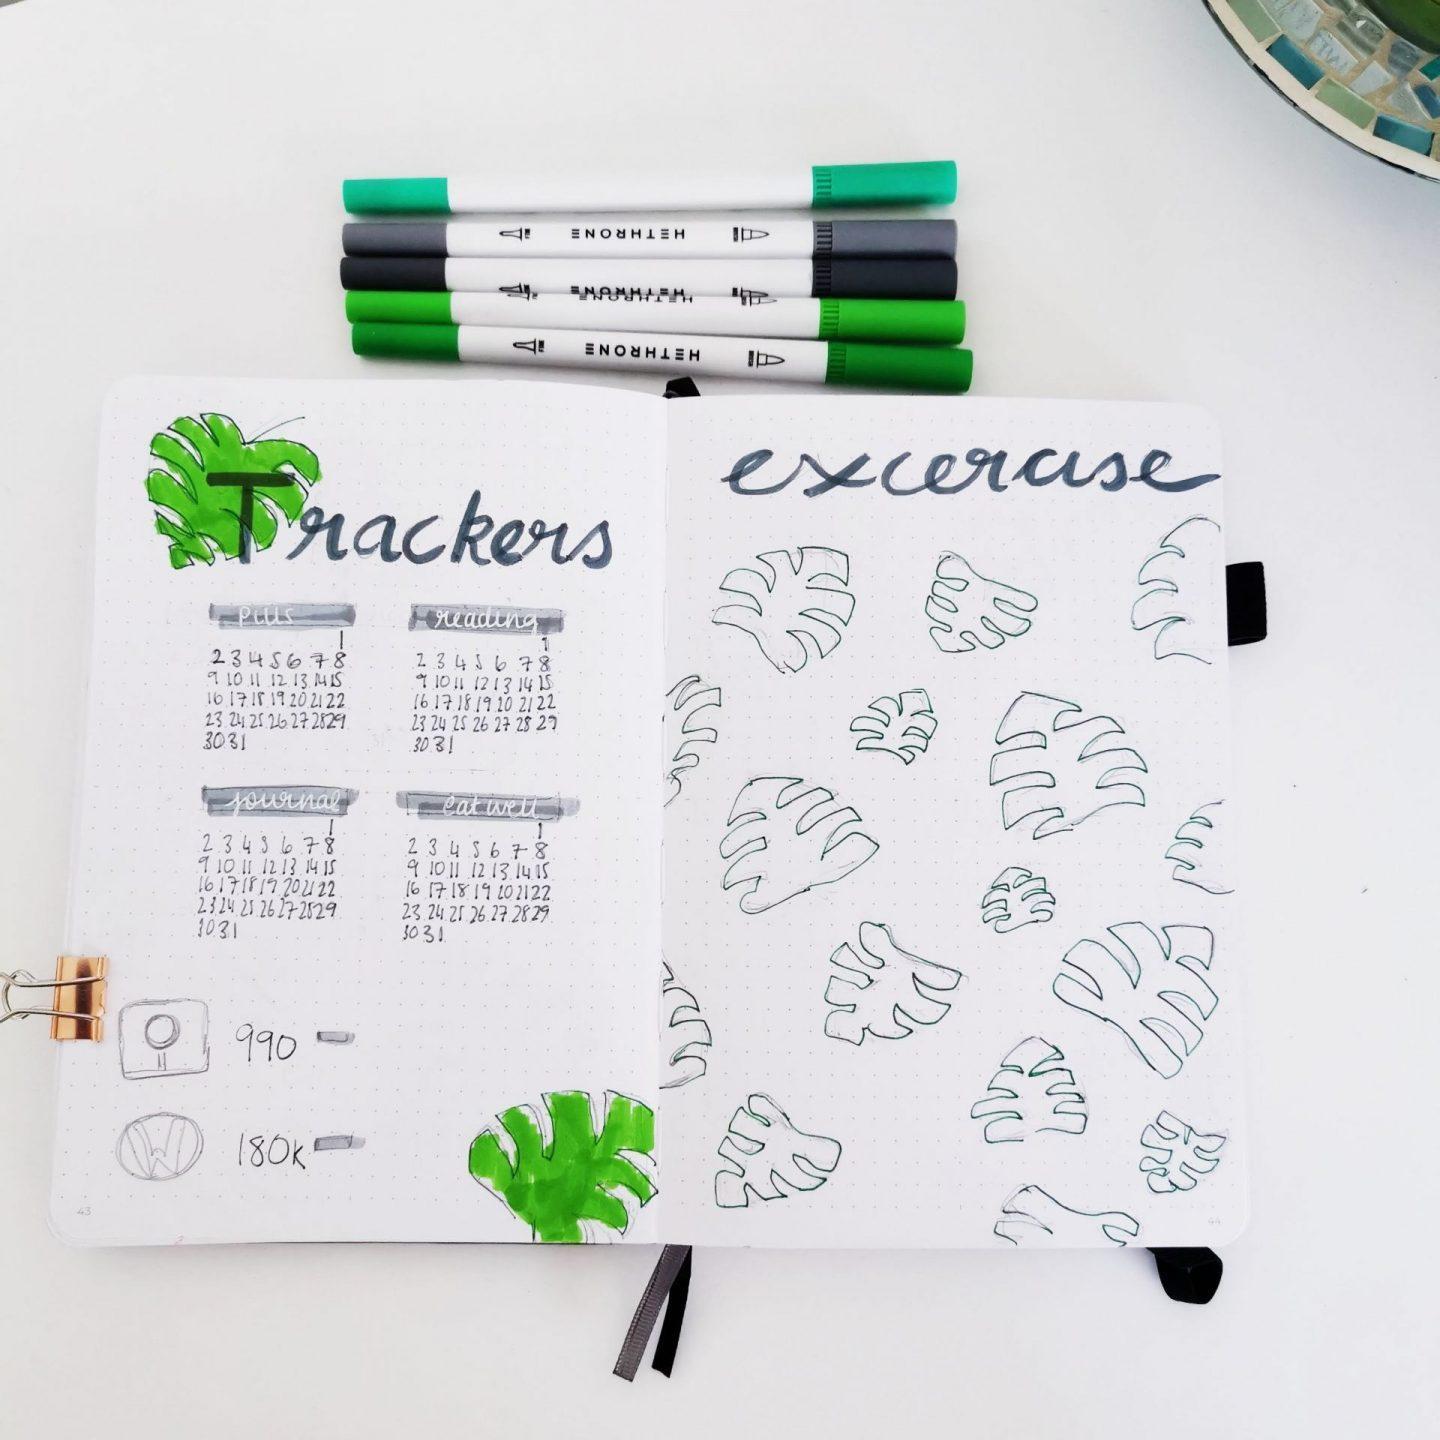
I am really digging my tracker spread as I love being able to visually track things and colour things in when i have achieved them. It gives me such a sense of accomplishment when I colour something in (especially with my exercise tracker) it motivates me even more.
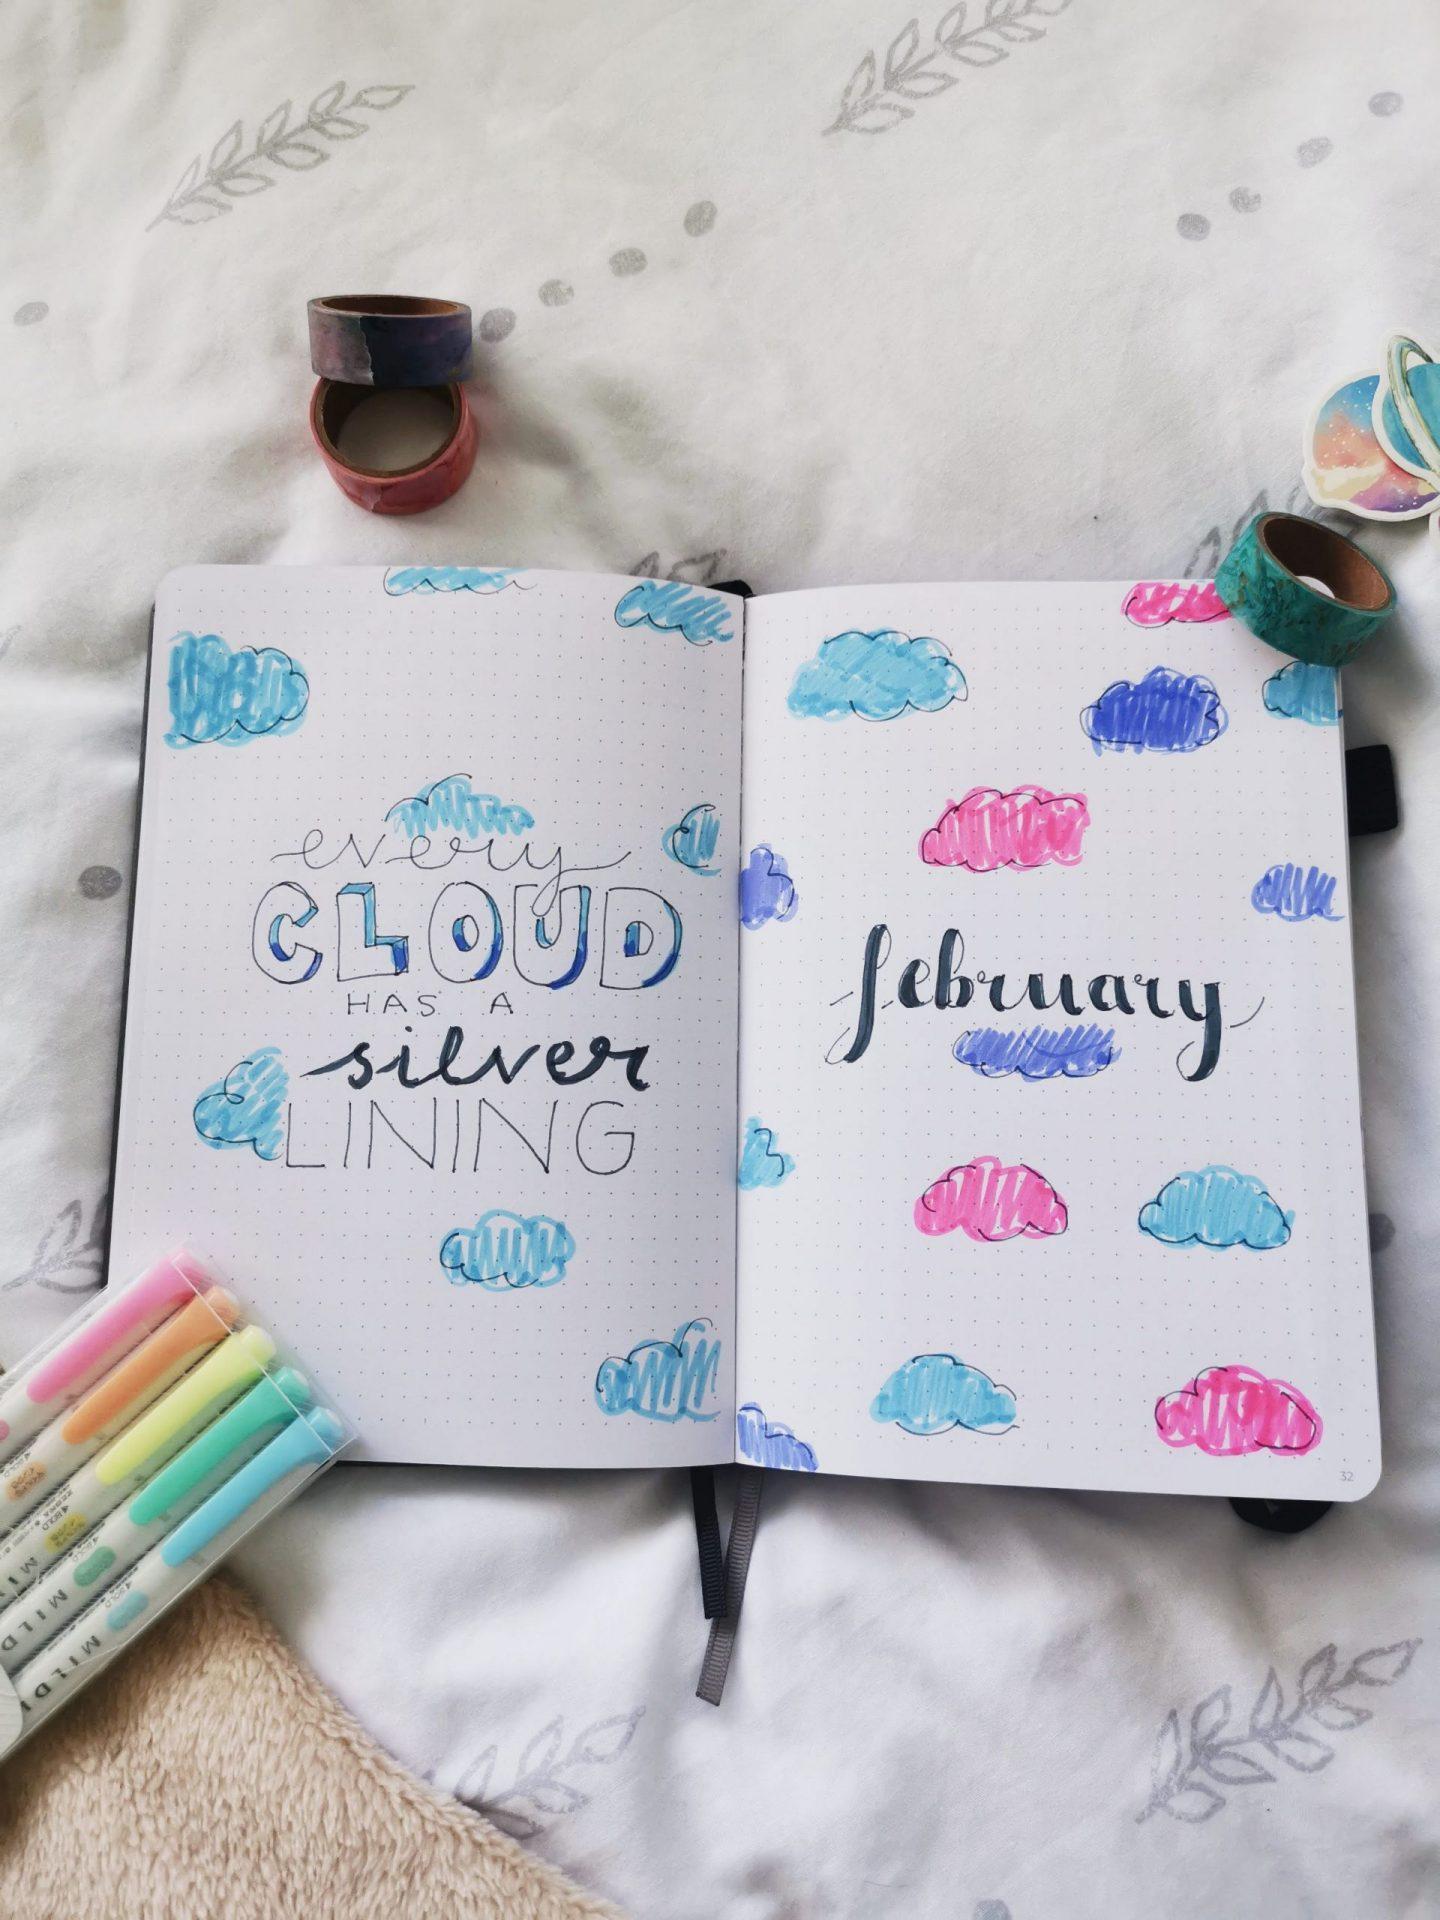
After January lasted about 17 years, we are finally onto the month of February. For my February bullet journal set up I decided to keep to the sky theme, like I did in January. As I did not want to go for the traditional hearts for Valentines day theme, yet still wanted that pop of pink and purple, I thought cotton candy skies would be perfect.
Solely using the Hethrone dual brush tip pens and my Uniball white gel pen, I created this months spreads. The pops of colour and the greys paired together is gorgeous. Also, there is zero bleed-through with these pens and they are so easy to work with.
Processing…
Success! You're on the list.
Whoops! There was an error and we couldn't process your subscription. Please reload the page and try again.
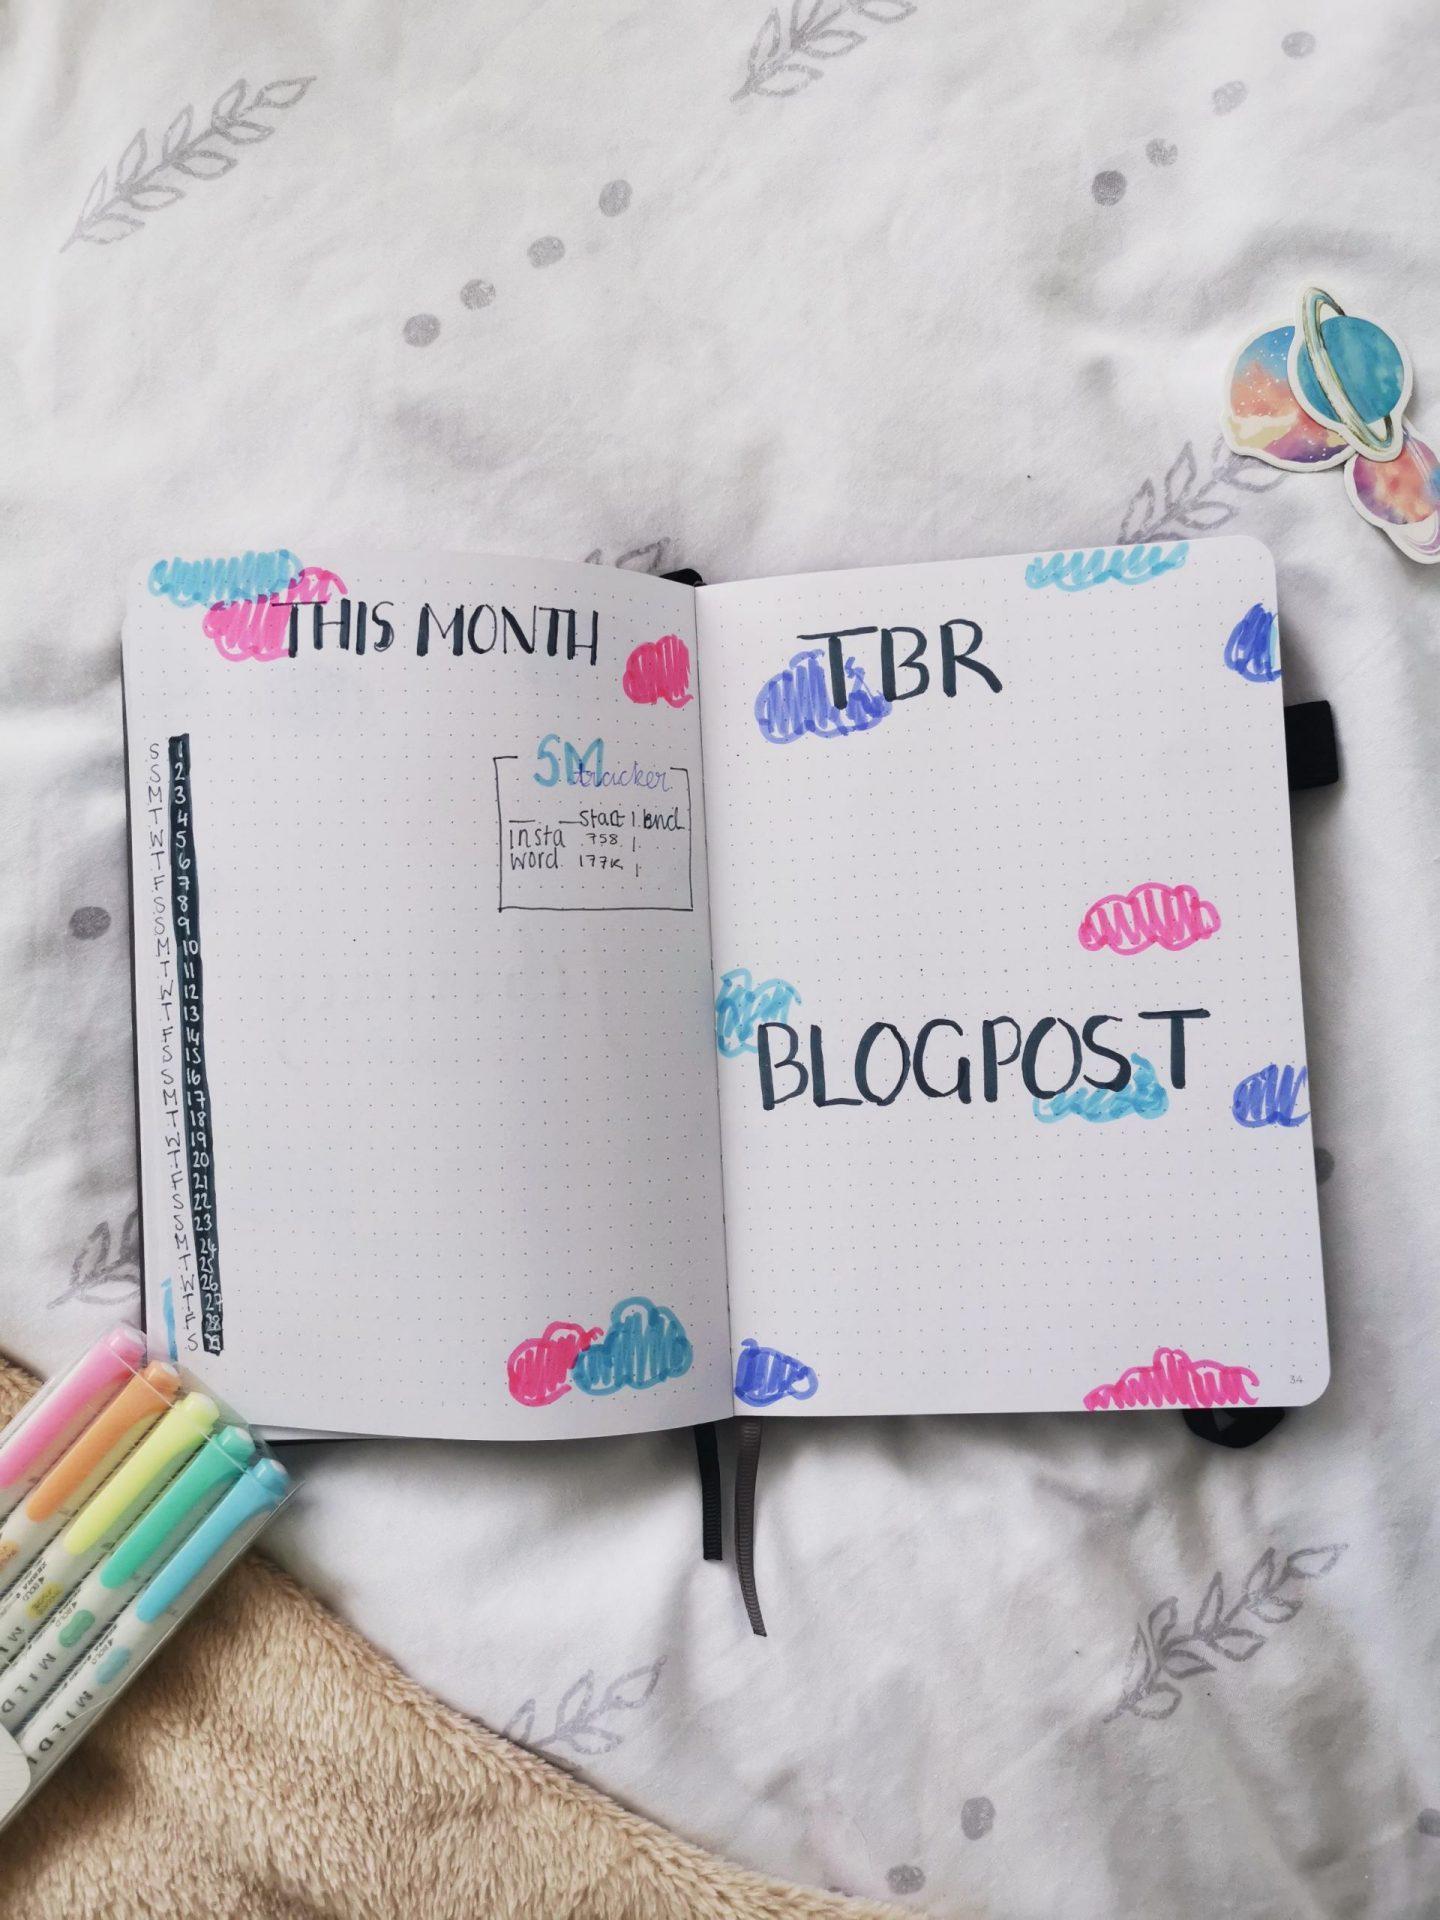
For this month, I decided to re-do my whole monthly dashboard. I was not utilising a grid calendar as I already have one in my life planner. Instead I have the calendar down the side so I can just place blog dates and important reminders there.
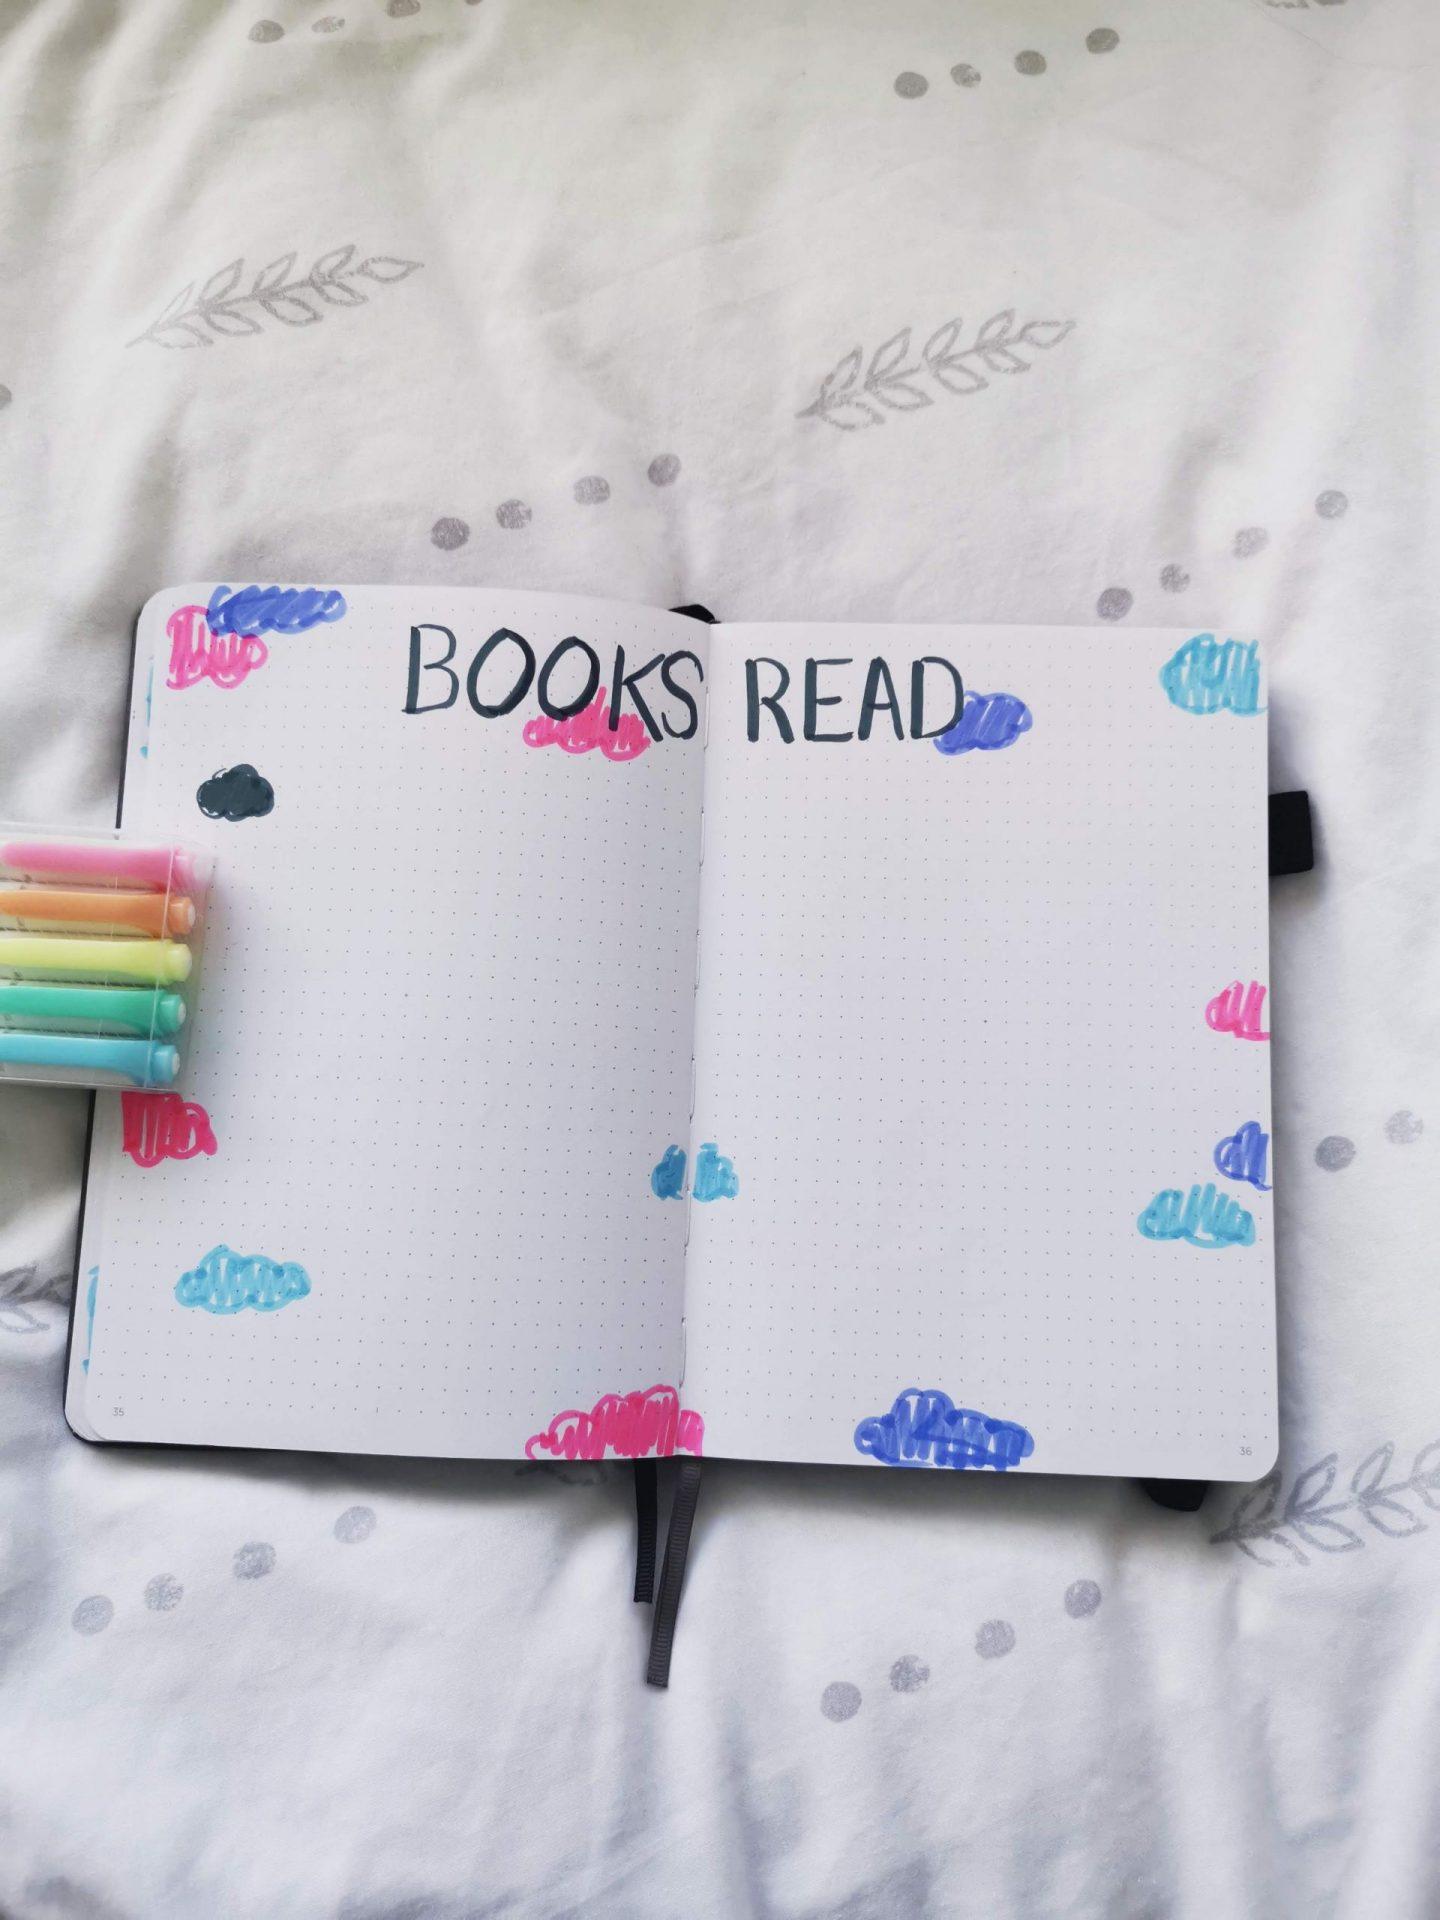
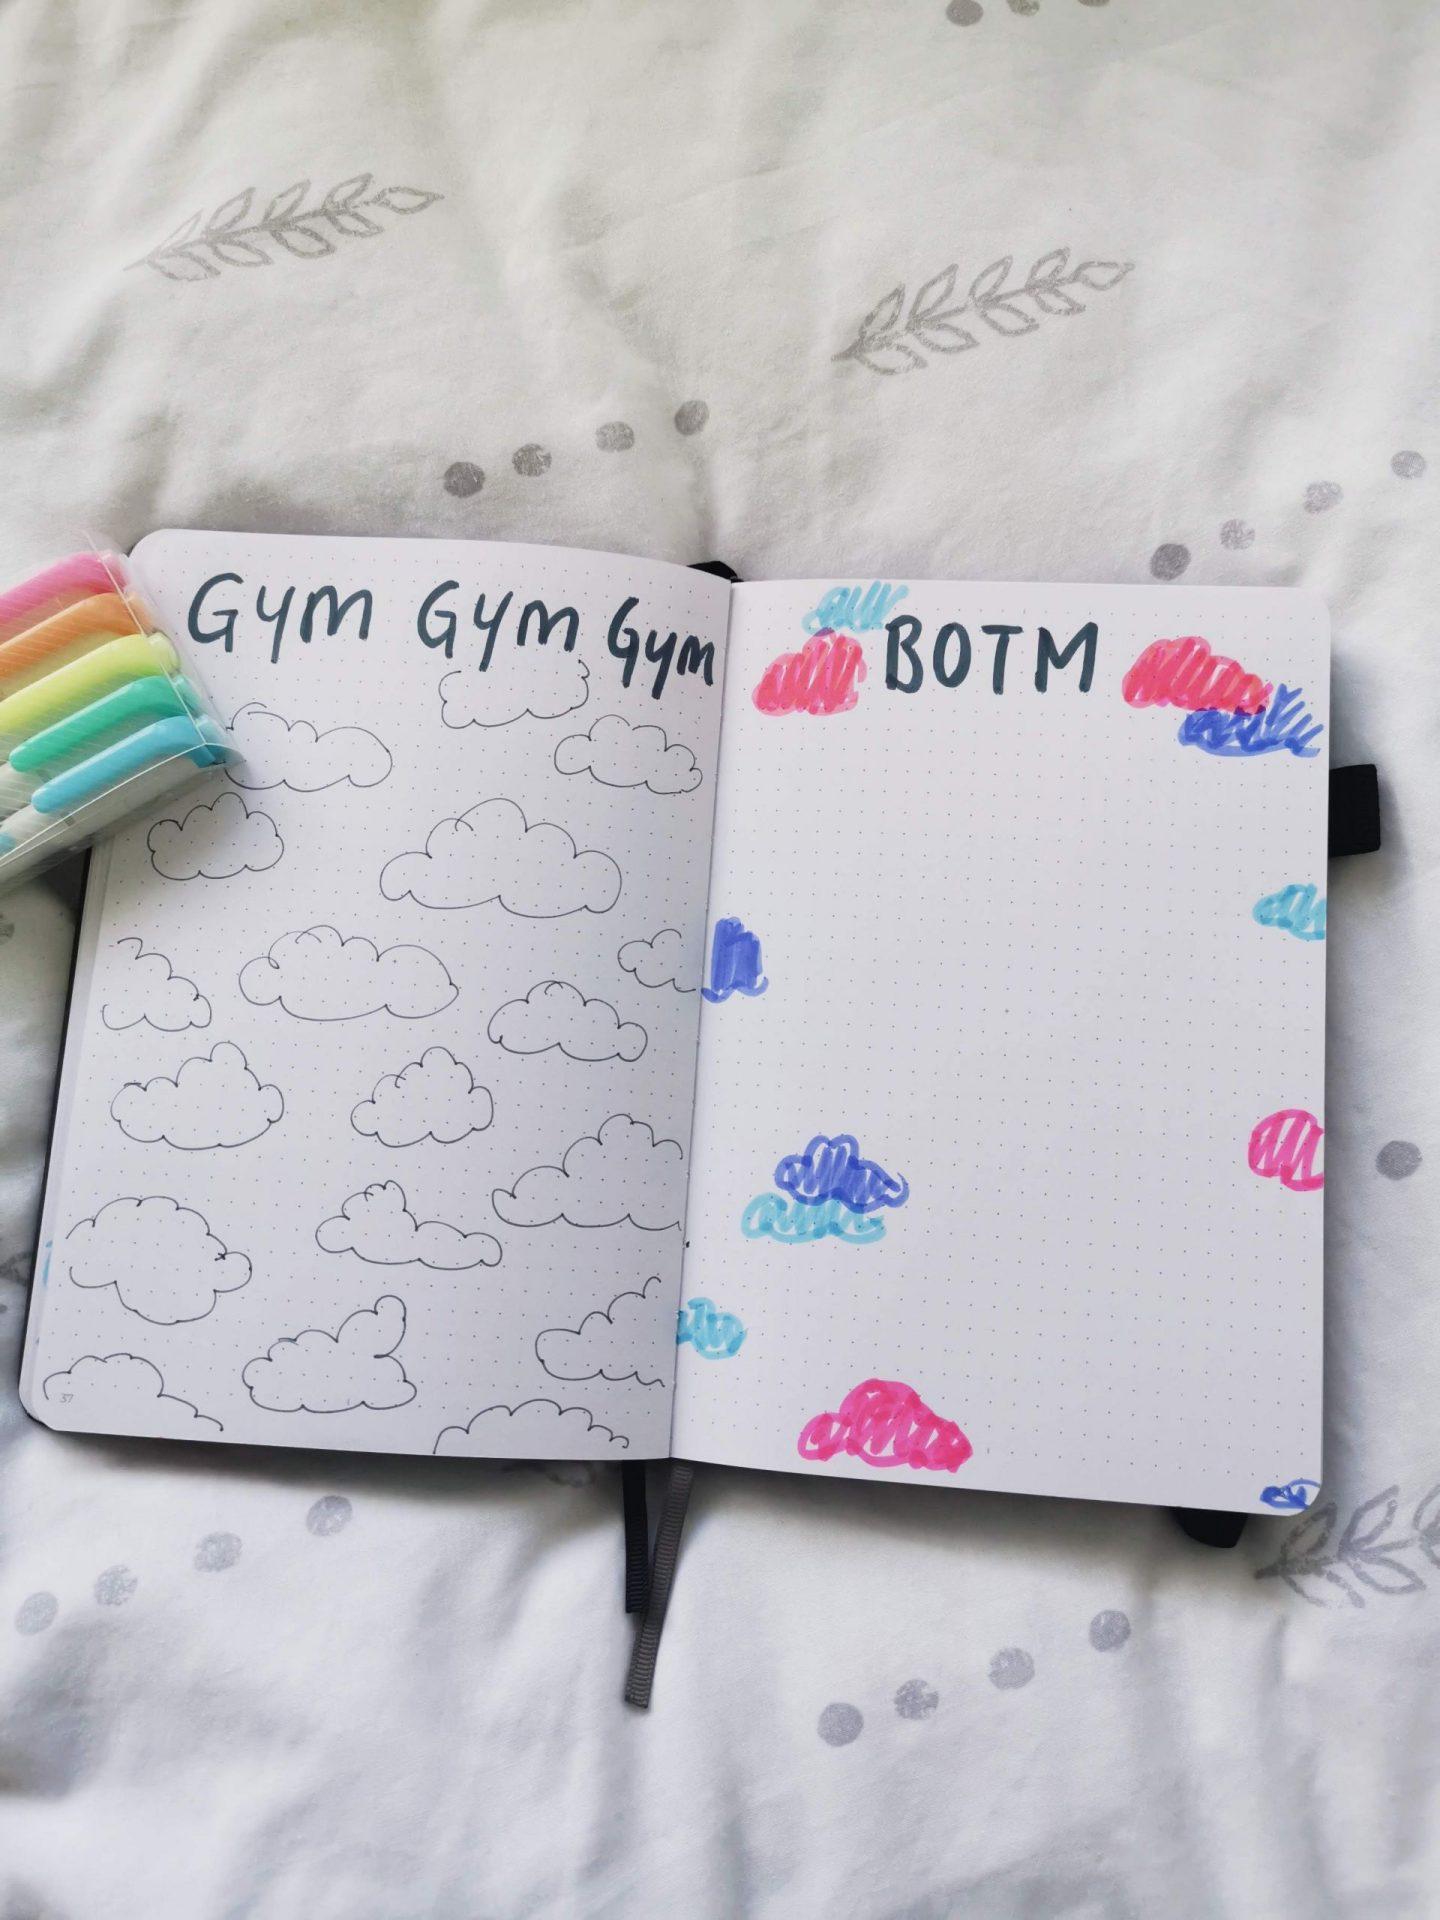
Another change for this month includes my ‘Book of the Month’ spread. This is such a cool thing to look back on and will help me make my top 20 books of 2020. No changes were made to my gym tracker apart from switching up the theme. Here’s hoping i fill out all of the clouds!
That’s that. I hope my February bullet journal set up has given you some inspiration for your February spreads as I know some people haven’t even started theirs yet. At the beginning this was a bit too neon for my liking (I really wanted some pastels) but I’m really liking it now. Therefore, if you do recreate any of these spreads, please let me know.
What does your bullet journal for February look like? I would love to see some pictures/ your posts.